
The Ultimate Guide to Adventure Photography Gear- For the Avid Hiker
")
Don’t have time to read it now? Save it for later!
When I first started out hiking I had absolutely no idea how to use my camera. I would get so frustrated, I could see the beautiful scene right there in front of me, why wasn’t it coming out on my camera screen that way?
Over the past 7 years of hiking with my camera, I have figured out what works and what doesn’t, what gear I need for what location and why!
In this guide, we will go over what camera to choose and why, what lenses to use for each situation and how to bring your gear with you on those long hikes so it doesn’t get damaged and you don’t bruise your shoulders (coming from way too much experience on this one, yikes!)
This guide is perfect for those who are heading out to explore the hiking trails near them and want to start capturing the beauty around them!
This article is the information I wish I had when I was starting out!
Disclaimer: This blog post does have affiliate links in it- if you buy through any of the links I get a little kickback- at no extra cost to you!

Cameras For Adventure Photography
Let’s start out with the basics, your camera! I believe that the best camera is the one you already have but if you don’t have one just yet let’s go over all the possibilities.
APS-C vs. Full Frame
The main thing that you need to know when starting out is there are 2 main types of sensor sizes on a camera body. The sensor size is the part of the camera that translates light into an image.
Simply put, the sensor size dictates the quality of the image. Larger sensor = better image quality.
In this guide we are only going to talk about full frame and APS-C, there are a couple other sizes such as medium format and micro four thirds but there is a high chance you will not be dealing with those in the beginning.
APS-C Cameras
First, let’s talk about APS-C which is also considered a “crop sensor”. The sensor on this camera is smaller than a full frame but can still produce quite amazing images!
The body of the camera is a lot smaller and lighter than a full frame and isn’t nearly as expensive. The downsides of this camera is it does not perform in low light as well and doesn’t have the same depth of field (it is harder to get that blurry background you may see in portraits).
Personally, I used a crop sensor camera from the time I was 16 when I got my first DSLR up until age 23.
I was able to take some really beautiful pictures on my crop sensor and learned a ton about composition, lighting and settings without having to fork out an arm and a leg.
I would recommend getting a crop sensor camera to anyone who is just starting out! There is a lower barrier of entry price wise, you can buy a variety of lenses for a lot cheaper and still get some amazing images out of it!
Best APS-C Cameras:
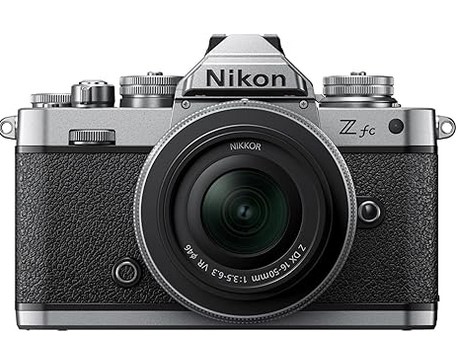
Nikon Zfc
The Nikon Zfc is a great APS-C camera for beginner photographers because it combines a user-friendly, retro-inspired design with modern mirrorless technology, including a 20.9MP sensor, eye-detection autofocus, and a fully articulating touchscreen for easy composition.
Its lightweight build, intuitive controls, and compatibility with Nikon’s growing Z-mount lens lineup make it perfect for learning and improving photography skills.
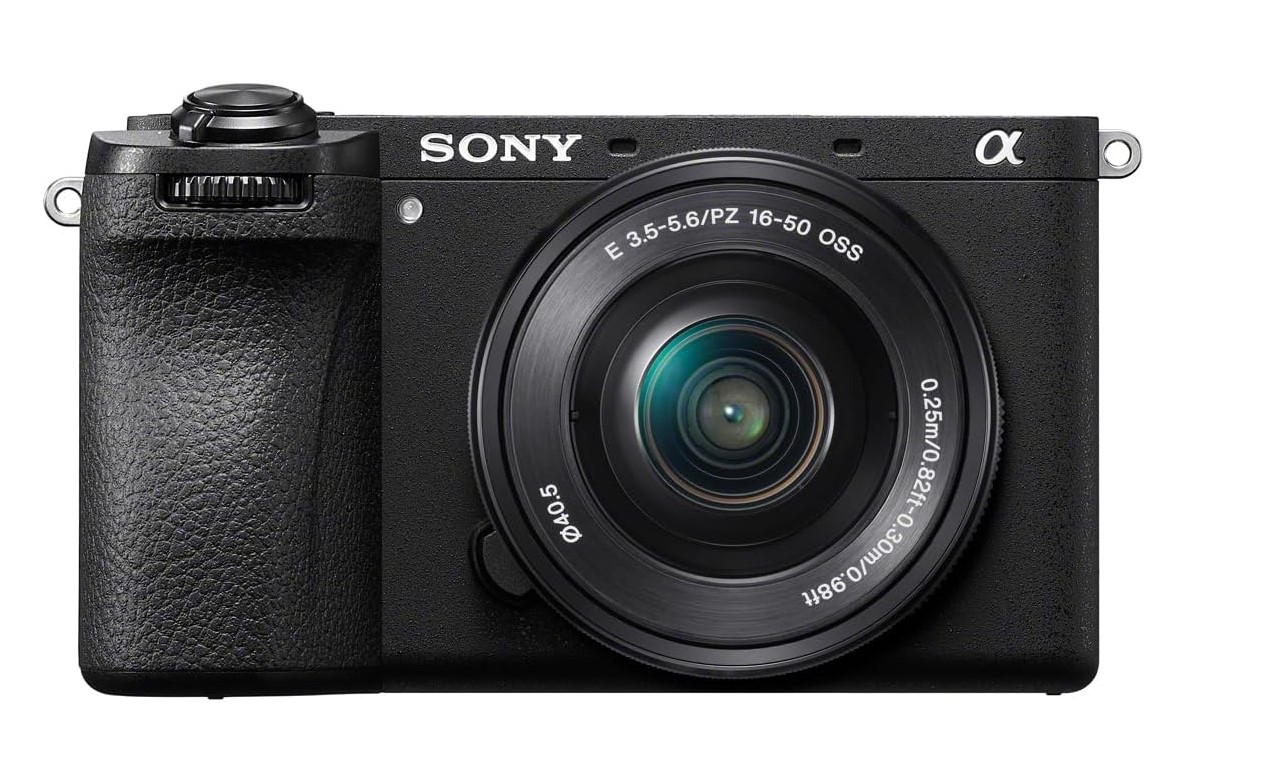
Sony Alpha A6700
The Sony A6700 is an excellent APS-C camera for beginners because it offers powerful AI-driven autofocus, a 26MP sensor, and 4K 120p video, making it versatile for both photography and content creation. Its compact size, in-body image stabilization, and intuitive touchscreen make it easy to use while providing room to grow as skills improve.
If I were just taking up photography now this would be the camera I would buy!
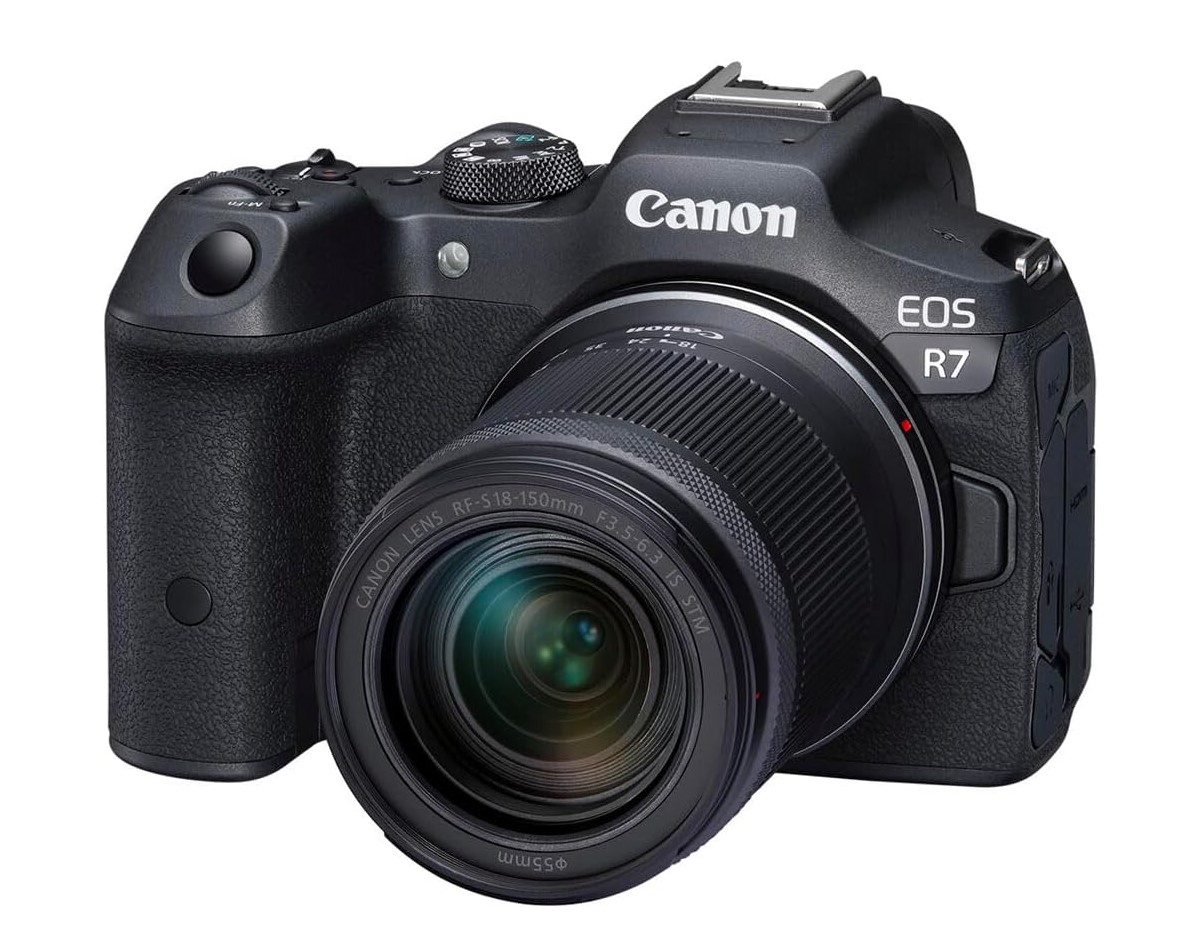
Canon r7
The Canon R7 is a fantastic APS-C camera for beginners because it combines a 32.5MP sensor with fast Dual Pixel AF, in-body image stabilization, and 4K 60p video, making it great for both photography and content creation. Its ergonomic design, articulating touchscreen, and compatibility with RF and adapted EF lenses provide flexibility and room to grow as skills develop.
Nikon Zfc
Canon r7
Sony A6700
Full Frame Cameras
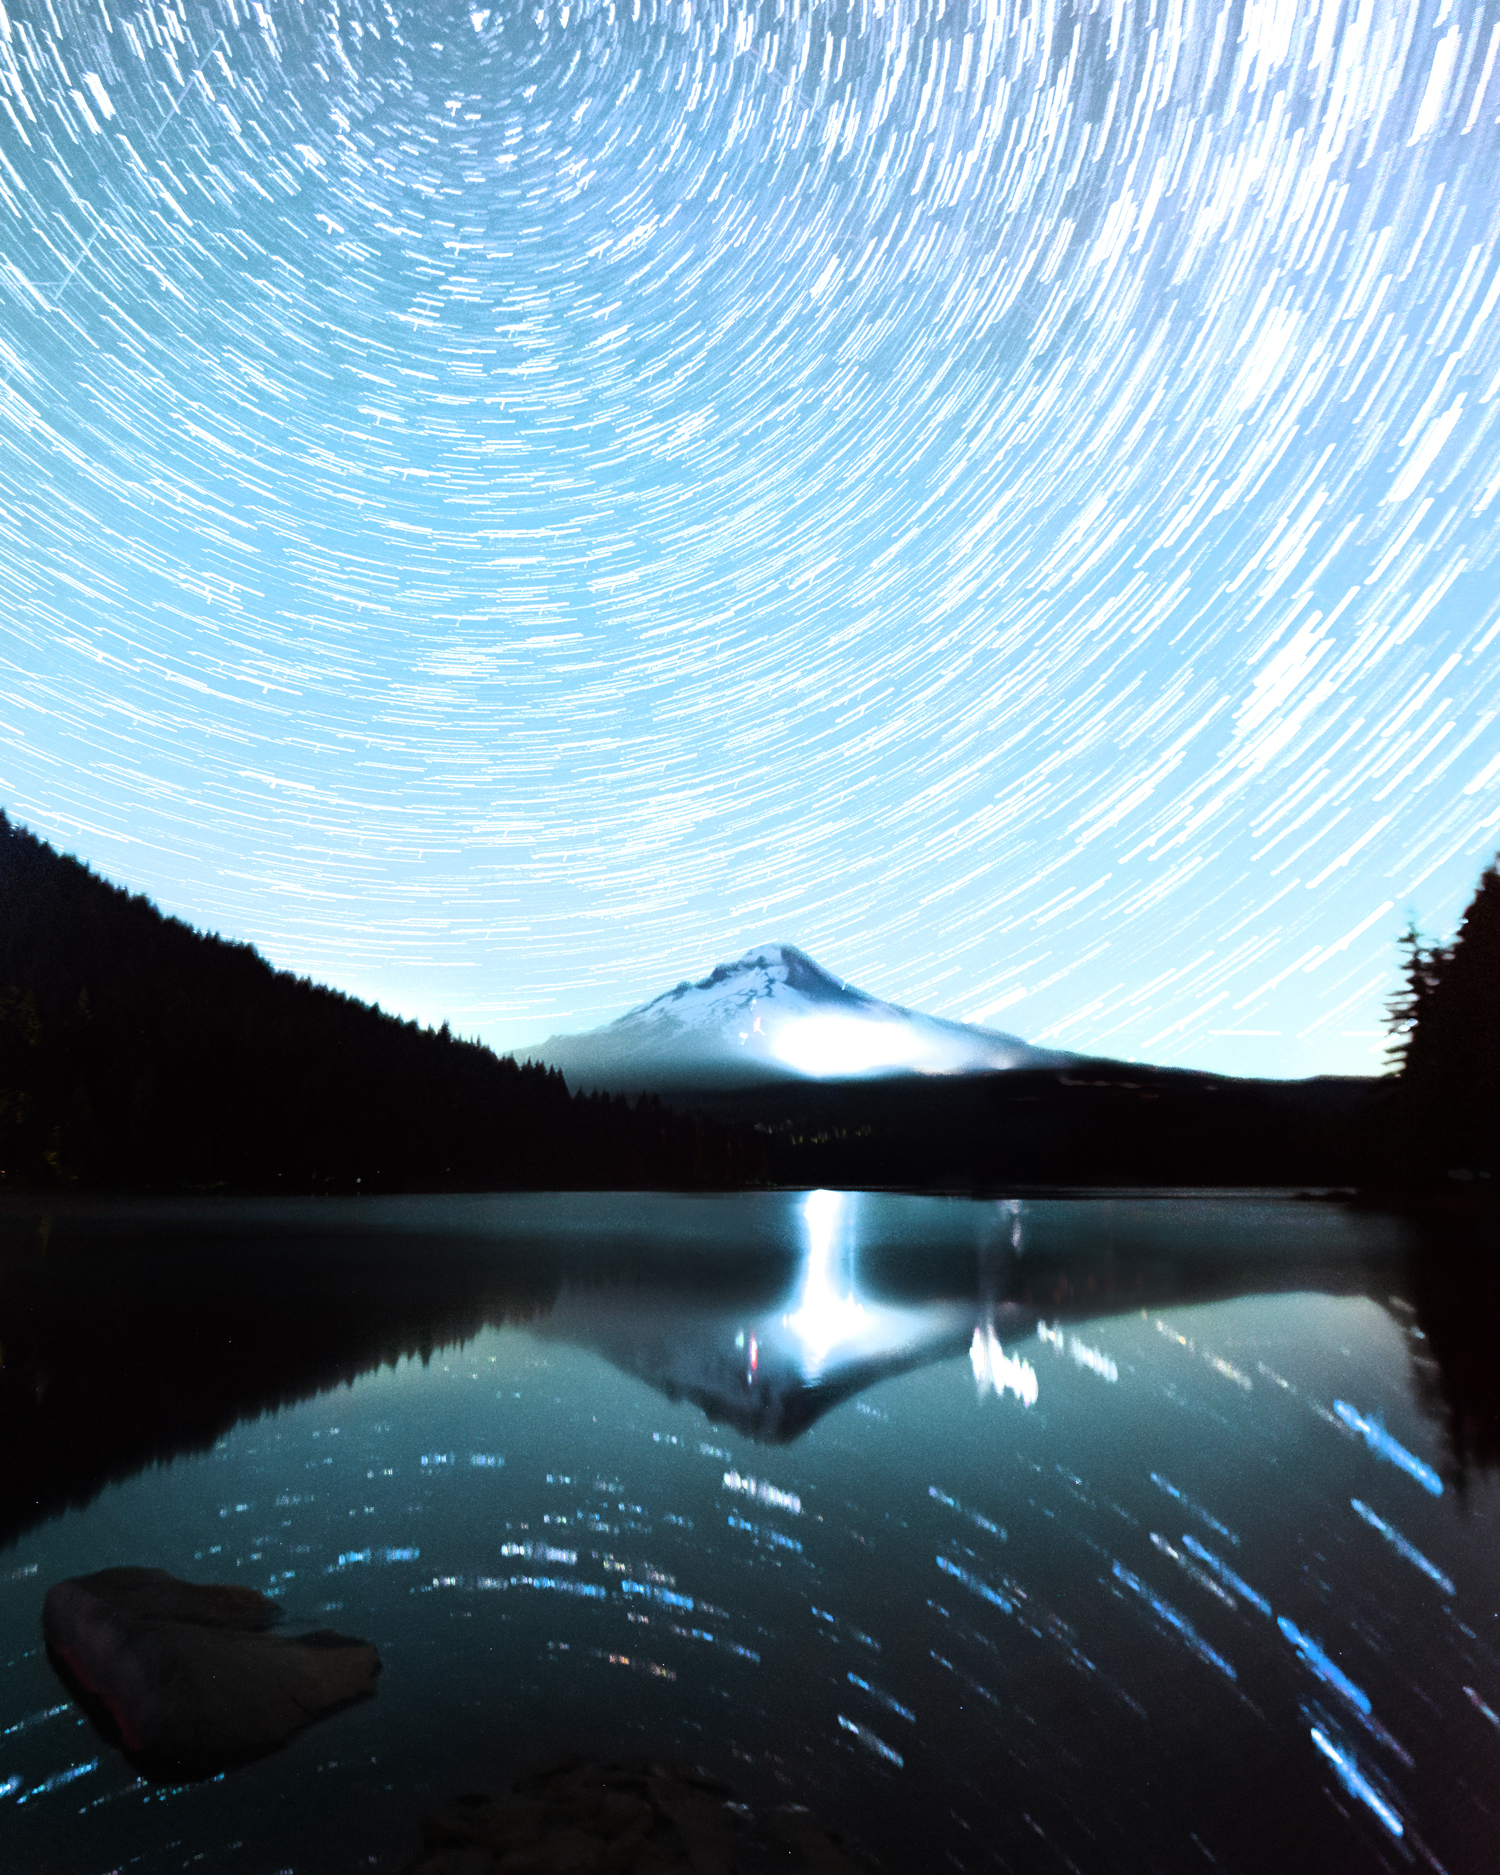
Next is a full-frame camera: This is the camera type that professionals use. It has a larger sensor than a crop sensor, thus allowing for amazing performance in low light (great for astro photography-i.e taking pictures of the stars) as well as wonderful depth of field.
The file sizes on these are also a lot larger than on a crop sensor making the images easy to print and blow up large for posters or billboards.
The downside of these cameras is that they cost quite a bit. Most full-frame cameras range from $1,500 to $6,000 and the lenses are just as pricey.
I now use a full-frame camera, the Nikon Z6 II, and I absolutely love it. With the camera body and a 24-70mm f4 lens, it cost me almost $3,000 and I saved up for it for about a year.
I would recommend getting a full-frame camera to anyone who has already used a camera for a couple of years and is interested in taking their photography to the next level!
Best full frame cameras:
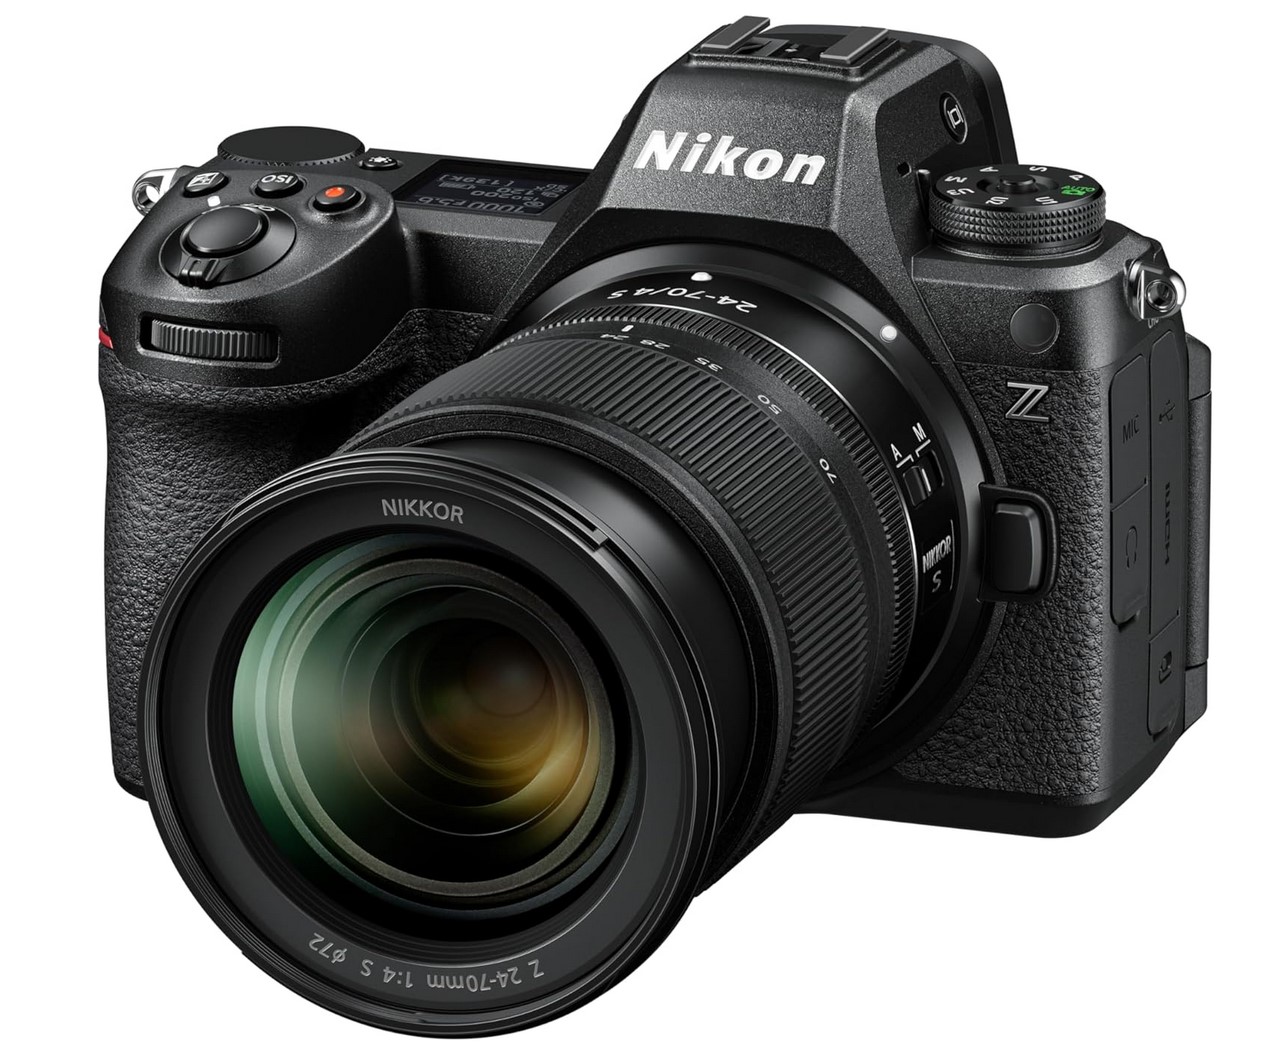
Nikon Z6 III
The Nikon Z6II is the full frame that I personally own, but they just came out with the Z6III and I am thinking about upgrading!
The Nikon Z6 III is an excellent choice for professional-level photographers because it balances speed, image quality, and versatility in a full-frame mirrorless body. With a high-resolution BSI stacked sensor, improved autofocus, faster burst shooting, and enhanced video capabilities like 4K 120p and RAW video output, it’s built for demanding workflows.
Its dual card slots, robust weather sealing, and ergonomic design make it reliable for professional work, whether shooting weddings, landscapes, sports, or video content.
I personally love the colors that come out of this camera (I find them to be natural and vibrant) and it has all the features I need to create high quality images and video.
Sony Alpha A7 III or Sony A1
Many of my friends shoot on the Sony A7 III and love it! My boyfriend has it and I have used it a number of times. Similar to the Z6 it is lightweight due to it being a mirrorless camera. Sony’s are known for being amazing in low light (making it wonderful for Astro) as well as having fast auto focus and wonderful video capabilities.
The Sony A7 III is a solid choice for professional photographers because it offers a 24.2MP full-frame sensor, excellent low-light performance, and fast hybrid autofocus with eye detection, making it highly versatile for weddings, portraits, and travel photography. With dual card slots, 10fps burst shooting, 4K video, and great battery life, it provides reliability and flexibility at a competitive price, making it a workhorse for professionals.
The Sony A1 is the ultimate professional camera, featuring a 50.1MP full-frame sensor, 8K 30p and 4K 120p video, 30fps burst shooting, and a stacked sensor with lightning-fast autofocus. It’s designed for sports, wildlife, commercial, and high-end video production, offering dual CFexpress and SD card slots, incredible dynamic range, and blackout-free EVF, making it one of the most powerful mirrorless cameras available.
Canon EOS R5 or Canon EOS R6 Mark II
This is the other camera that a majority of my fellow photographers swear by. Two of my close friends use the Canon EOS R5 and absolutely love it! I have used their cameras many times and edited the pictures from it and they are phenomenal.
The Canon EOS R5 is a top-tier professional camera, offering a 45MP full-frame sensor, 8K RAW video, and incredible Dual Pixel AF II with eye, face, and animal tracking, making it ideal for high-resolution photography and video production. With in-body image stabilization, 20fps electronic shutter, dual card slots, and weather sealing, it’s perfect for professionals shooting weddings, landscapes, wildlife, or commercial work, delivering exceptional image quality and versatility.
Nikon Z6III

Sony A7 III
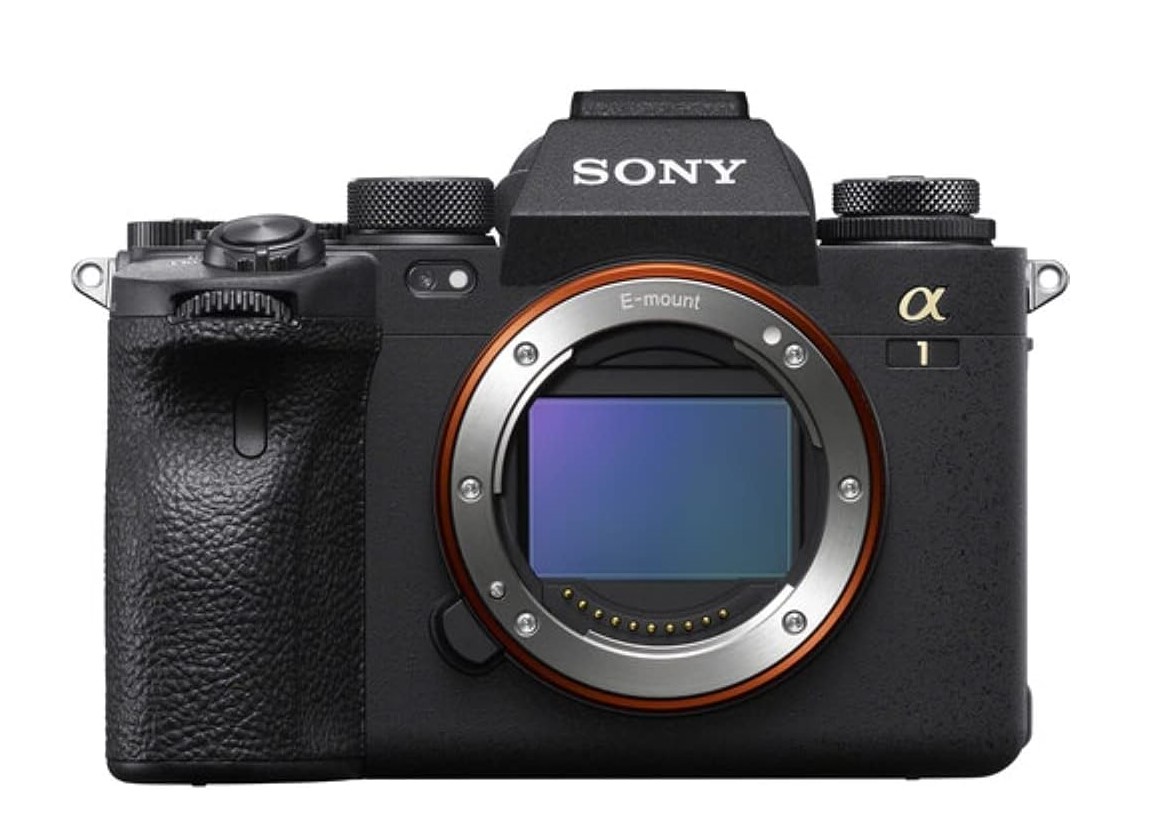
Sony A1
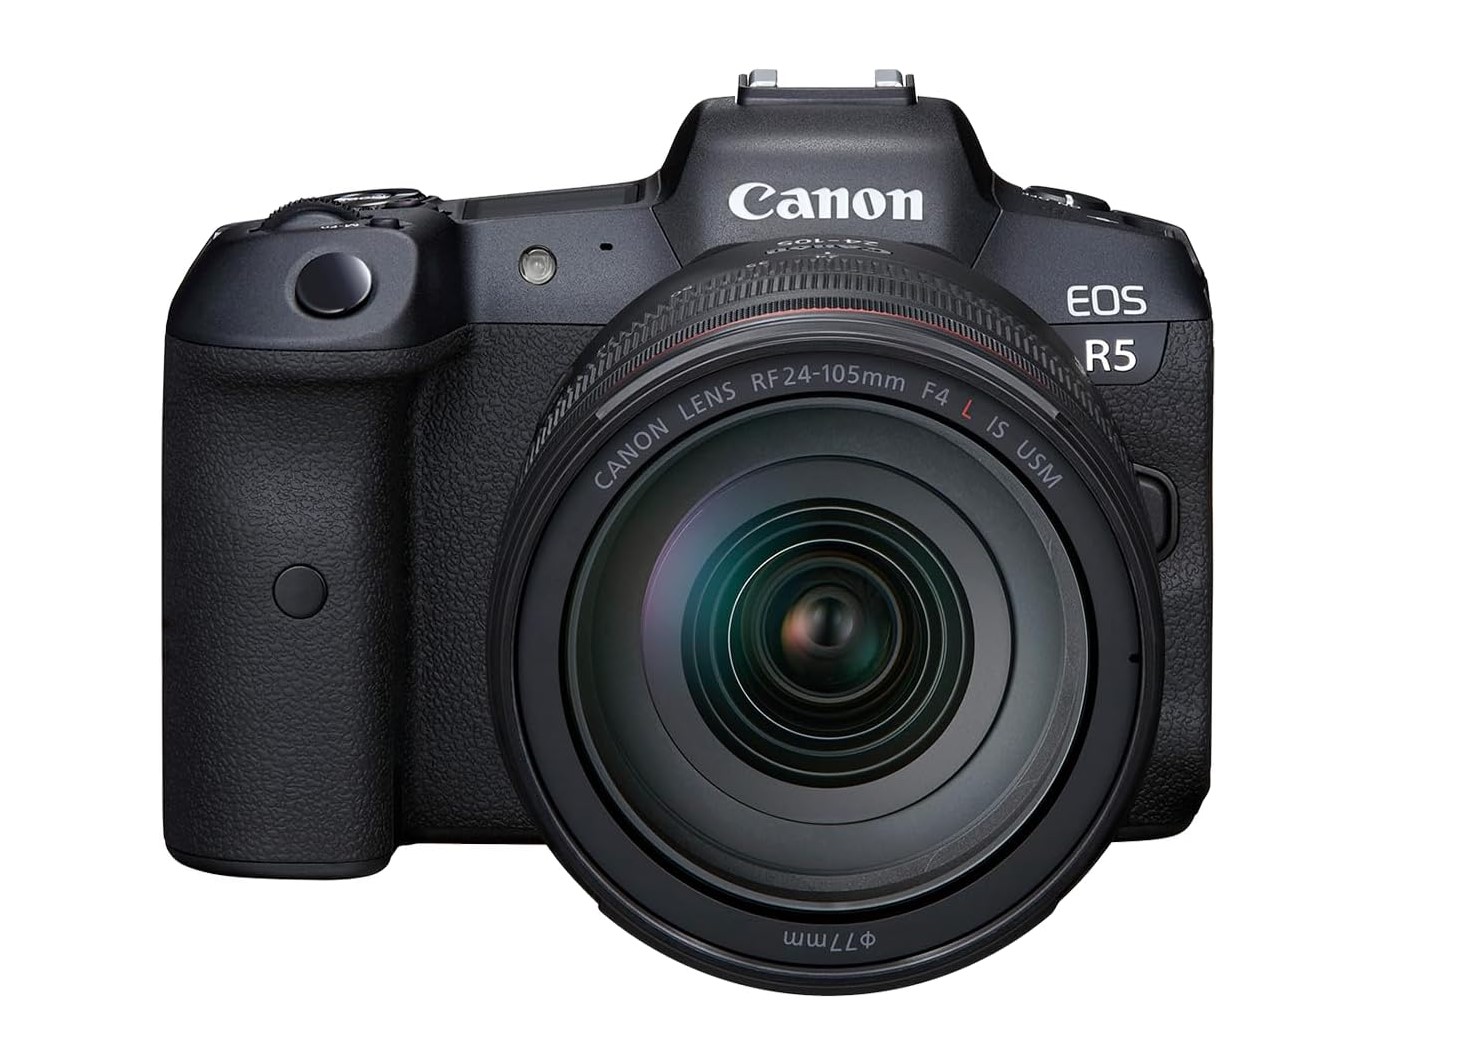
Canon EOS R5
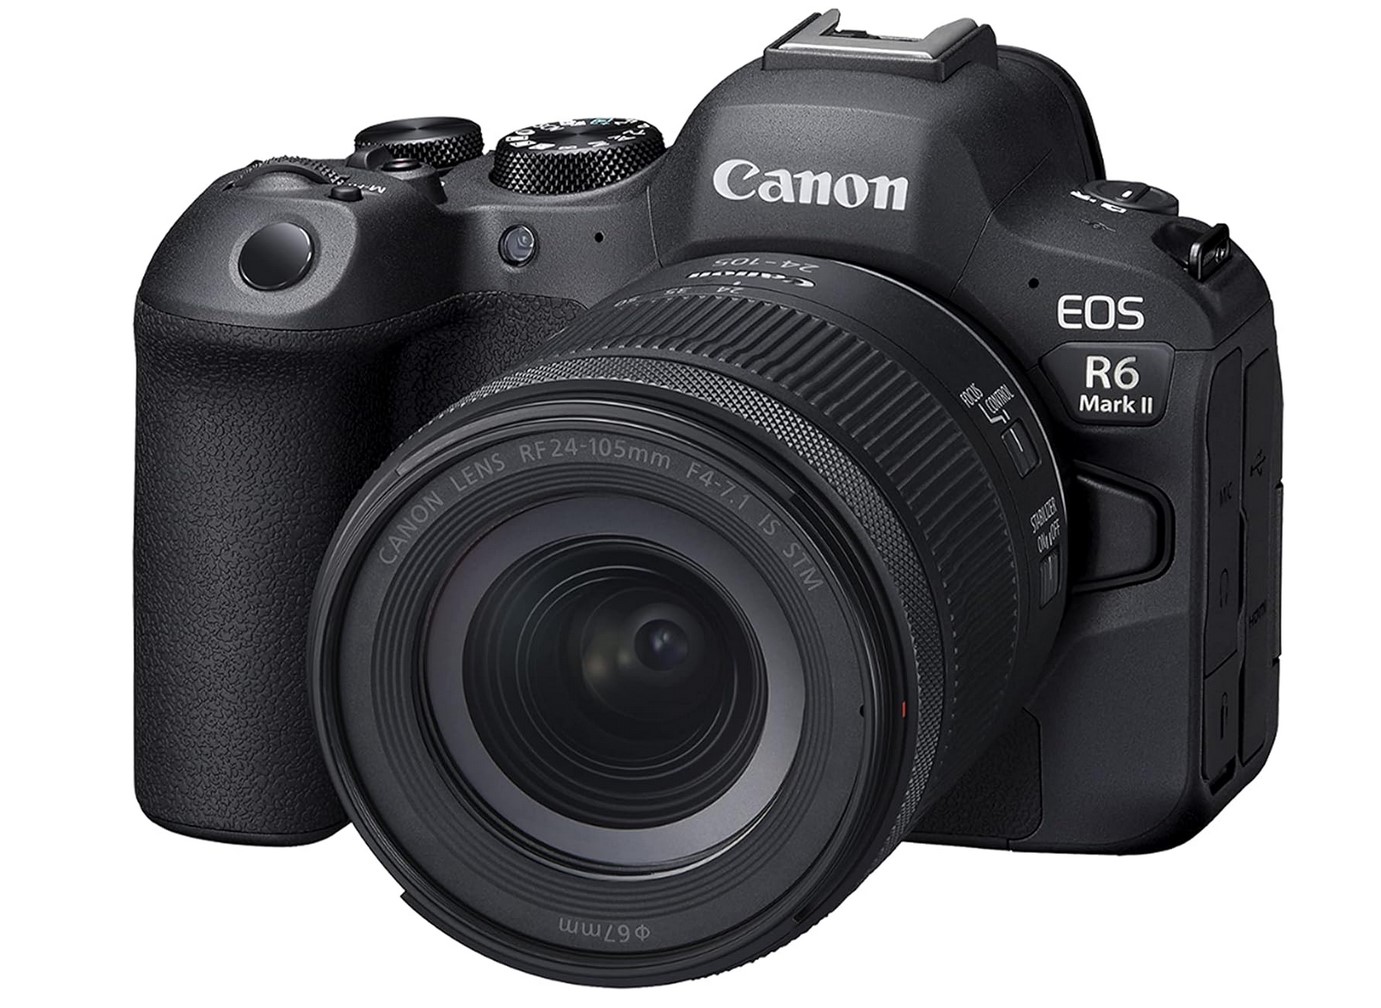
Canon EOS R6 Mark II
What to Keep In Mind When Purchasing A Camera
Mirrorless vs. DSLR
In the past couple of years mirrorless cameras have become hugely popular, every major camera brand has come out with their version of the mirrorless camera and there is an ever growing amount of photographers who are switching over from the classic DSLR to mirrorless.
Essentially mirrorless cameras are just that, cameras without the mirror and optical viewfinder. With a digital sensor the camera is able to create a “live view” for you in the viewfinder. This allows the camera to be much lighter and slimmer.
While both cameras, DSLR and mirrorless are amazing, I personally prefer mirrorless. When I am hiking 7 miles in I prefer to have a smaller and lighter camera that won’t weigh me down as much, I also love the electronic viewfinder and touch screen that comes along with the Nikon Z6 II and find it to be much easier to use.
At this point almost all of the camera companies are offering wonderful options for mirrorless cameras. Some of my favorites include: The Nikon Z line, Canon EOS- R and Sony A7 III
Video Capabilities
The final thing to think about when purchasing a camera is video capabilities. We will not get too detailed with statistics on video in this guide but just know it is definitely something you will want to consider when buying your new camera.
There is nothing more frustrating than wanting to try out video than realizing the camera you just spent $500+ on doesn’t do video well or at all.
If you are interested in getting into video I would recommend checking the frame rates offered (30fps, 60fps, 120fps) as well as the quality (1080 or 4K). This will give you a good idea about what the specific camera can accomplish.
Questions To Ask Yourself Before Purchasing
What will I be using this for? Is this for a hobby or professionally? If you are planning on making this your profession I would just recommend getting a full frame camera right off the bat.
How much money am I willing to spend? Helps decide what level to purchase at. Remember crop sensor lenses are also cheaper so if you want to stay low cost I would recommend going that route.
Do I care if it has high quality video? Definitely look into the video specs if this is something you want to get into!
Do I have an pre-existing lenses I would like to use? This helps you decide which camera brand to stick with as they have to be used with the same brand (Canon with Canon etc.)
Will I be printing or selling any of my images? Then you may want a Full Frame camera for higher mps.
How interested in astro photography am I? This will indicate wanting a full frame camera as well for low light quality and higher mps.
How light do I want my camera set up to be? If you want lighter I would recommend sticking with mirrorless cameras or even the smaller crop sensor cameras.


Lenses for Adventure Photography
Lenses are one of my favorite parts of photography! It is amazing to me just how much using a different lens can affect the scene in front of you.
When starting out it can be hard to decide which lenses to invest in, they can end up being a lot of money so it is best to start out with something that will give you multiple options when shooting.
The Best “All Around” Lens- for Full Frame
A 24-70mm f 2.8 hands down! This is the lens that almost every photographer I know has on them all the time, it can be used for almost anything and allows you to get as wide as 24mm and as close up as 70mm. With the 2.8 aperture you are able to get that shallow depth of field that really makes portraits pop.
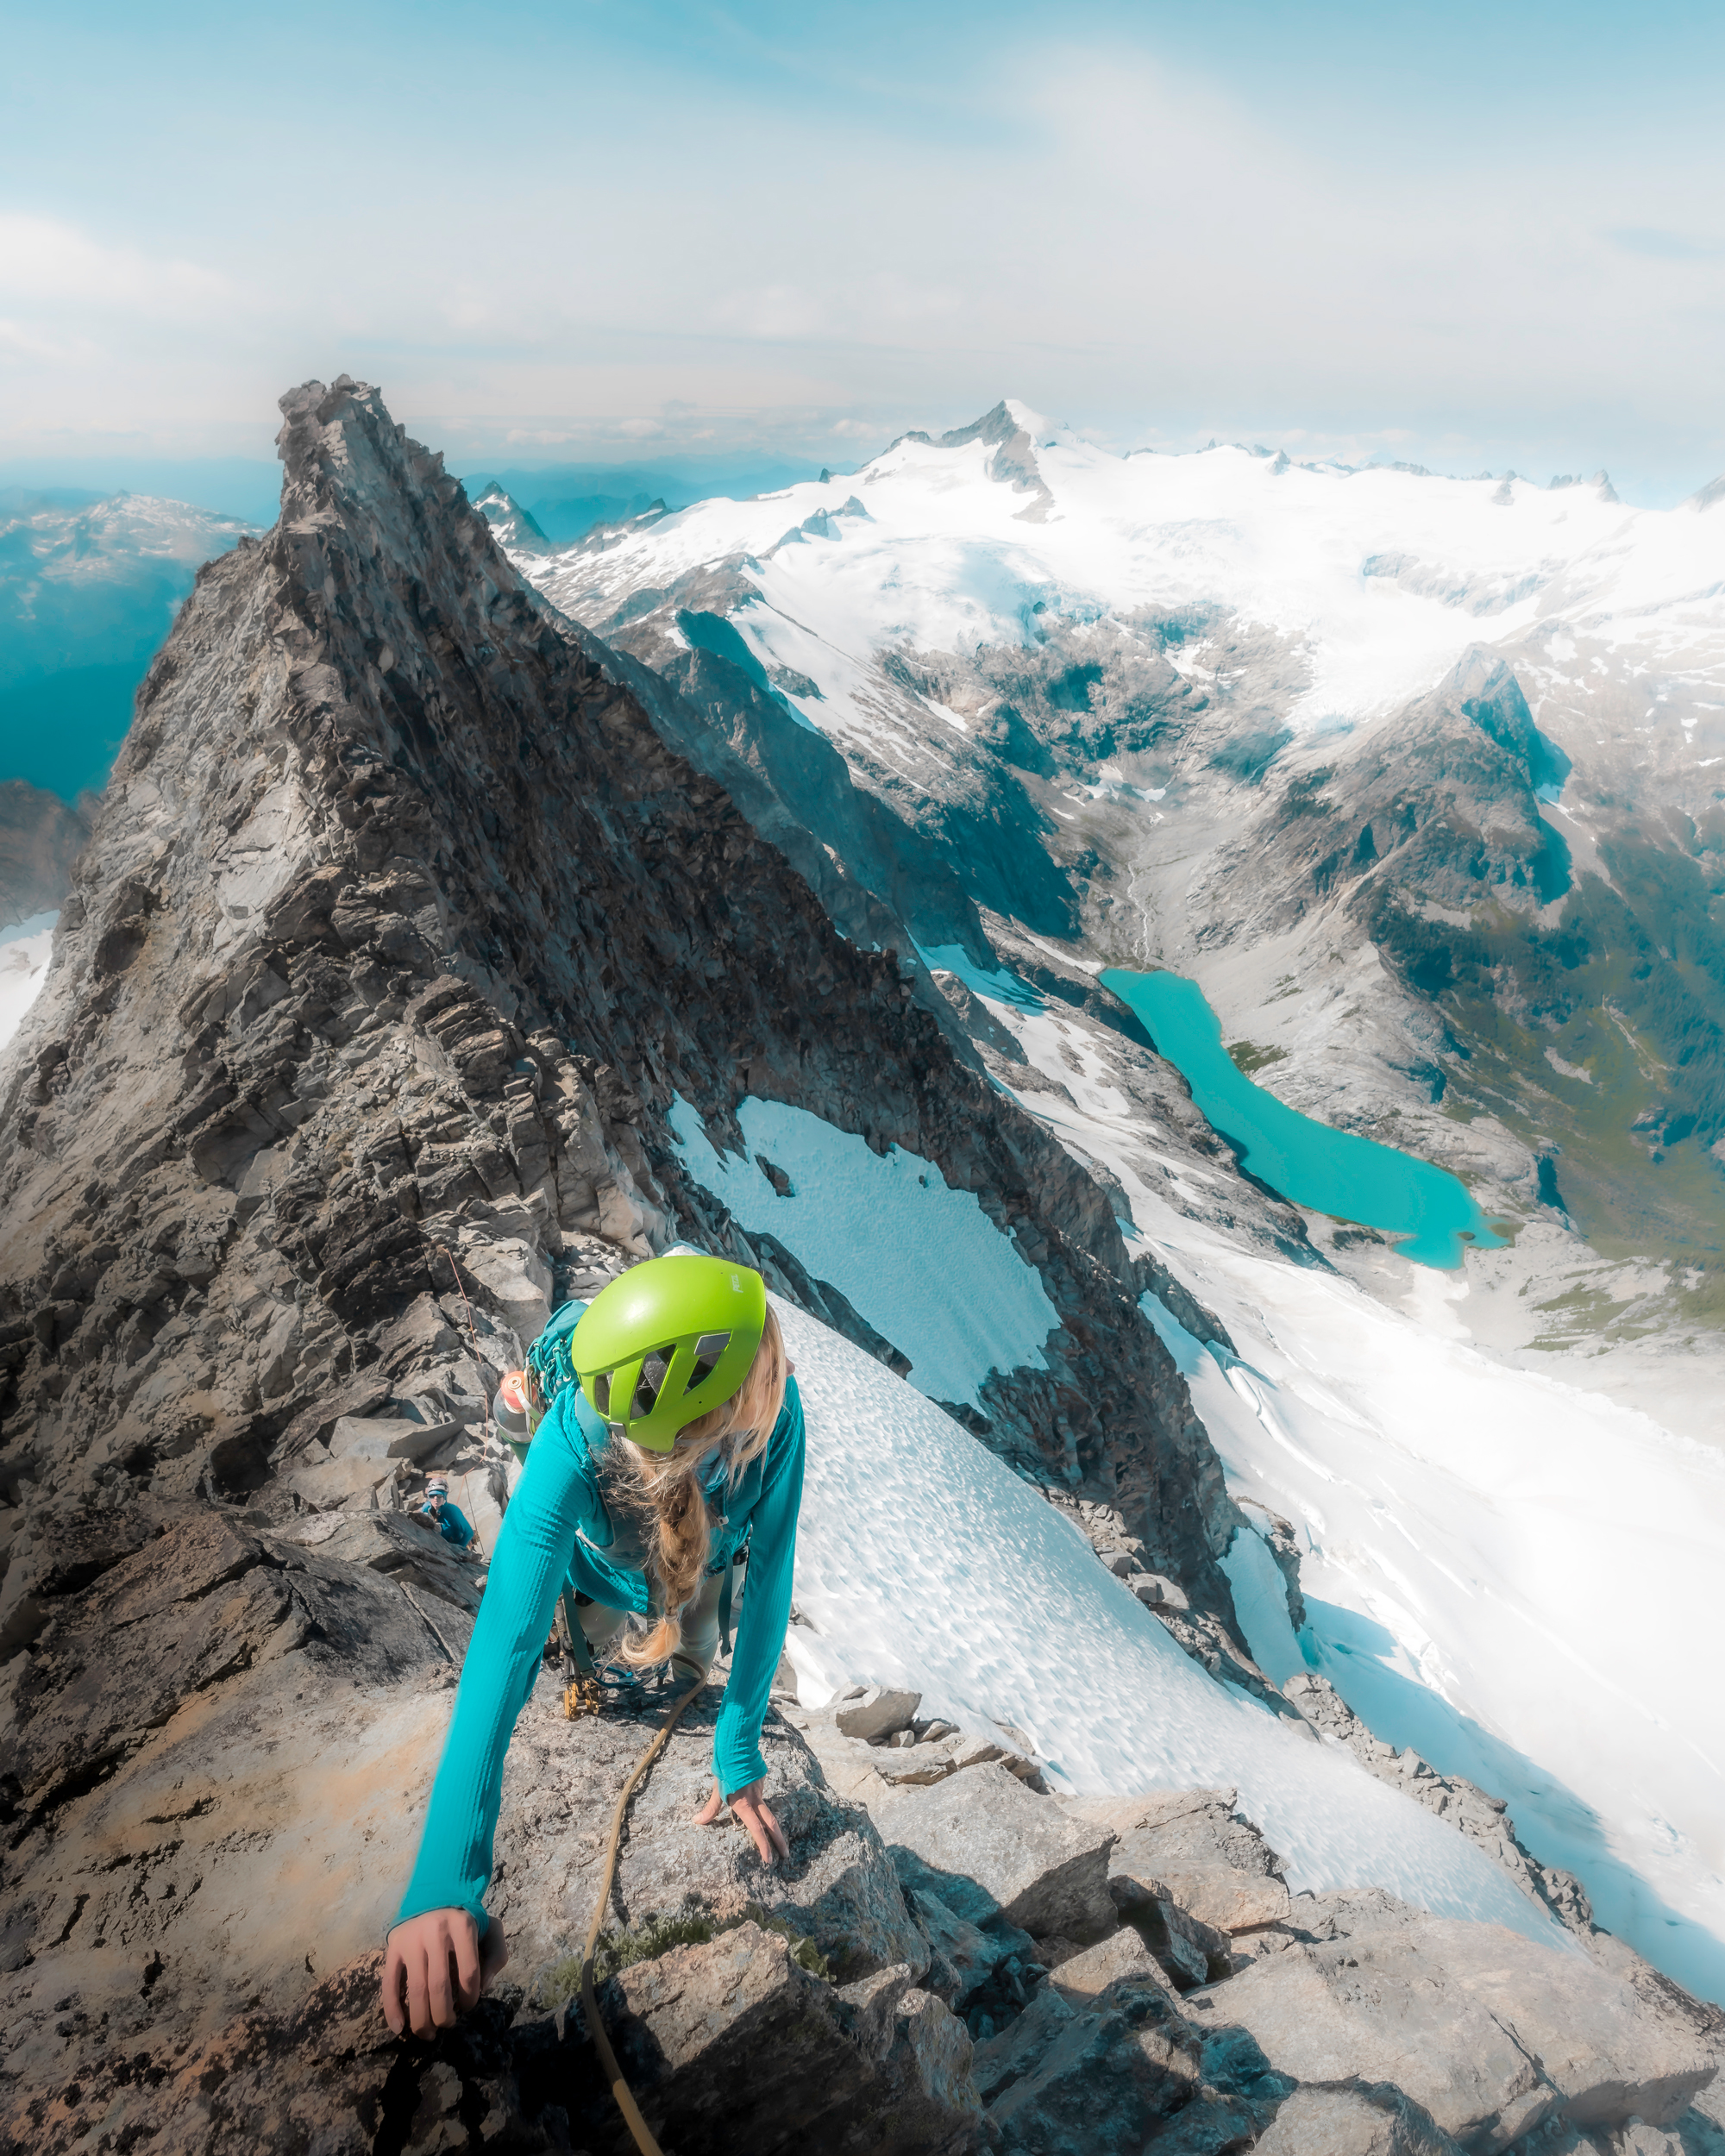
This is a wonderful lens to start out with if you don’t want to bring an entire camera kit with you on your long hike. Personally, I own a 24-70mm f4 (although, I eventually want to get a f2.8) and I love it! When I climbed Mt.Baker last year it was the only lens I brought with me and I was able to get a large variety of different shots.
Best APS-C All Around Lens
If you have an APS-C camera beware how the focal length looks will be affected. Since the sensor is smaller than a full frame it makes the focal length appear to crop in. This means that if you are using a 24-70mm lens your focal length will appear more like a 36-105mm, you can find the new “focal length” (how it appears) by multiplying the full frame mm by 1.5x.
For instance 24×1.5= 36mm
This means that to get a lens that is equivalent to a 24-70mm on an APS-C you will want to buy a 17-55mm or maybe an 18-135mm. There isn’t a lens that correlates to exactly the same focal length appearance but both of these lenses should give you a wide enough focal length and zoom to be able to accomplish similar images.

Telephoto- Isolate Your Subject!
A telephoto lens is considered a lens that is larger than 60mm. The most popular focal lengths for a telephoto are a 70-200mm and a 100-400mm. The larger the number the closer you are going to be able to get to your subject.
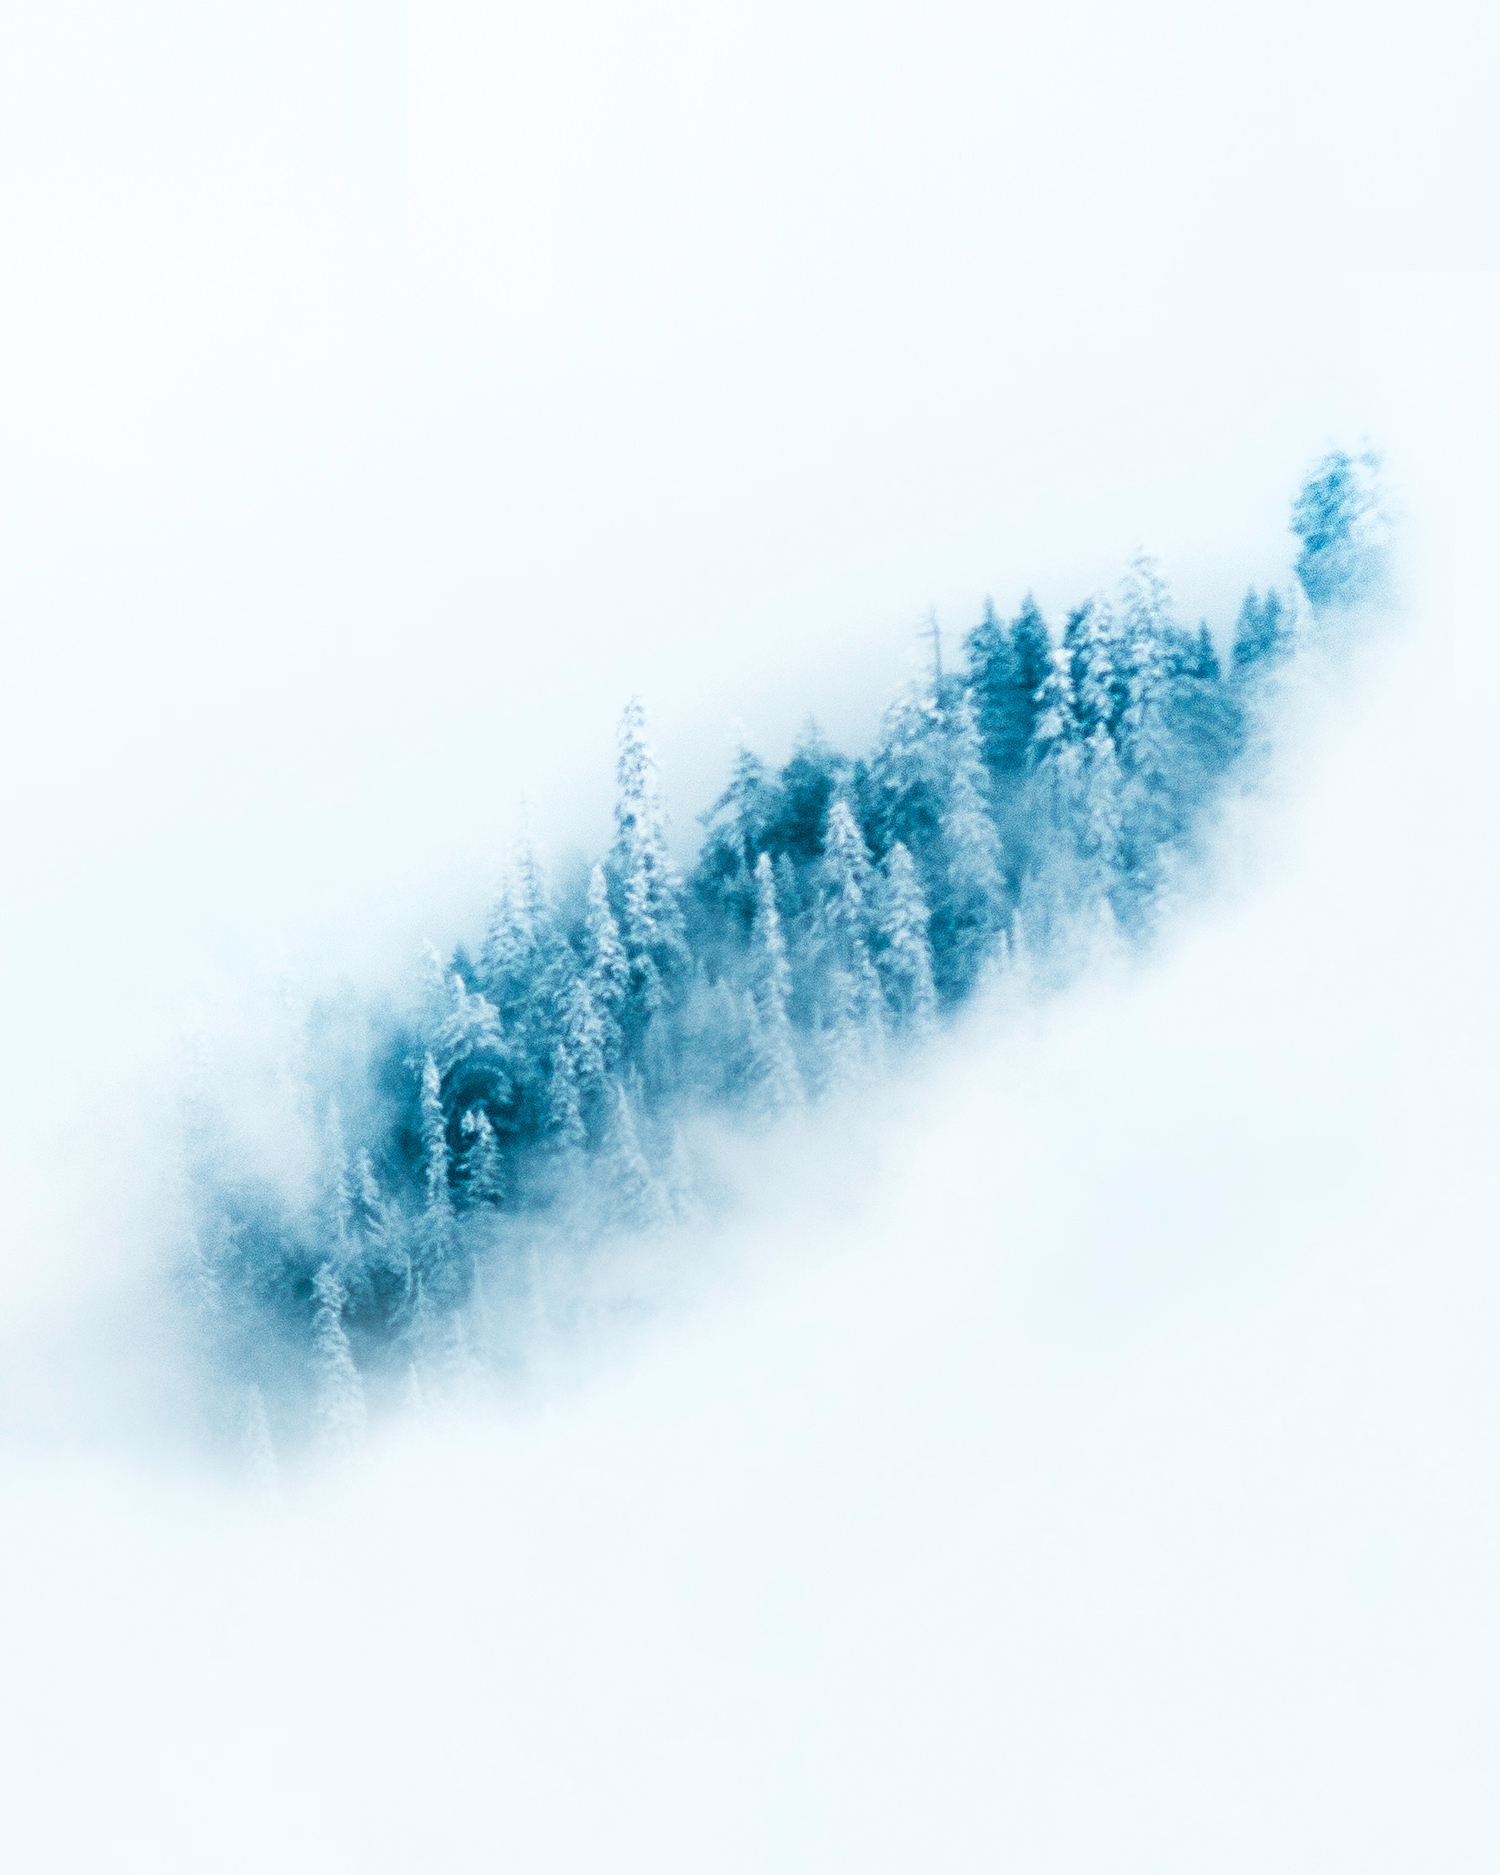
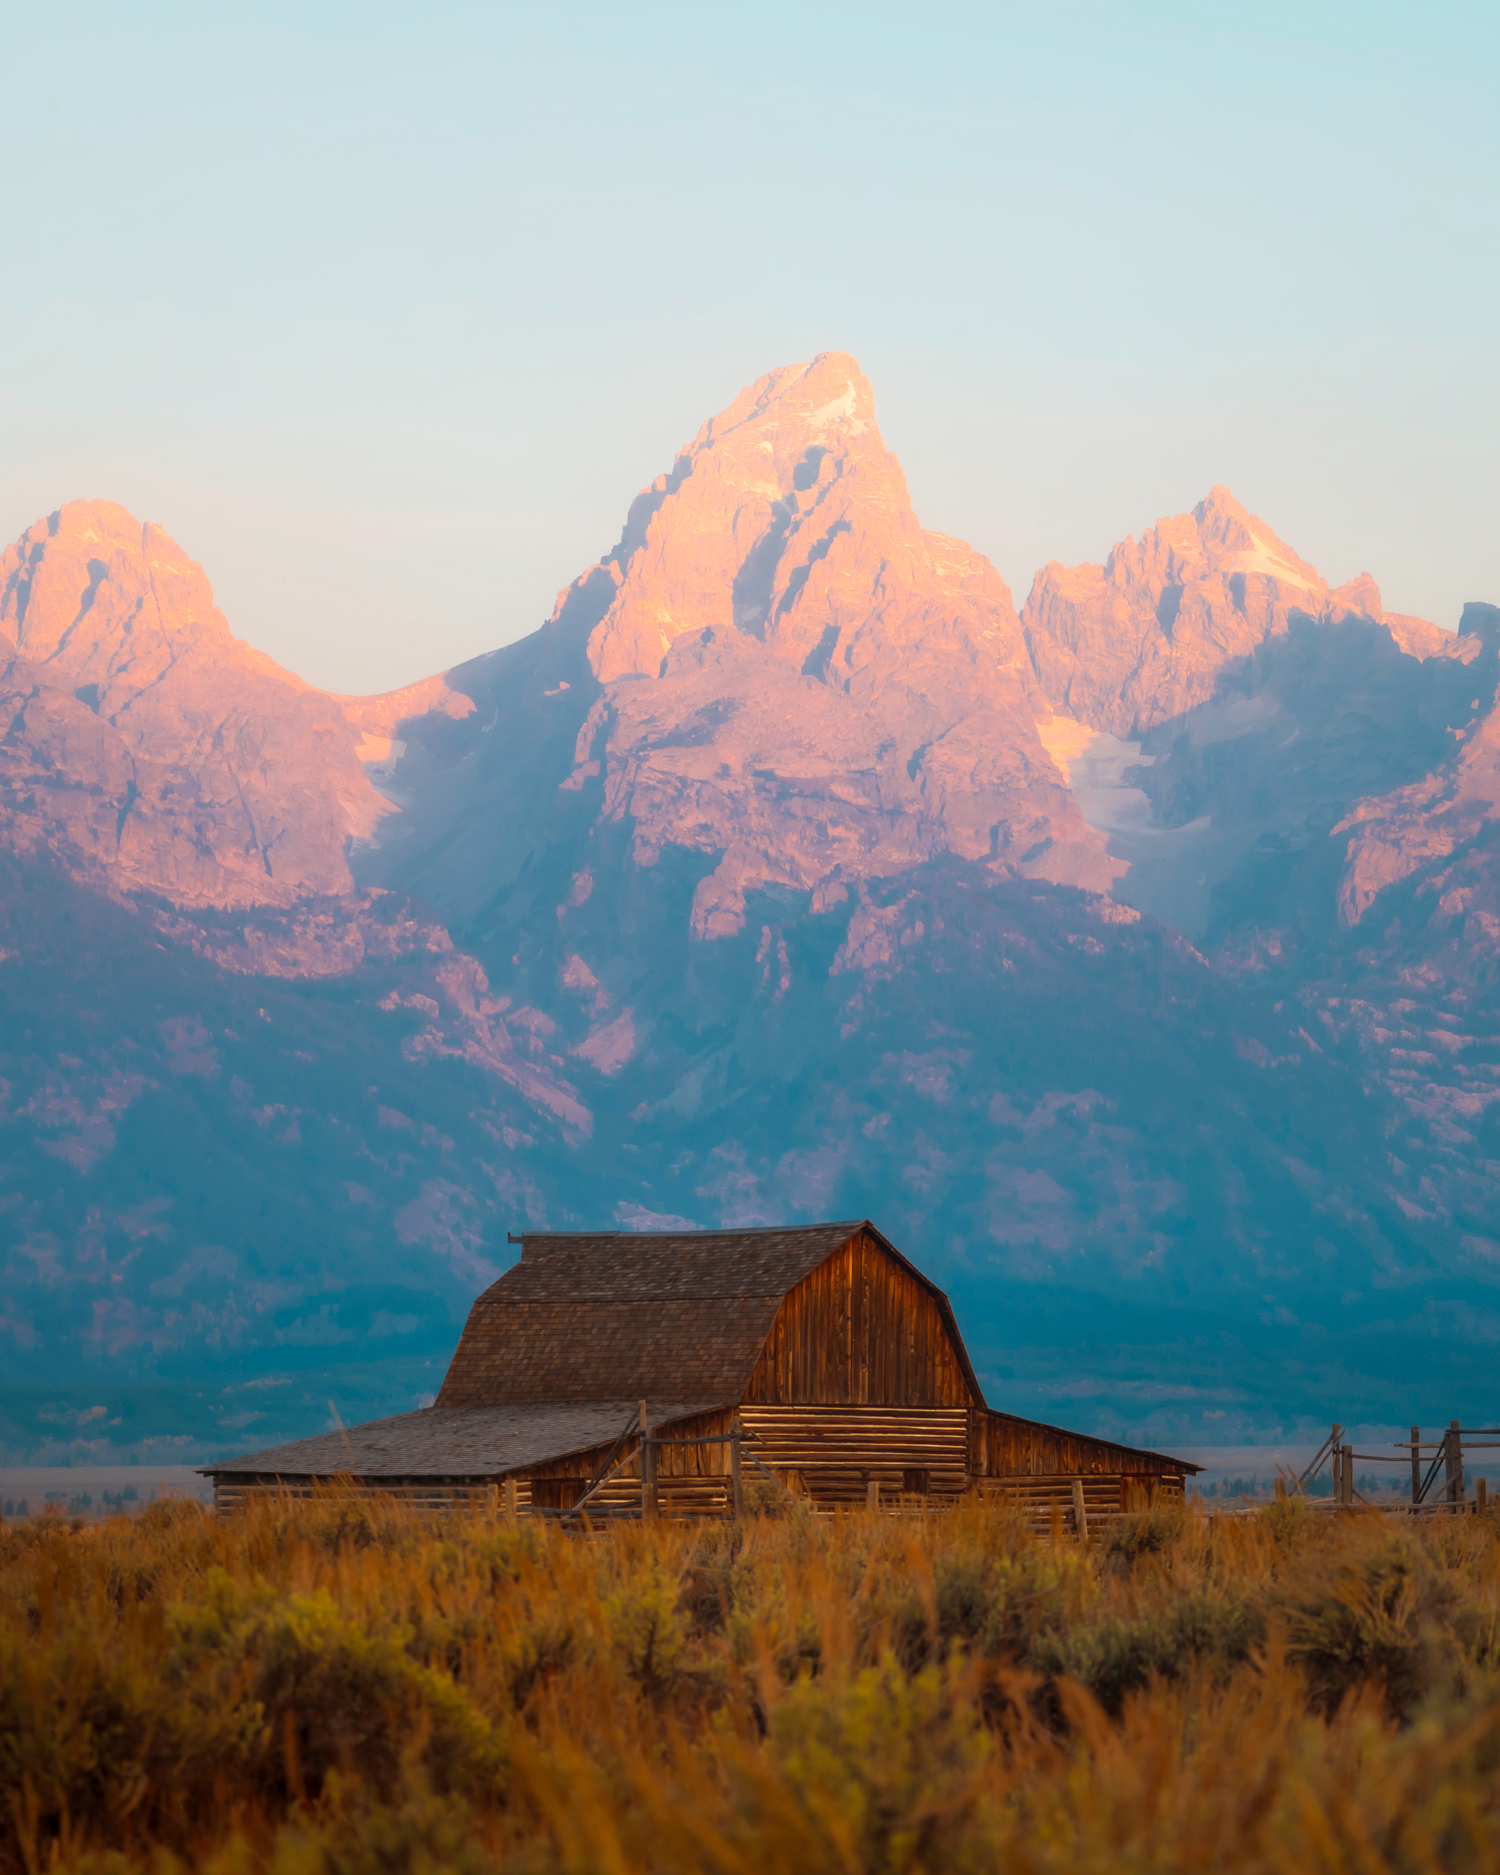
Telephotos are commonly used to isolate objects in the distance, want to single out a mountain peak in the distance? A telephoto is perfect for this.
It is also a go to for wildlife photographers who want to be able to take photos of their subject without having to get too close.
One of the perks of having a telephoto lens is an effect commonly referred to as “compression” ; this is when the background of a photo appears to be pulled into the frame.
You can utilize this effect to create some amazing photos and is one of my favorite lenses to use when I am out in the mountains as you can pull the peaks in and make them look huge in relationship with your subject.
The downside of a telephoto lens is it is usually quite large and heavy and can be burdensome to carry on a long hike. They also tend to be quite expensive, which can be off putting for many new photographers.

Wide Angle Lens- Get the Entire Scene!
A wide angle lens is considered anything that is 35mm or less. Generally, the most popular focal lengths for this lens is a 16-35mm. There are also “ultra wide angle” lenses which are anything smaller than a 16mm lens, a popular one to use is a 14-30mm and 14mm primes.
These lenses are amazing to make a landscape appear large and expansive. It is also wonderful to have in tight places.
This lens is the opposite of a telephoto, while a telephoto lets you single out a subject a wide angle lens allows you to get everything into view.
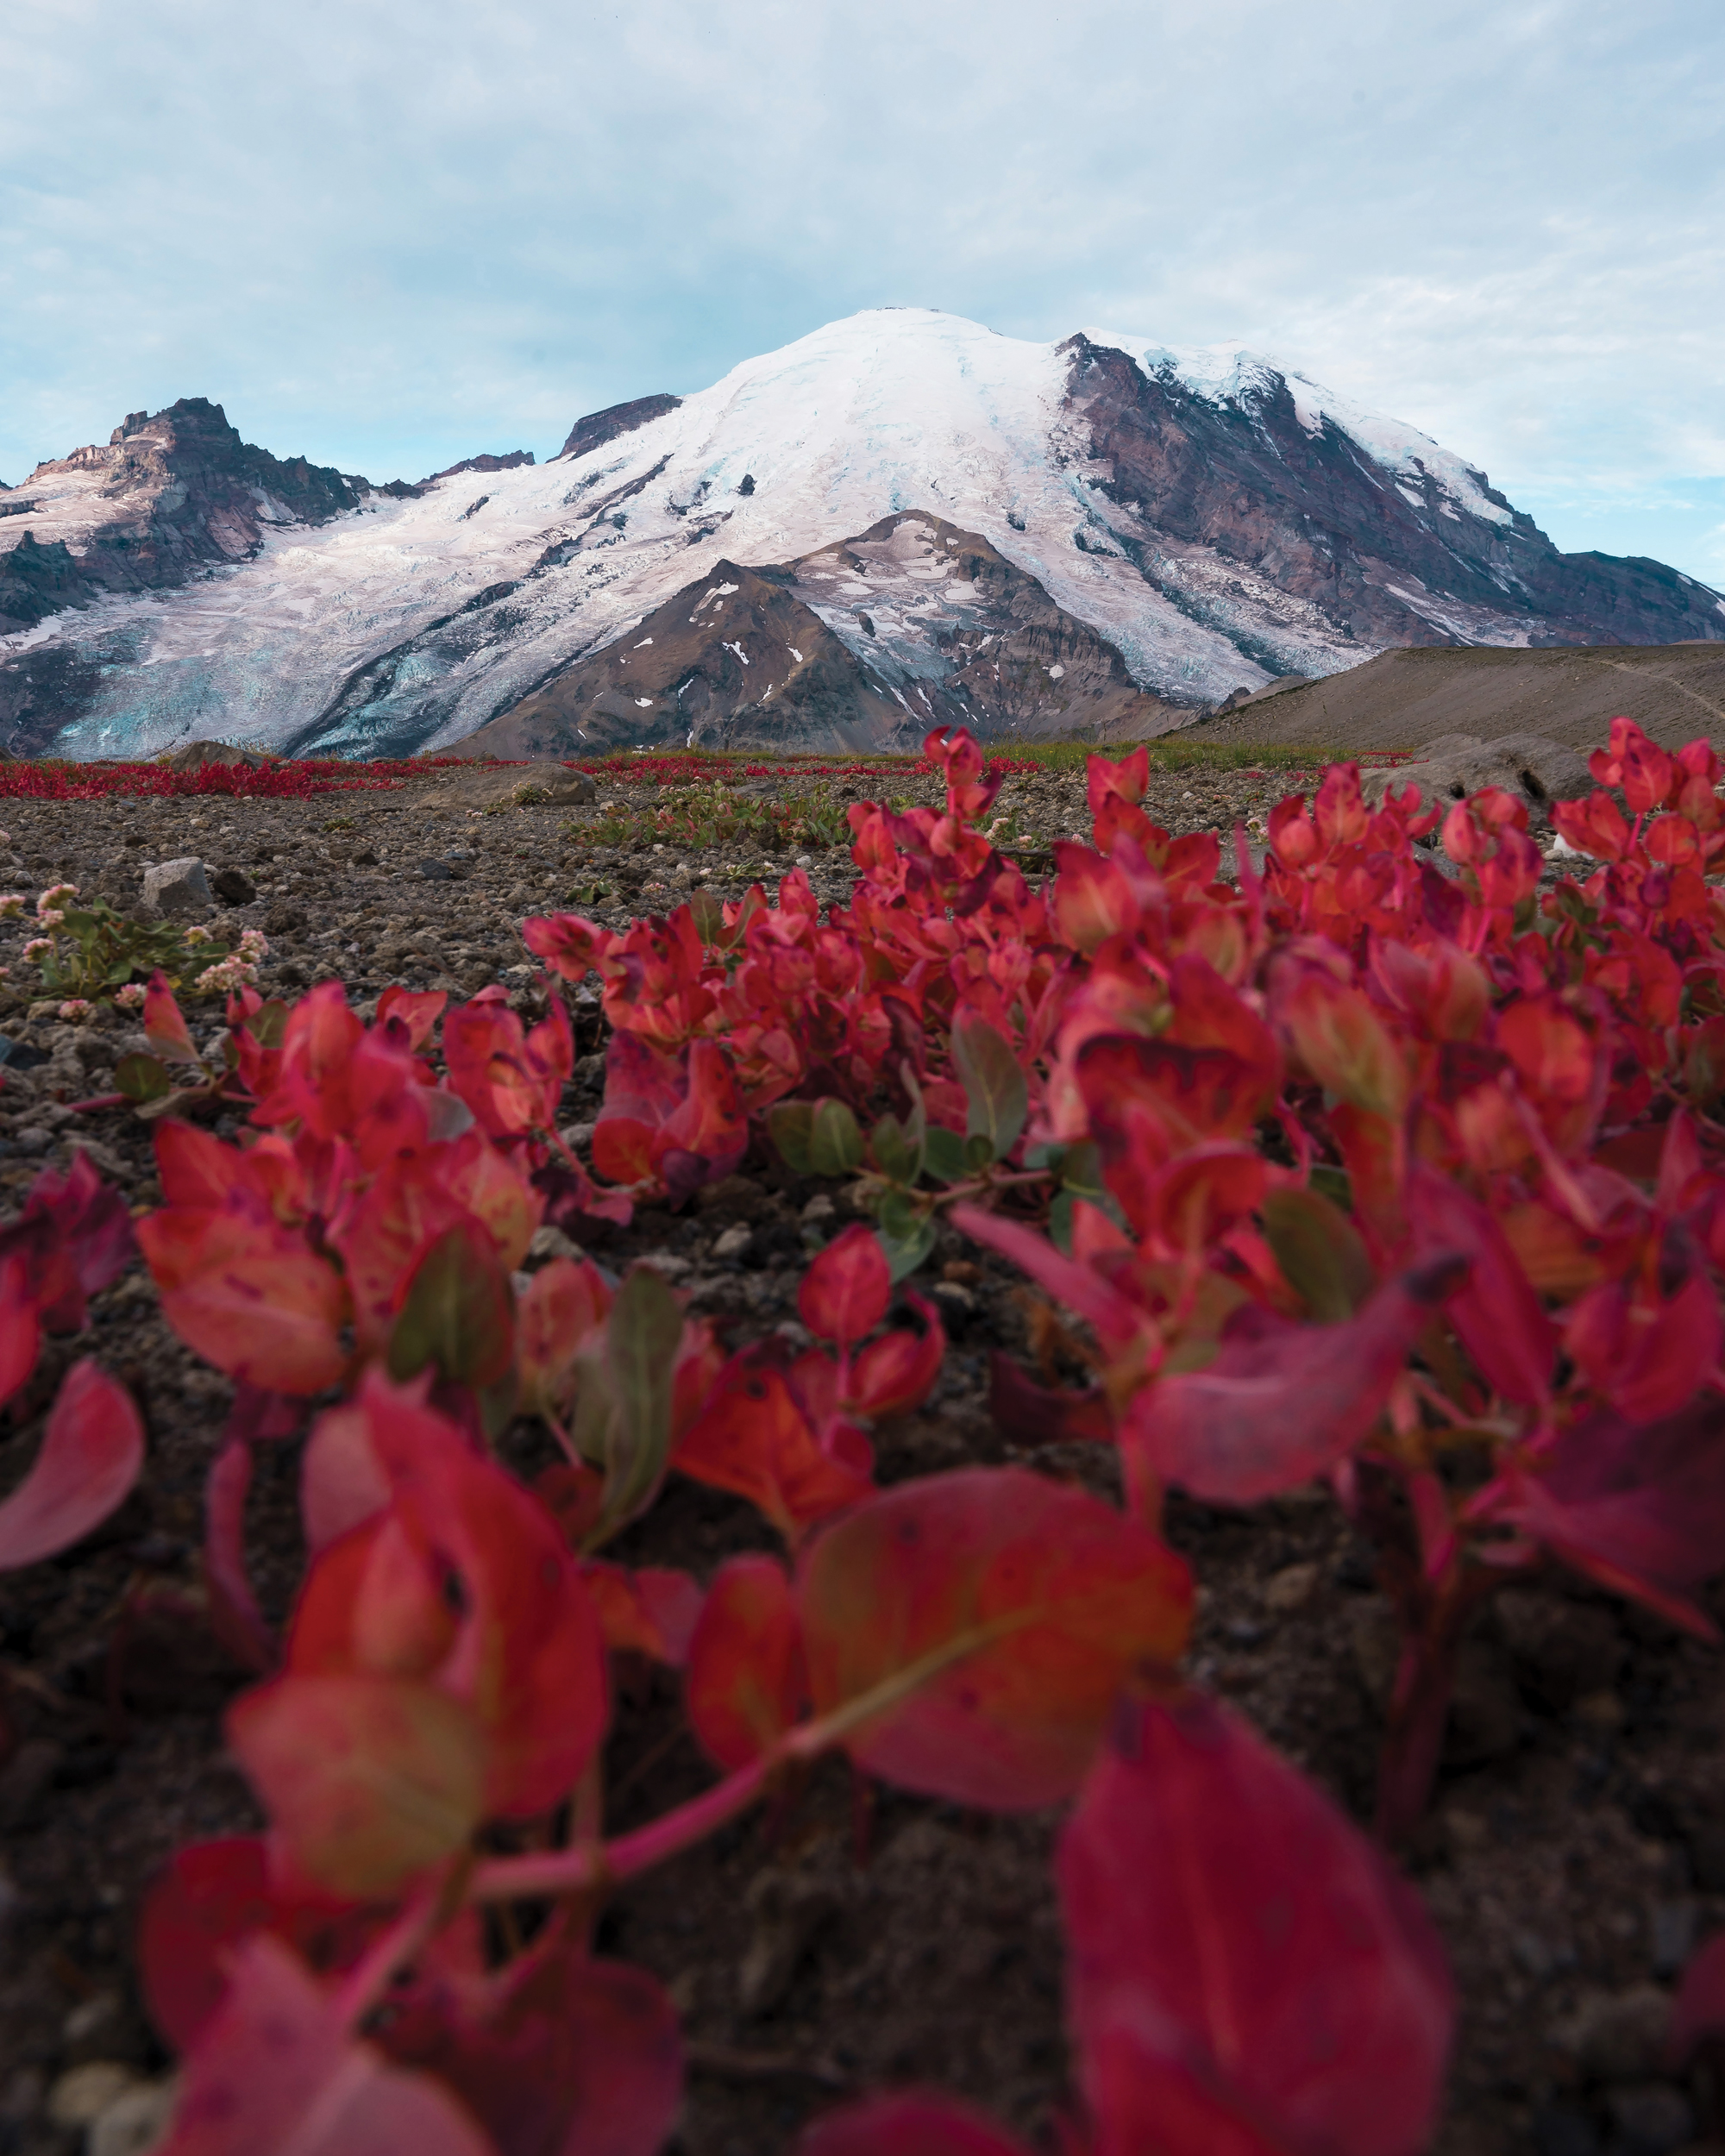
One of the perks of using a wide angle lens is the ability to make the foreground appear larger than the background- this happens because of the distortion the lens creates and can be used to make some beautiful shots.
For instance, you could get really close to a bunch of flowers and make them appear really large, having the background frame them.
Another amazing use for this lens is astro photography! When shooting the night sky you want to be able to capture as many stars as possible, that’s where a wide angle comes in handy!
If you are picking a wide angle specifically for astro photography just remember that you will want as low of an aperture so you can let as much light in as possible. Ideally, you would get a lens with an f stop of 2.8 or lower.
Where and How to Buy Lenses:
Since lenses are so expensive I would highly, highly recommend starting out buying used equipment.
Many professional photographers buy used and slowly work their way up to their ideal kit. They do this by selling old gear and buying up when they make more money.
There are a couple reputable websites and tactics I recommend buying from:
- Adorama
- B&H Photo
- Your local camera store– check in often! Many times popular lenses will be in and out of the store really quickly. I will stop in at Glazers in Seattle often, especially when I am hunting for a new focal length.
Another way to test out lenses is to rent them! I love renting lenses as it allows me to try out different focal lengths at a fraction of the cost before I buy! I have rented a 100-500mm to take photos of the full moon before and plan on renting the Sigma 14mm 1.8 to take photos of the stars.
You can rent online at Lens Rentals or I will rent through Glazers Rentals in Seattle. If you are not based in Seattle feel free to google “Camera Lens Rentals in *your city*”.
Adventure Camera Accessories
While getting your lenses and camera body all figured out is amazingly helpful, there are a couple other accessories that you need to fully equip yourself for outdoor landscape photography.
Tripods
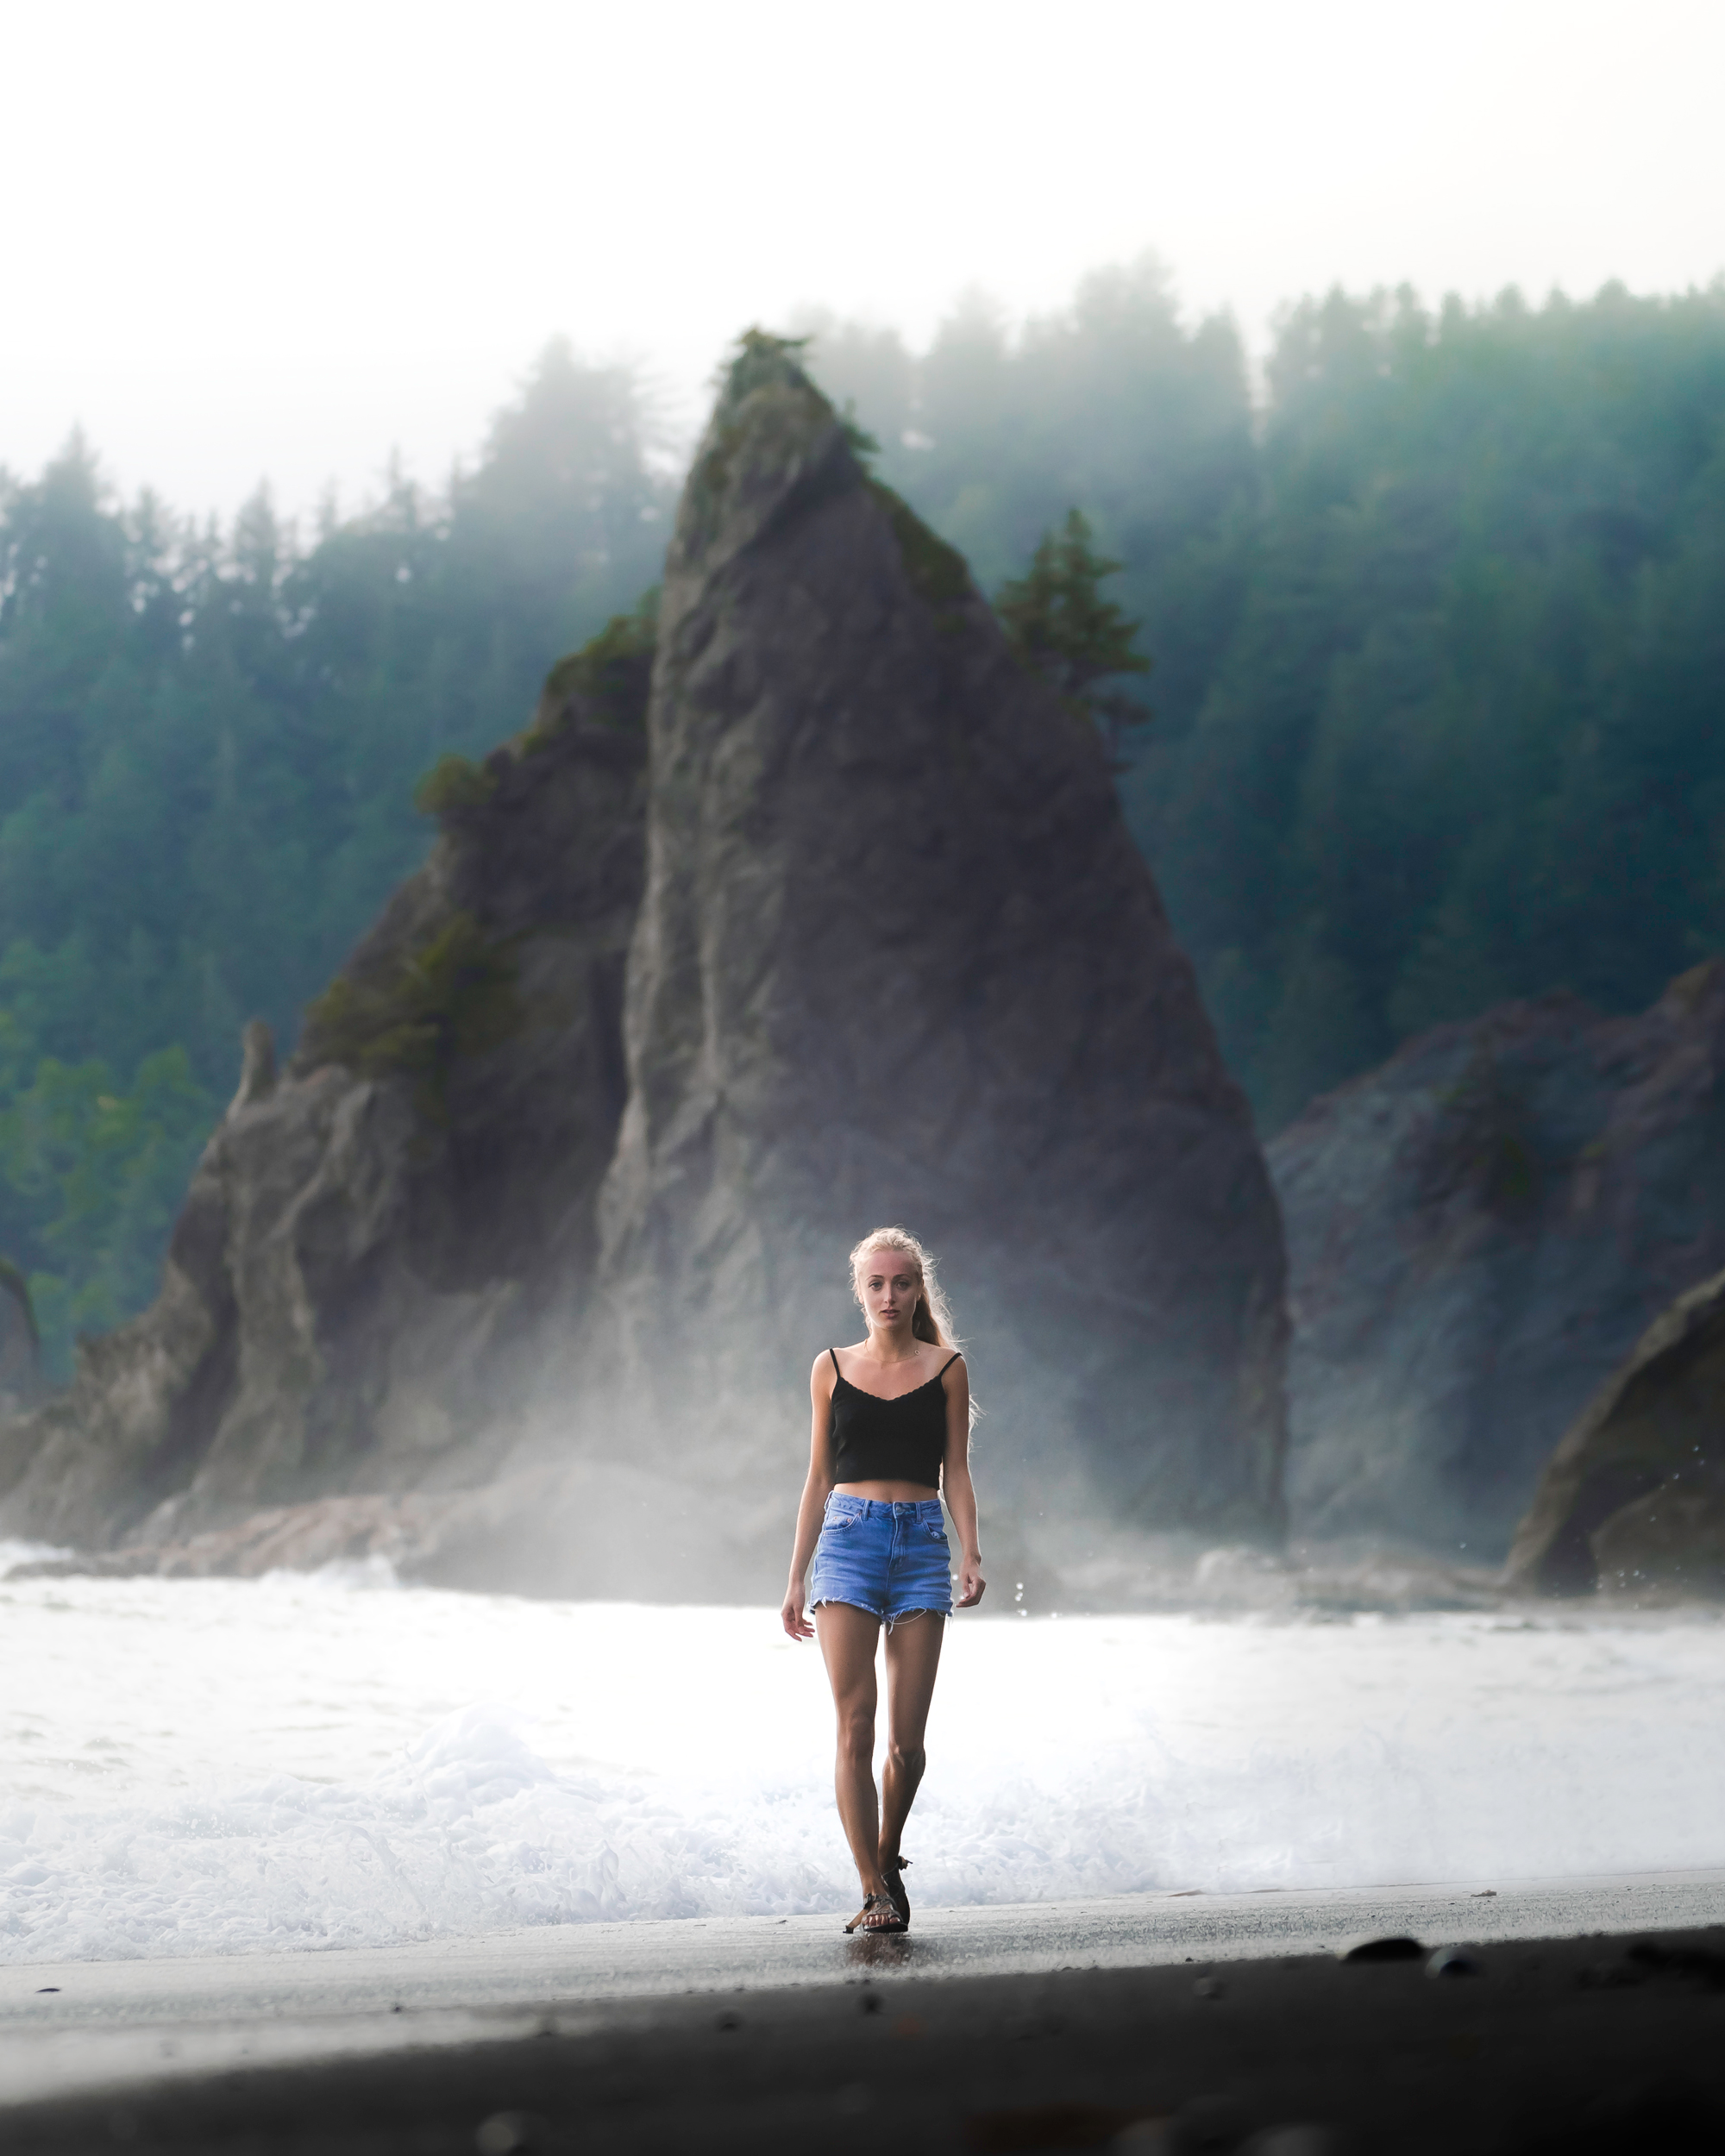
A tripod is perfect for taking long exposures or shooting in low light! It is necessary for astro photography as well as shooting waterfalls.

Peak Design Tripod
Filters
There are many different types of filters, and each has its own particular use. In this section I will go through each different type of filter and why you would use one or the other.
When buying a filter take a look on your camera and find the thread size- this is different than the lens size (35mm etc.) The thread size is normally found on the front of the lens and is indicated by a Ø or diameter icon.
Pro tip! Find your lens with the largest thread size and buy that filter size- then buy “stepping rings” for the rest of the sizes you have. This allows you to use one filter for all lenses.

Polarizing Filter
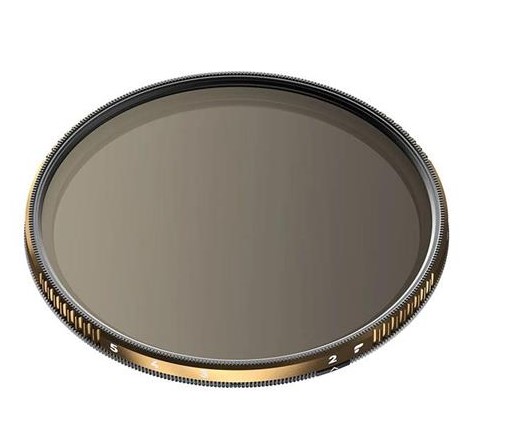
Variable ND Filter
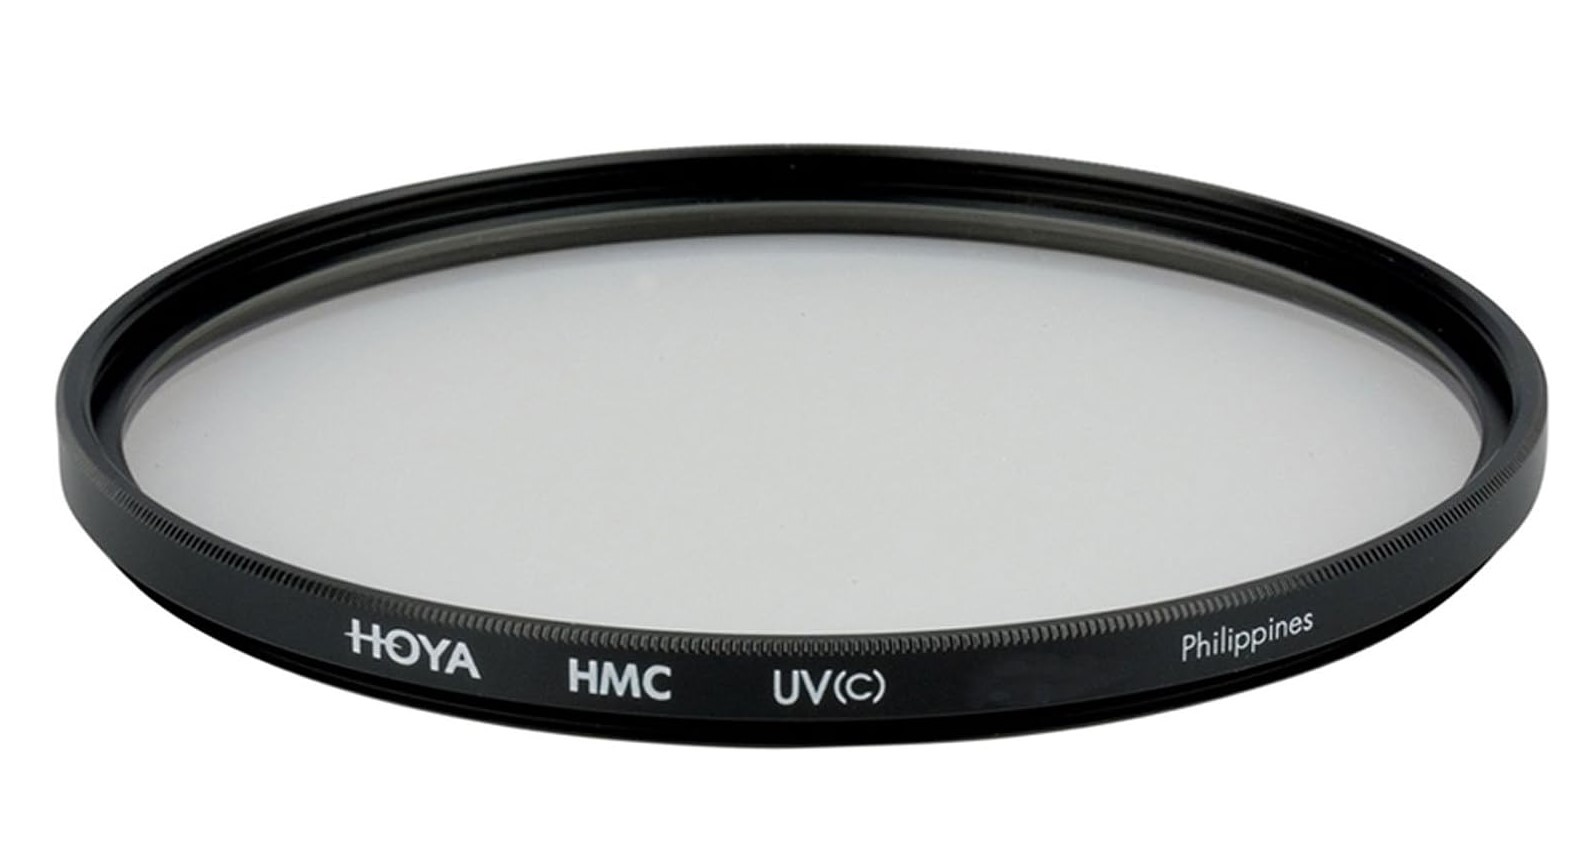
UV Filter
ND Filters
ND Filters, or Nuetral Density Filters are like sunglasses for your camera. They block a certain amount of light from coming into your lens allowing you to control the exposure through shutter speed.
Each ND Filter has an amount of “stops” of light it blocks. This tells you how much it will darken your exposure. Each “stop” halves the amount of light coming into your camera. A 10 stop ND filter can allow you to elongate your shutter speed to a minute or longer while a 4 stop may only allow you to go around 15 seconds without overexposing.
So when would you use this filter?
The number one time you would use this filter in outdoor photography is when you want to enhance movement.
Adding an ND filter allows you to slow down your shutter speed. When used with a tripod you can blur water from waterfalls, ripples in lakes or streams. You can also showcase the movement of the clouds or fog.
The most popular ND filter in landscape photography is a 6 stop filter which allows you to take your shutter speed down to 30 seconds or more depending on the amount of light present.
UV Filters
UV Filters are essentially just protection devices for your lenses. They do block a bit of UV light from your camera but with digital sensors not being nearly as sensitive to UV as film this does not matter as much.
The main argument for having a UV filter is to protect your lenses from dust, dirt and other environmental particles from scratching the lens. It also adds another layer of defense in the case of dropping the camera. It is a lot easier to replace a broken filter than a broken lens.
Personally, I do not use UV filters but I know many of my friends do. If you are headed out to the desert or somewhere with a lot of dust particles it may be advisable to add it to your kit.
Polarizing Filters
Polarizers change the way your camera treats incoming light! It cuts through reflections and glares and can produce vibrant colors. It acts very similar to the polarizer you may have in your sunglasses.
So when would you use a polarizer filter?
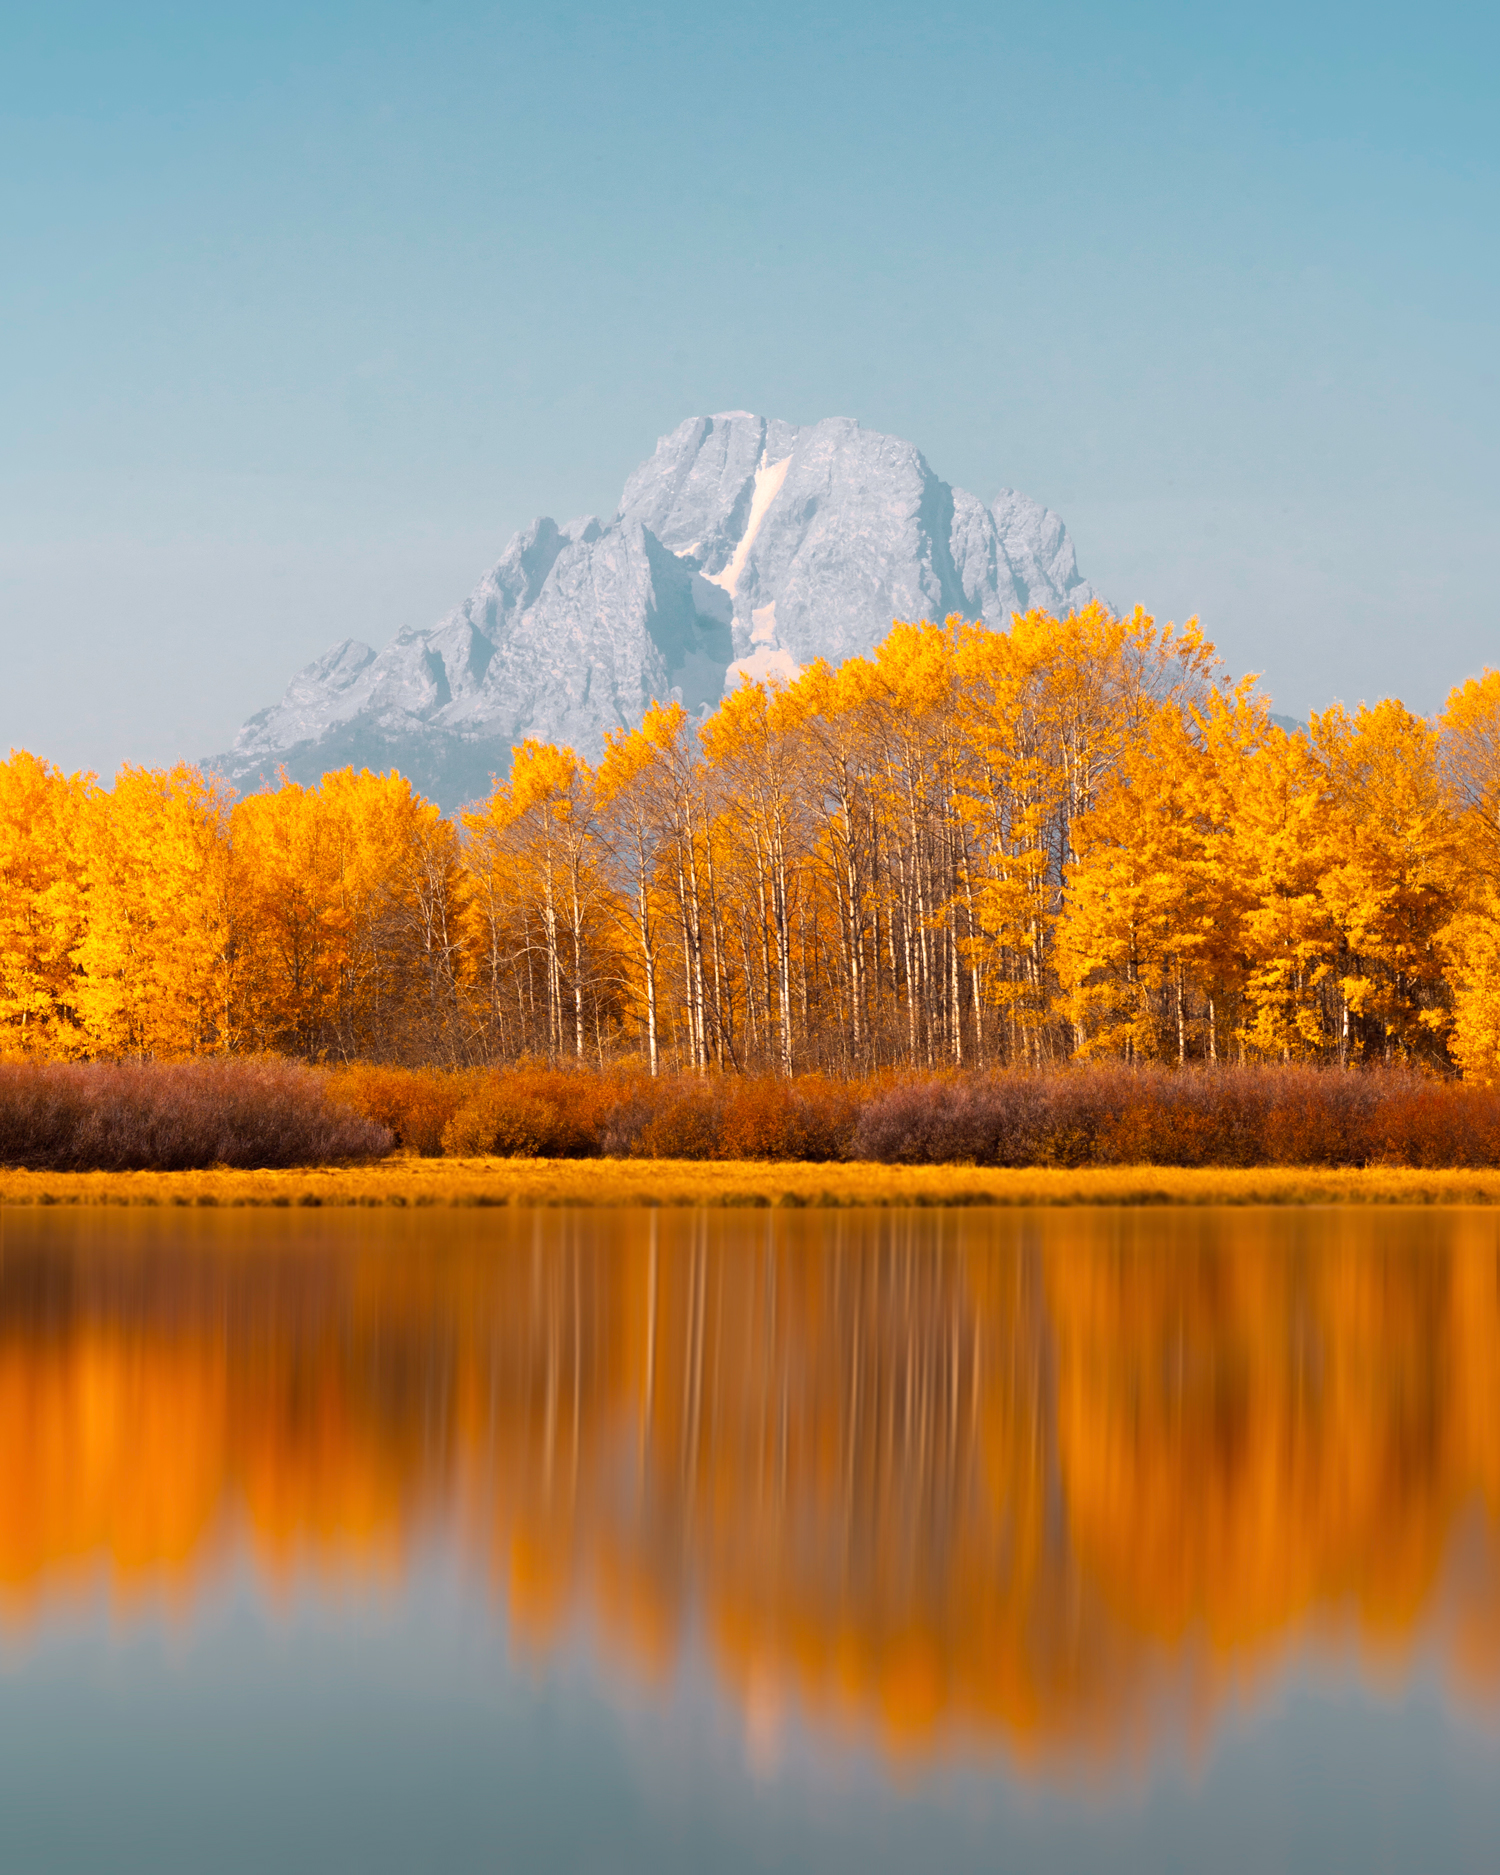
In outdoor photography the main time you would use a polarizer is when you are working with water. If you want to take a photo of a lake or river a polarizer will cut off any glare from the sun. This can make the water clearer and allows you to photograph what is underneath the surface.
You can also use a polarizer when shooting midday– this can help you get the sky to be a deeper blue instead of looking “washed out”.
Finally, a polarizer can be used if you want to make colors richer and more vibrant. By cutting out the reflection of light, colors appear more saturated than normal.
Cleaning Products
Needless to say it gets a bit dirty outside and having the correct way to clean your camera and lens is essential!
Microfiber Cloths
I have tons of these laying around! It is important to use this type of cloth to wipe your lens down instead of something like your t-shirt so that you don’t inadvertently scratch it.
Lens Wipes
Having a wet wipe for your lens is especially helpful for when you can’t seem to get that small speck of dust off.
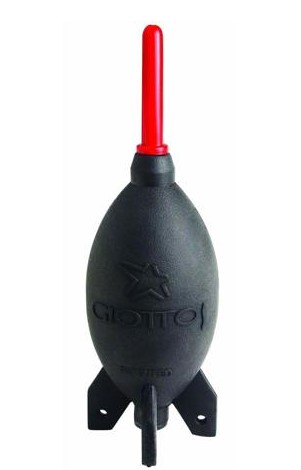
Air Blower
When changing lenses it can be really easy to accidentally get dust on your sensor- especially when doing landscape/adventure photography! I found that because my camera is mirrorless it is especially prone to getting dust spots since it doesn’t have a mirror protecting it. You never want to touch your sensor- not even with a microfiber cloth so having an air blower handy is quite helpful!
Sensor Swabs
I know, I know… I just told you to never touch the sensor- but this is the exception! When you start seeing dust spots on your images and can’t get them off using just the air blower it is time to bring in the big guns.
This is not something to be used out in the field but is to be done in a clean environment back at home. You are also going to want to make sure you are buying the correct size for your particular sensor- remember to check if you are buying swabs for an APS-C or Full Frame.

Microfiber Cloths

Lens Wipes
Air Blower

Sensor Swabs
Peak Design Clip
This is a wonderful accessory to have if you want to be able to clip your camera to your backpack strap and have it easily accessible! Personally, I have found it a bit annoying to use but many of my friends swear by it- so maybe I just need to get used to it!
Batteries & Memory Cards
While out in the field- especially on a multiple day hike or backpacking trip I will make sure to have with me at least 3-4 fully charged batteries and a few large memory cards!

Capture Clip
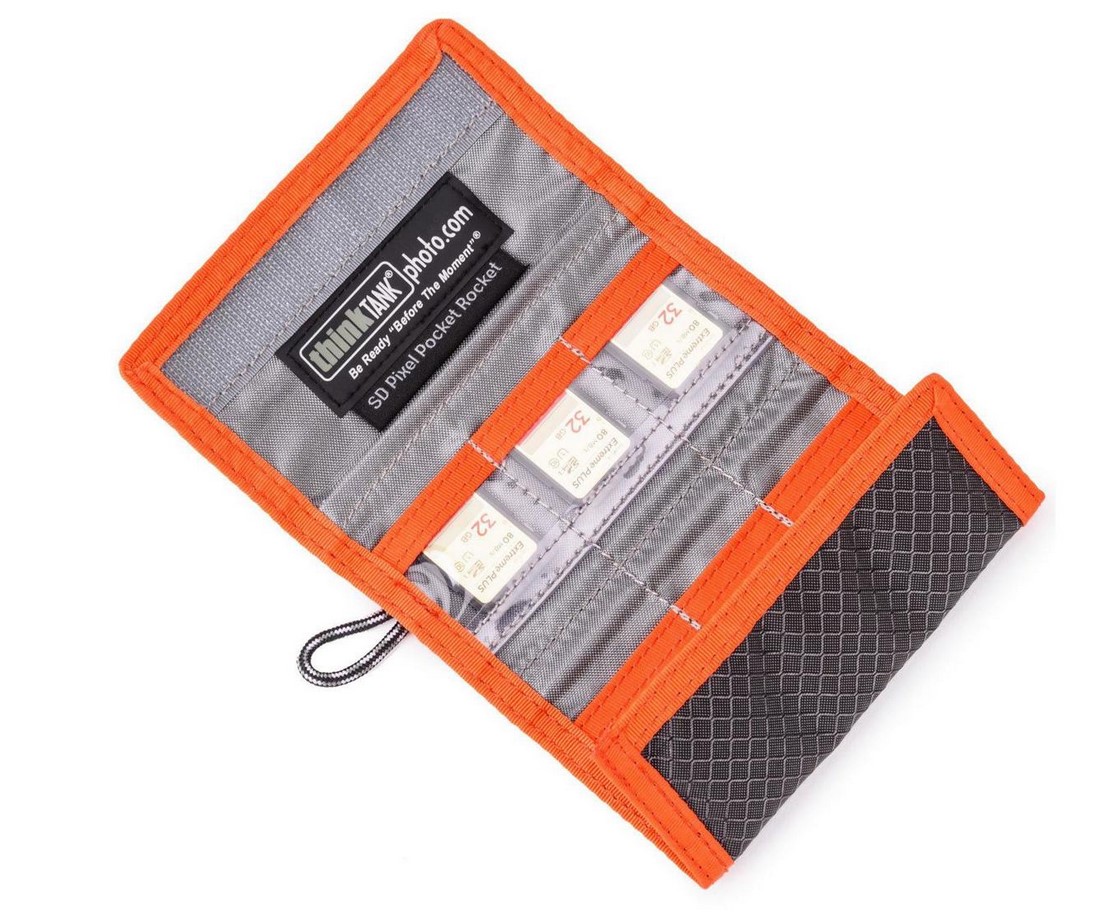
Memory Card Holder
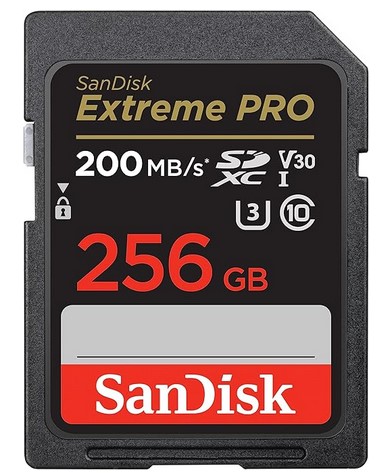
Memory Cards
How to Carry Your Camera Gear on Long Hikes
One of the most frustrating things is trying to figure out how to bring along all of the camera equipment along with your hiking or backpacking gear.
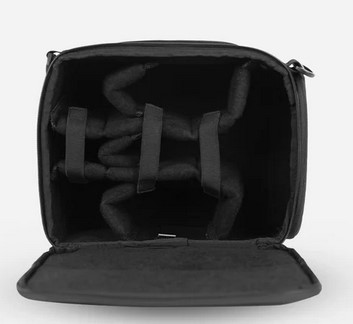
Case for One Camera & Lens
If you are only bringing one lens and camera body I would recommend just getting a small case for your camera and putting it in the “brain” or top part of your backpack. This lets you have easy access and still gives your camera protection.
Multiple Lenses: Wandrd Cube
If you are bringing more than one lens I would recommend getting the Wandrd cube to put your camera lenses and body in.
This allows you to put your cube in any backpack you want to use, personally I like to use my day hiking bag and my backpacking bag. This gives me access to all of the special additions that come with hiking bags such as a water pouch, padding and hip belts.
Accessory Case
I recently invested in a tech case which allows me to organize my filters, batteries, tripod attachments etc. into one location.
This makes it a breeze when I need to switch out or add gear when I am shooting as I know exactly where everything is.
Camera Bags
If you are going to only be doing a day hike I love the Wandrd PRVKE bag or the
It features durable fabric, built in rain cover, laptop sleeve, hip belts and a expandable top for extra items.
This bag works hand in hand with the Wandrd Cube so if you want to buy that first and then upgrade to this if you decide you want a backpack dedicated soley to gear that is a wonderful way to go about it! (It’s also coincidentally what I did!)

Camera Bag

Single Camera Bag
Camera Cube
Tech Case
Final Thoughts
I know this is a ton of information to take in but think of it as a reference guide!
It will get a lot easier to be able to do this for yourself as the time goes on and you play around with different lenses and carrying techniques!
Have fun with it! Learning photography is an ongoing process and one that has been extremely rewarding, it is wonderful to be able to capture memories throughout your life and create art.
Happy Shooting!
Check Out More Adventures!

Recent Posts
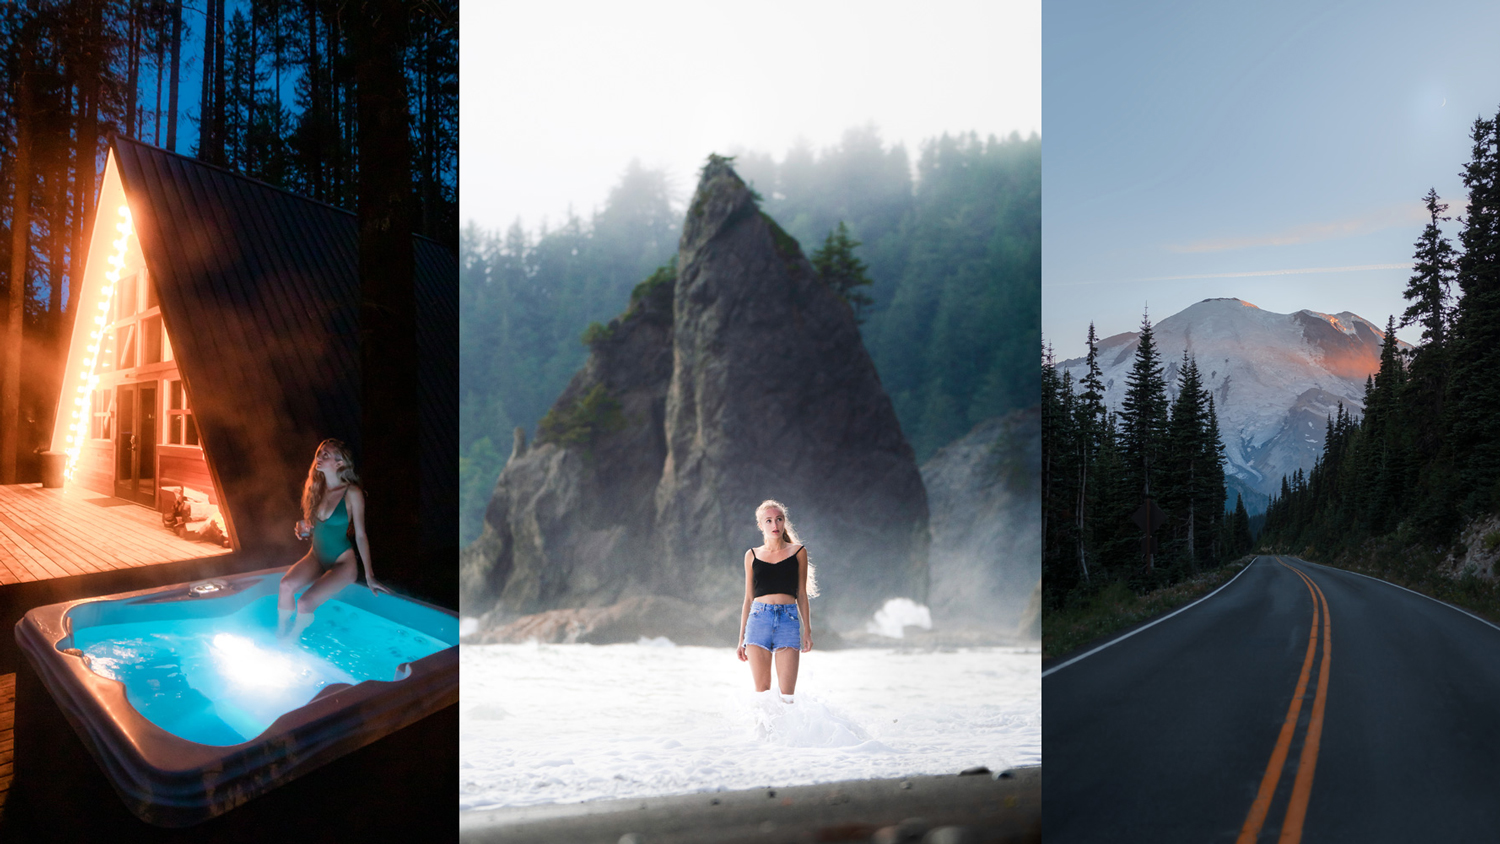
24 of the BEST Weekend Getaways From Seattle
Discover the best weekend getaways in Washington from Seattle mountain adventures and coastal escapes to charming towns and cozy cabins.

A Locals Guide to Seattle: 20 Exciting Off-the-Beaten-Path Things to Do
Don't have time to read it now? Save it for later!If you're planning a trip to Seattle and want to experience the best the city has to offer, you're in the right place! I grew up in Seattle and spent over 27 years exploring its neighborhoods, mountains, and...
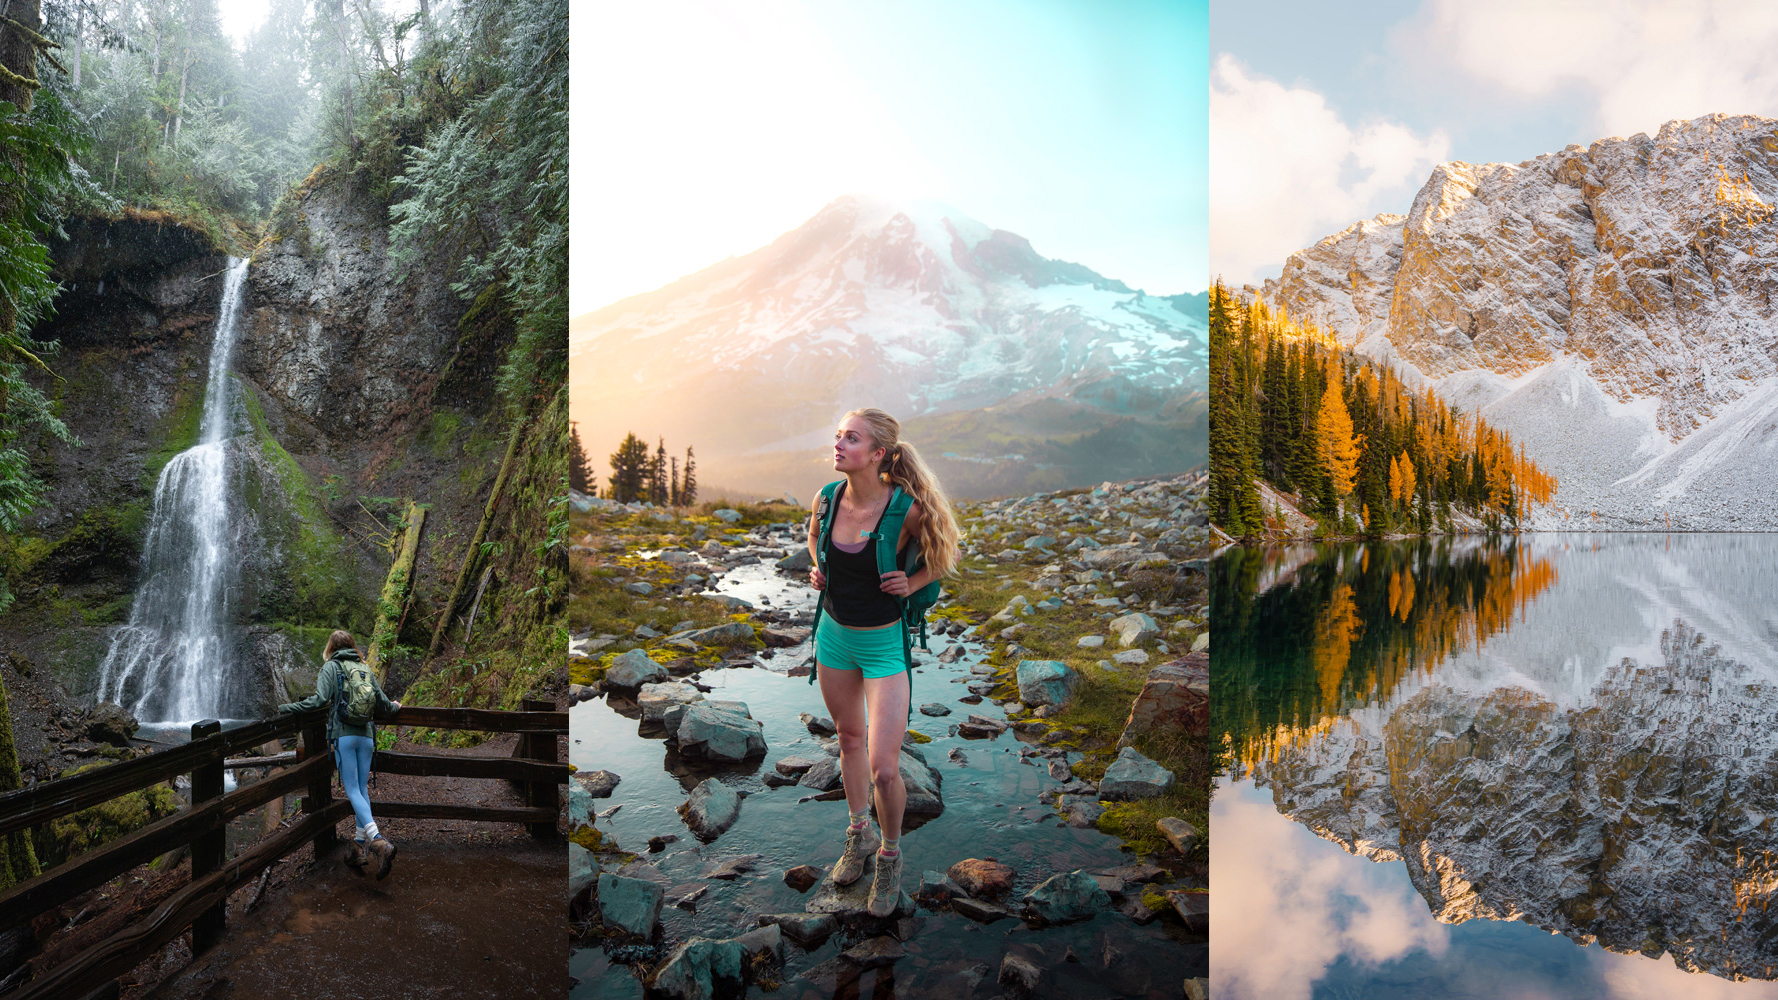
Your Ultimate Road Trip Guide to Washington National Parks
Discover the best of Washington National Parks in this ultimate road trip guide! Explore the stunning Mt. Rainier, Olympic & North Cascades.

Your Ultimate Guide to An Unforgettable Central Oregon Road Trip
Explore the beauty of Central Oregon with stunning landscapes, outdoor adventures, and hidden gems in this travel guide.
Shop With Me on Etsy! Click A Photo Below!


Join Me on Instagram!


0 Comments