How to Create a Concept That Will Take Your Photo Shoots to the Next Level!
- Land Your Next Photography Pitch!-
Don’t have time to read it now? Save it for later!
If you are anything like me you began photography by simply shooting whatever was in front of you. Personally, I was so excited about capturing the moment and learning how to use my camera I thought that was all there was to it!
Yet, as I progressed I started to yearn for a a way to create more meaningful photographs, something that would convey a story, a feeling or to create a piece of work that felt more like art.
Throughout design school I was introduced to what we called “conceptual design”
Simply put, the designer or artist begins from a thought out concept.
A concept is essentially an idea or goal that grounds the entire project, it is the touchstone for every decision that is made and helps keep the project cohesive.
A concept is what takes your photograph from simple documentation, to art.
So why do we need one?
Strong concepts are like the foundation of a building, it is what the entire shoot stands on and stems out from.
When you have a strong concept you are able to communicate and show other people (including a client) what the end product is going to be. This can make a pitch for a photo shoot SO much more convincing as a client is able to picture immediately what they will be receiving.
Another plus is you have a touchstone to come back to when making decisions regarding different aspects of the shoot. When small detailed decisions come up you can utilize your understanding of a concept to reinforce the bigger goal and message.
A concept can take your photos from okay to ahhh-mazing!
So how does one come up with a concept and execute it?
It Begins with Inspiration!
Let’s start with inspiration…is there anything recently that has caught your eye? A landscape? Style of portrait? Architecture? Specific piece of clothing? Music?
Personally, I love to keep a notebook or notes file on my phone to write down things that catch my attention during the day or random thoughts that decide to pop in.
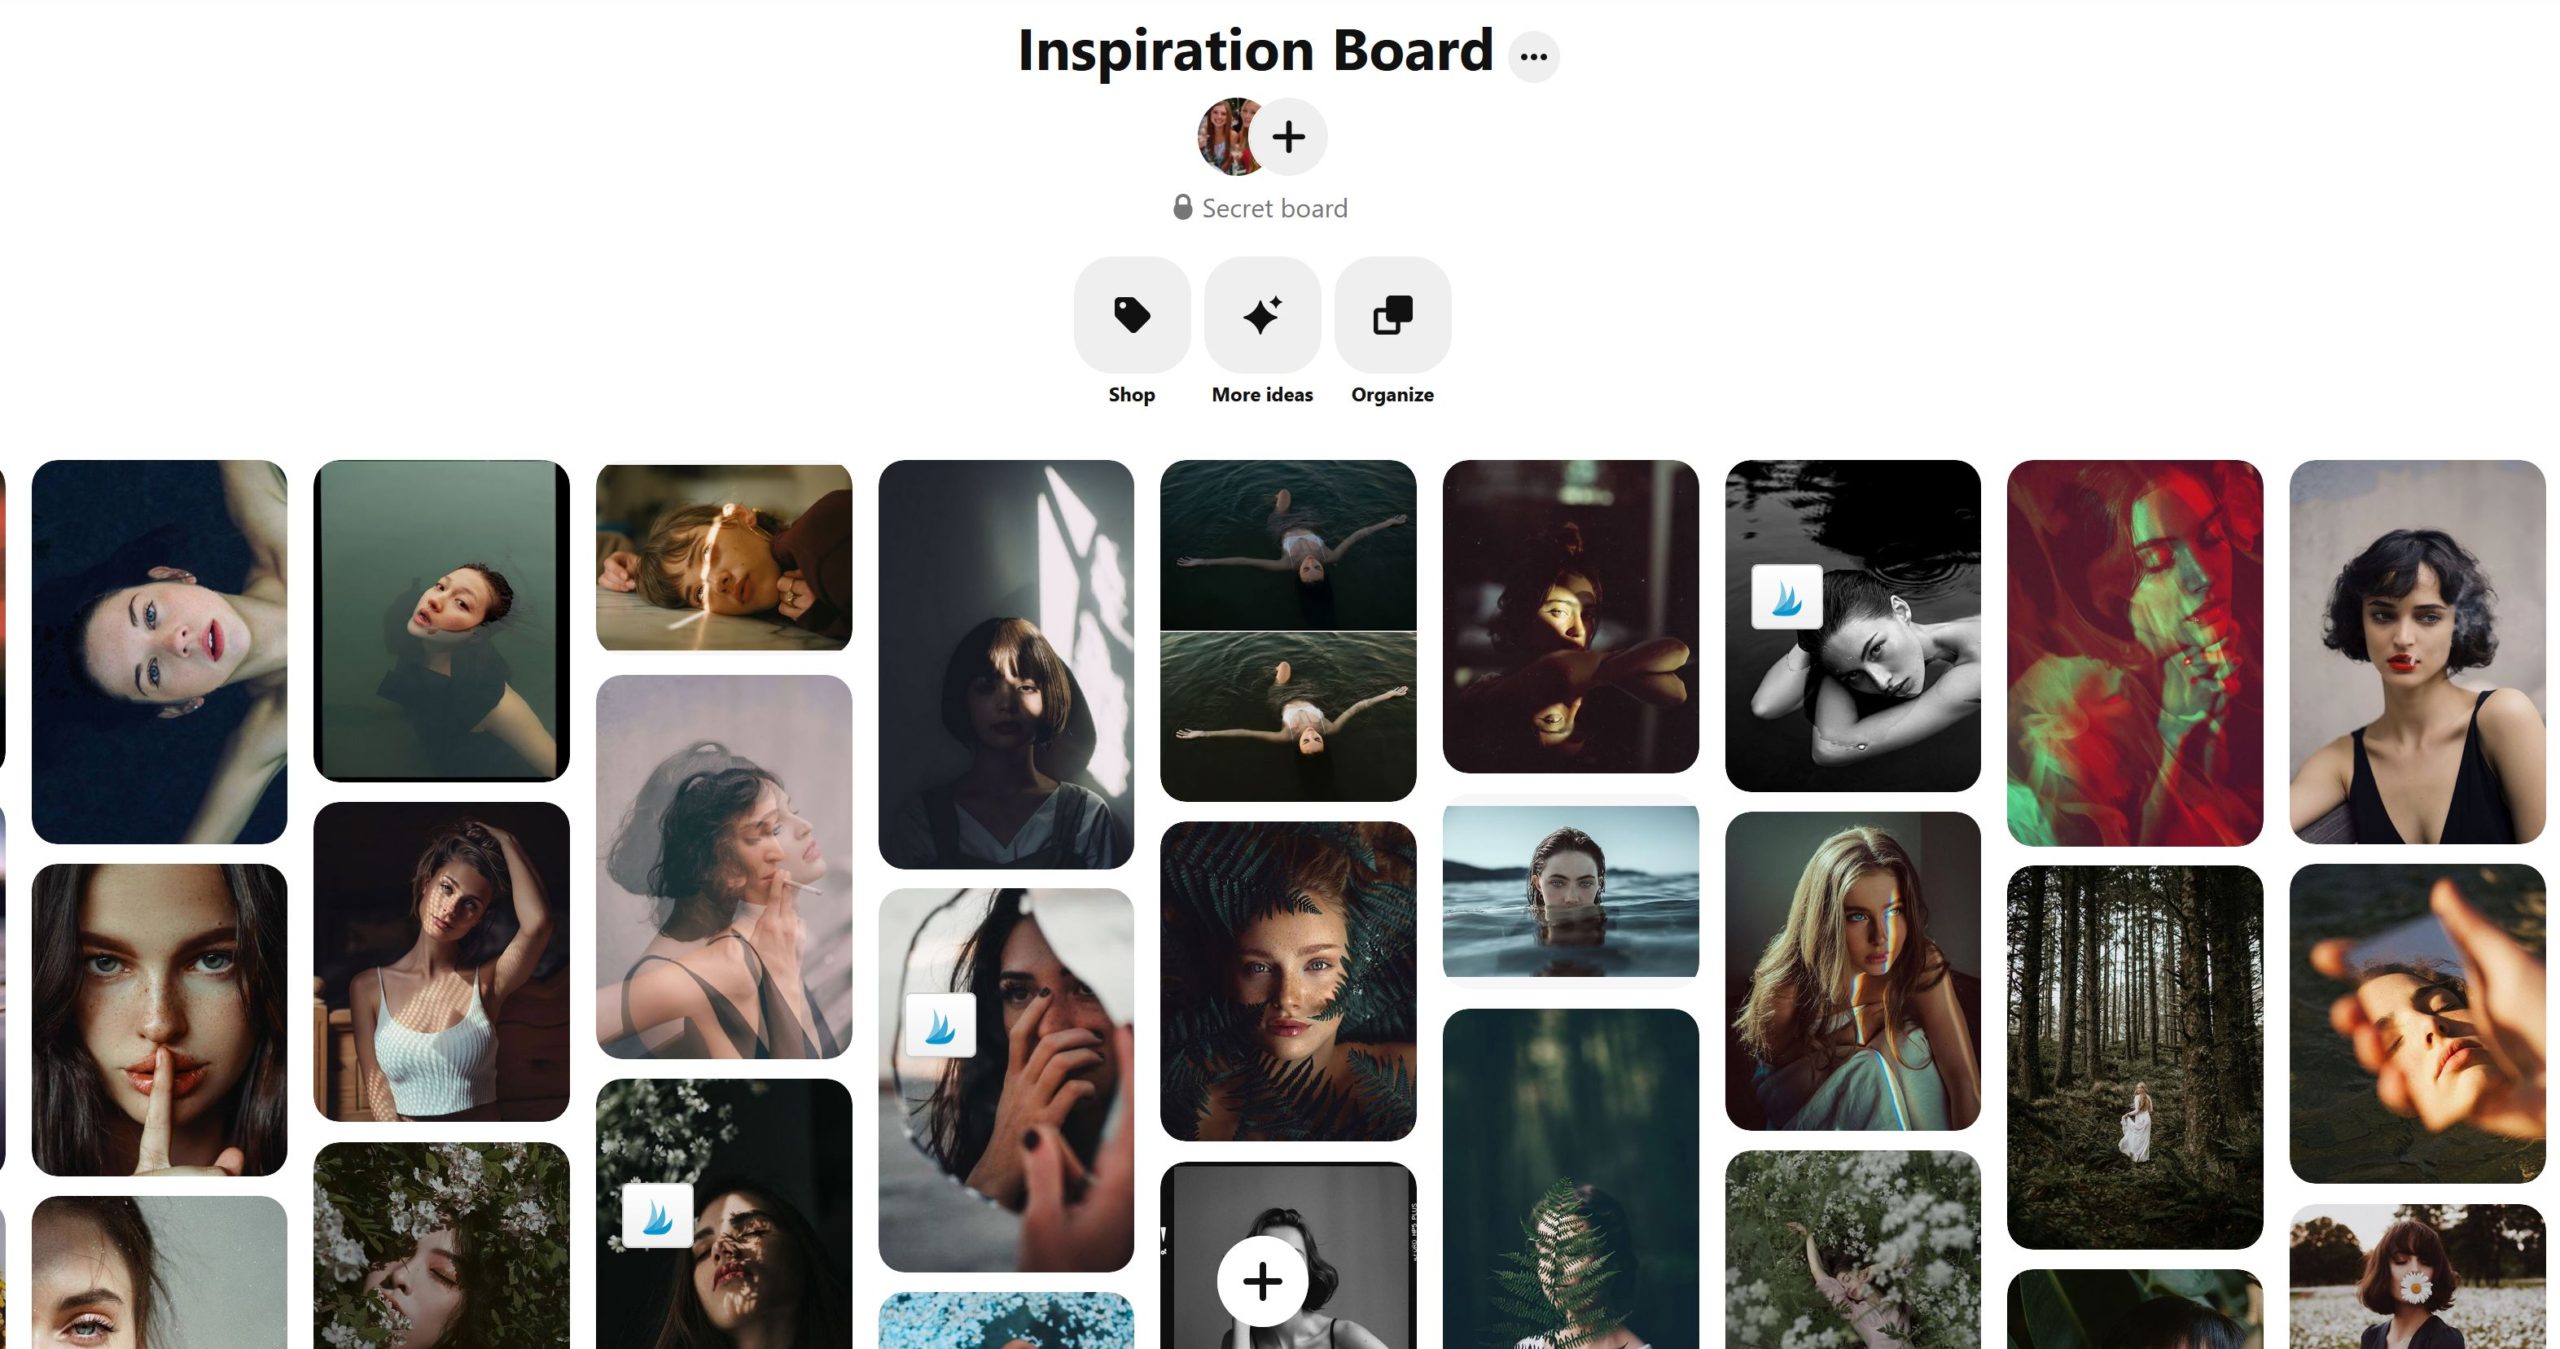
Another great way to find inspiration is through using tools like Pinterest and Instagram!
I will create folders on each of these platforms simply labeled “Inspiration”. When I stumble across photographs, quotes, or poses I save them to this board.
This way I can look back and see if any patterns arise or if something is sparked in my imagination.
Next Step: Research!
After narrowing in on what you are currently inspired by let’s look more at the research portion. Some questions I ask myself when beginning a project include:
“Who is my viewer? What does my brand stand for? What mood am I going for here?”
If I am working with a brand I may ask myself these questions: “What do they want to communicate? Who is their ideal client/buyer? What does their brand stand for? What action are they trying to get their customer to take?”
After this I will delve into specifics:
“What is the goal of this photoshoot? Who is the model?”
“What location are we looking at?”
“Is there a feeling I am trying to communicate? What experience do I want the viewer to have?”
Many of these decisions will be decided later on from the concept but I like to jot down everything that initially pops into my head onto paper in the very beginning.
This allows me to see some commonalities that pop up and helps the initial vision begin to form in my mind.
Now we Brainstorm!
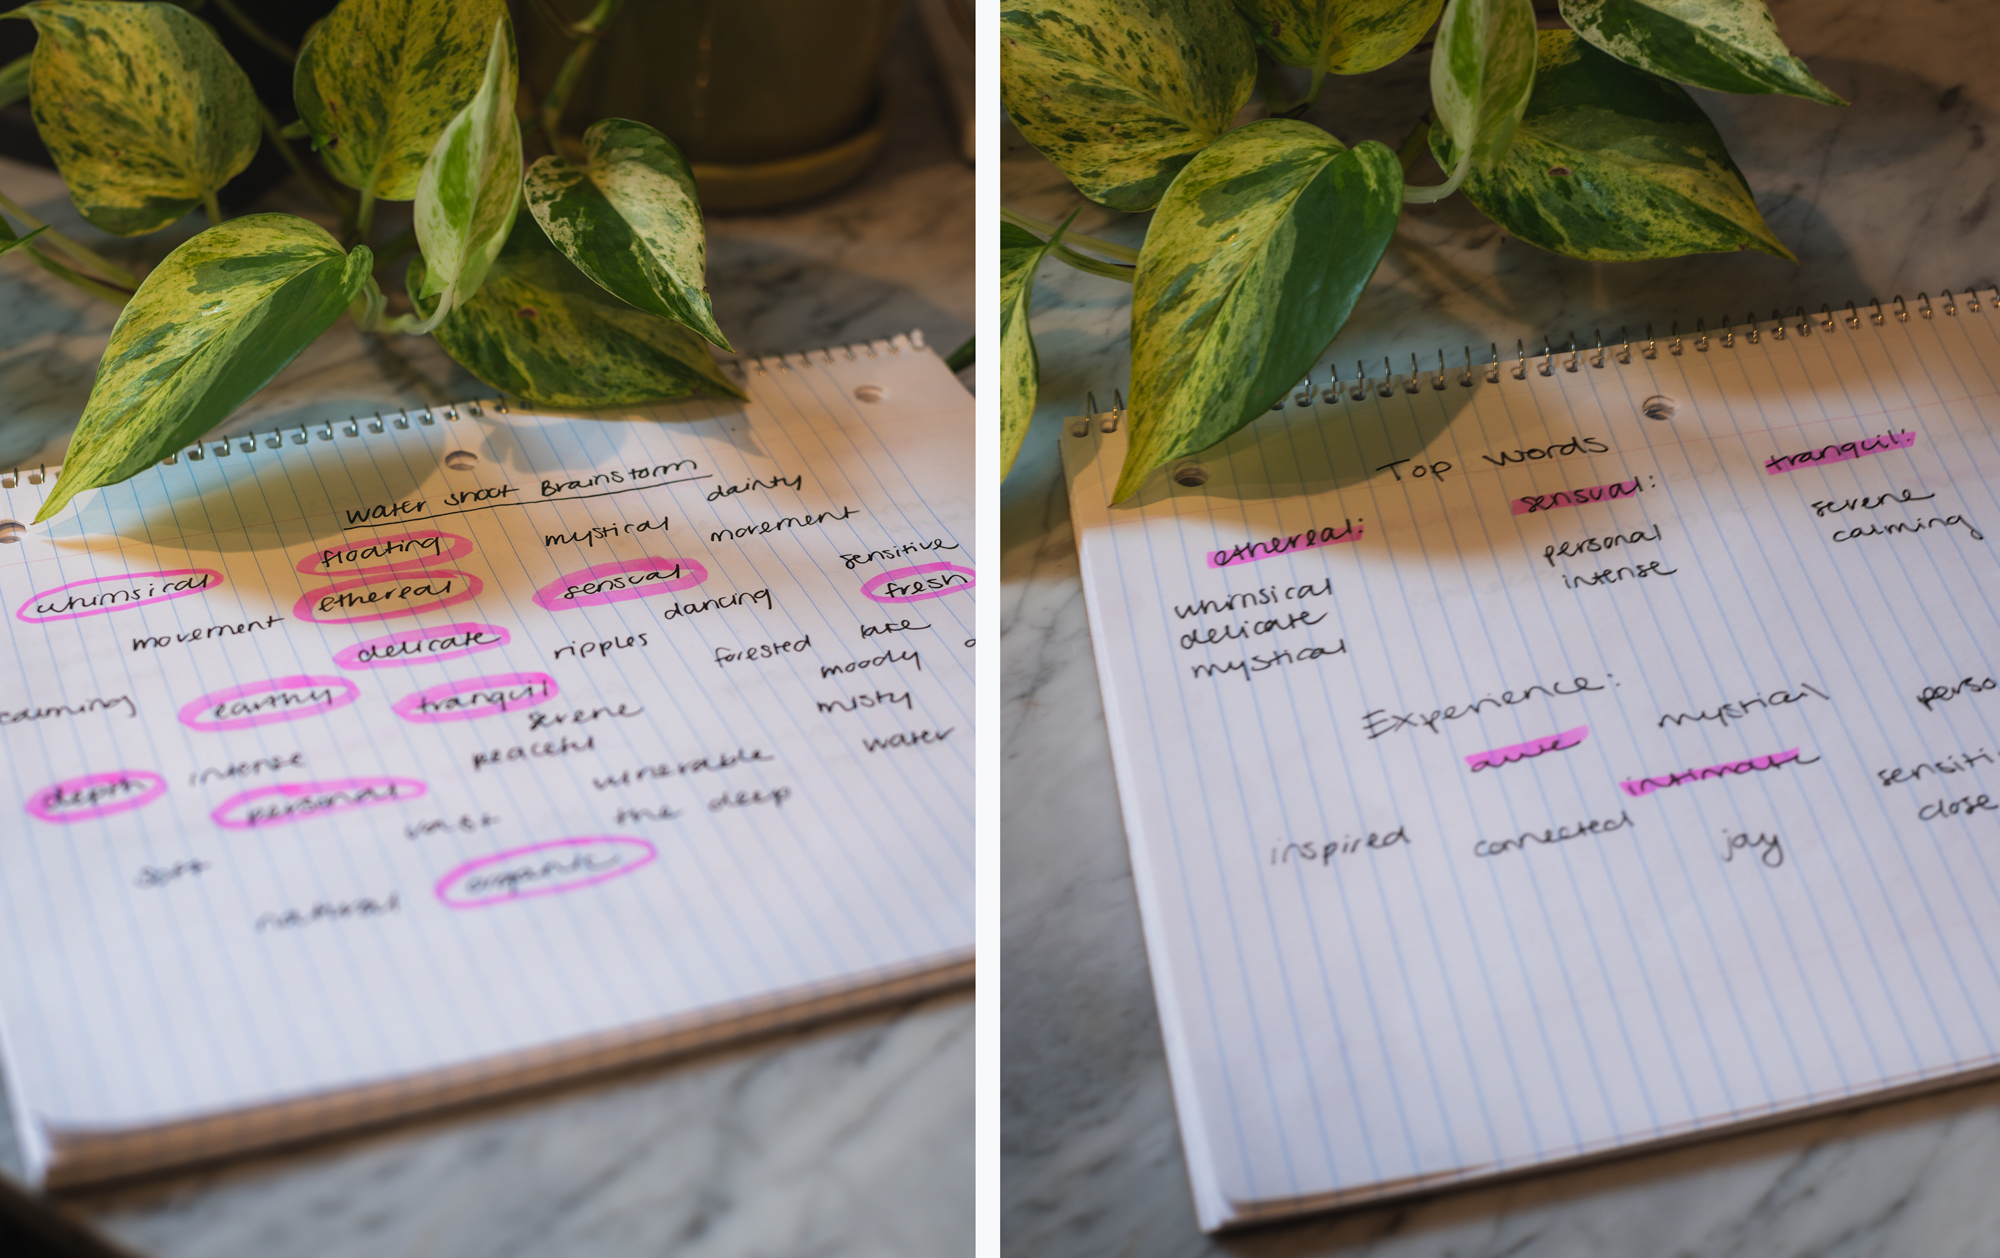
Personally I use what I call a “word vomit” in the very beginning.
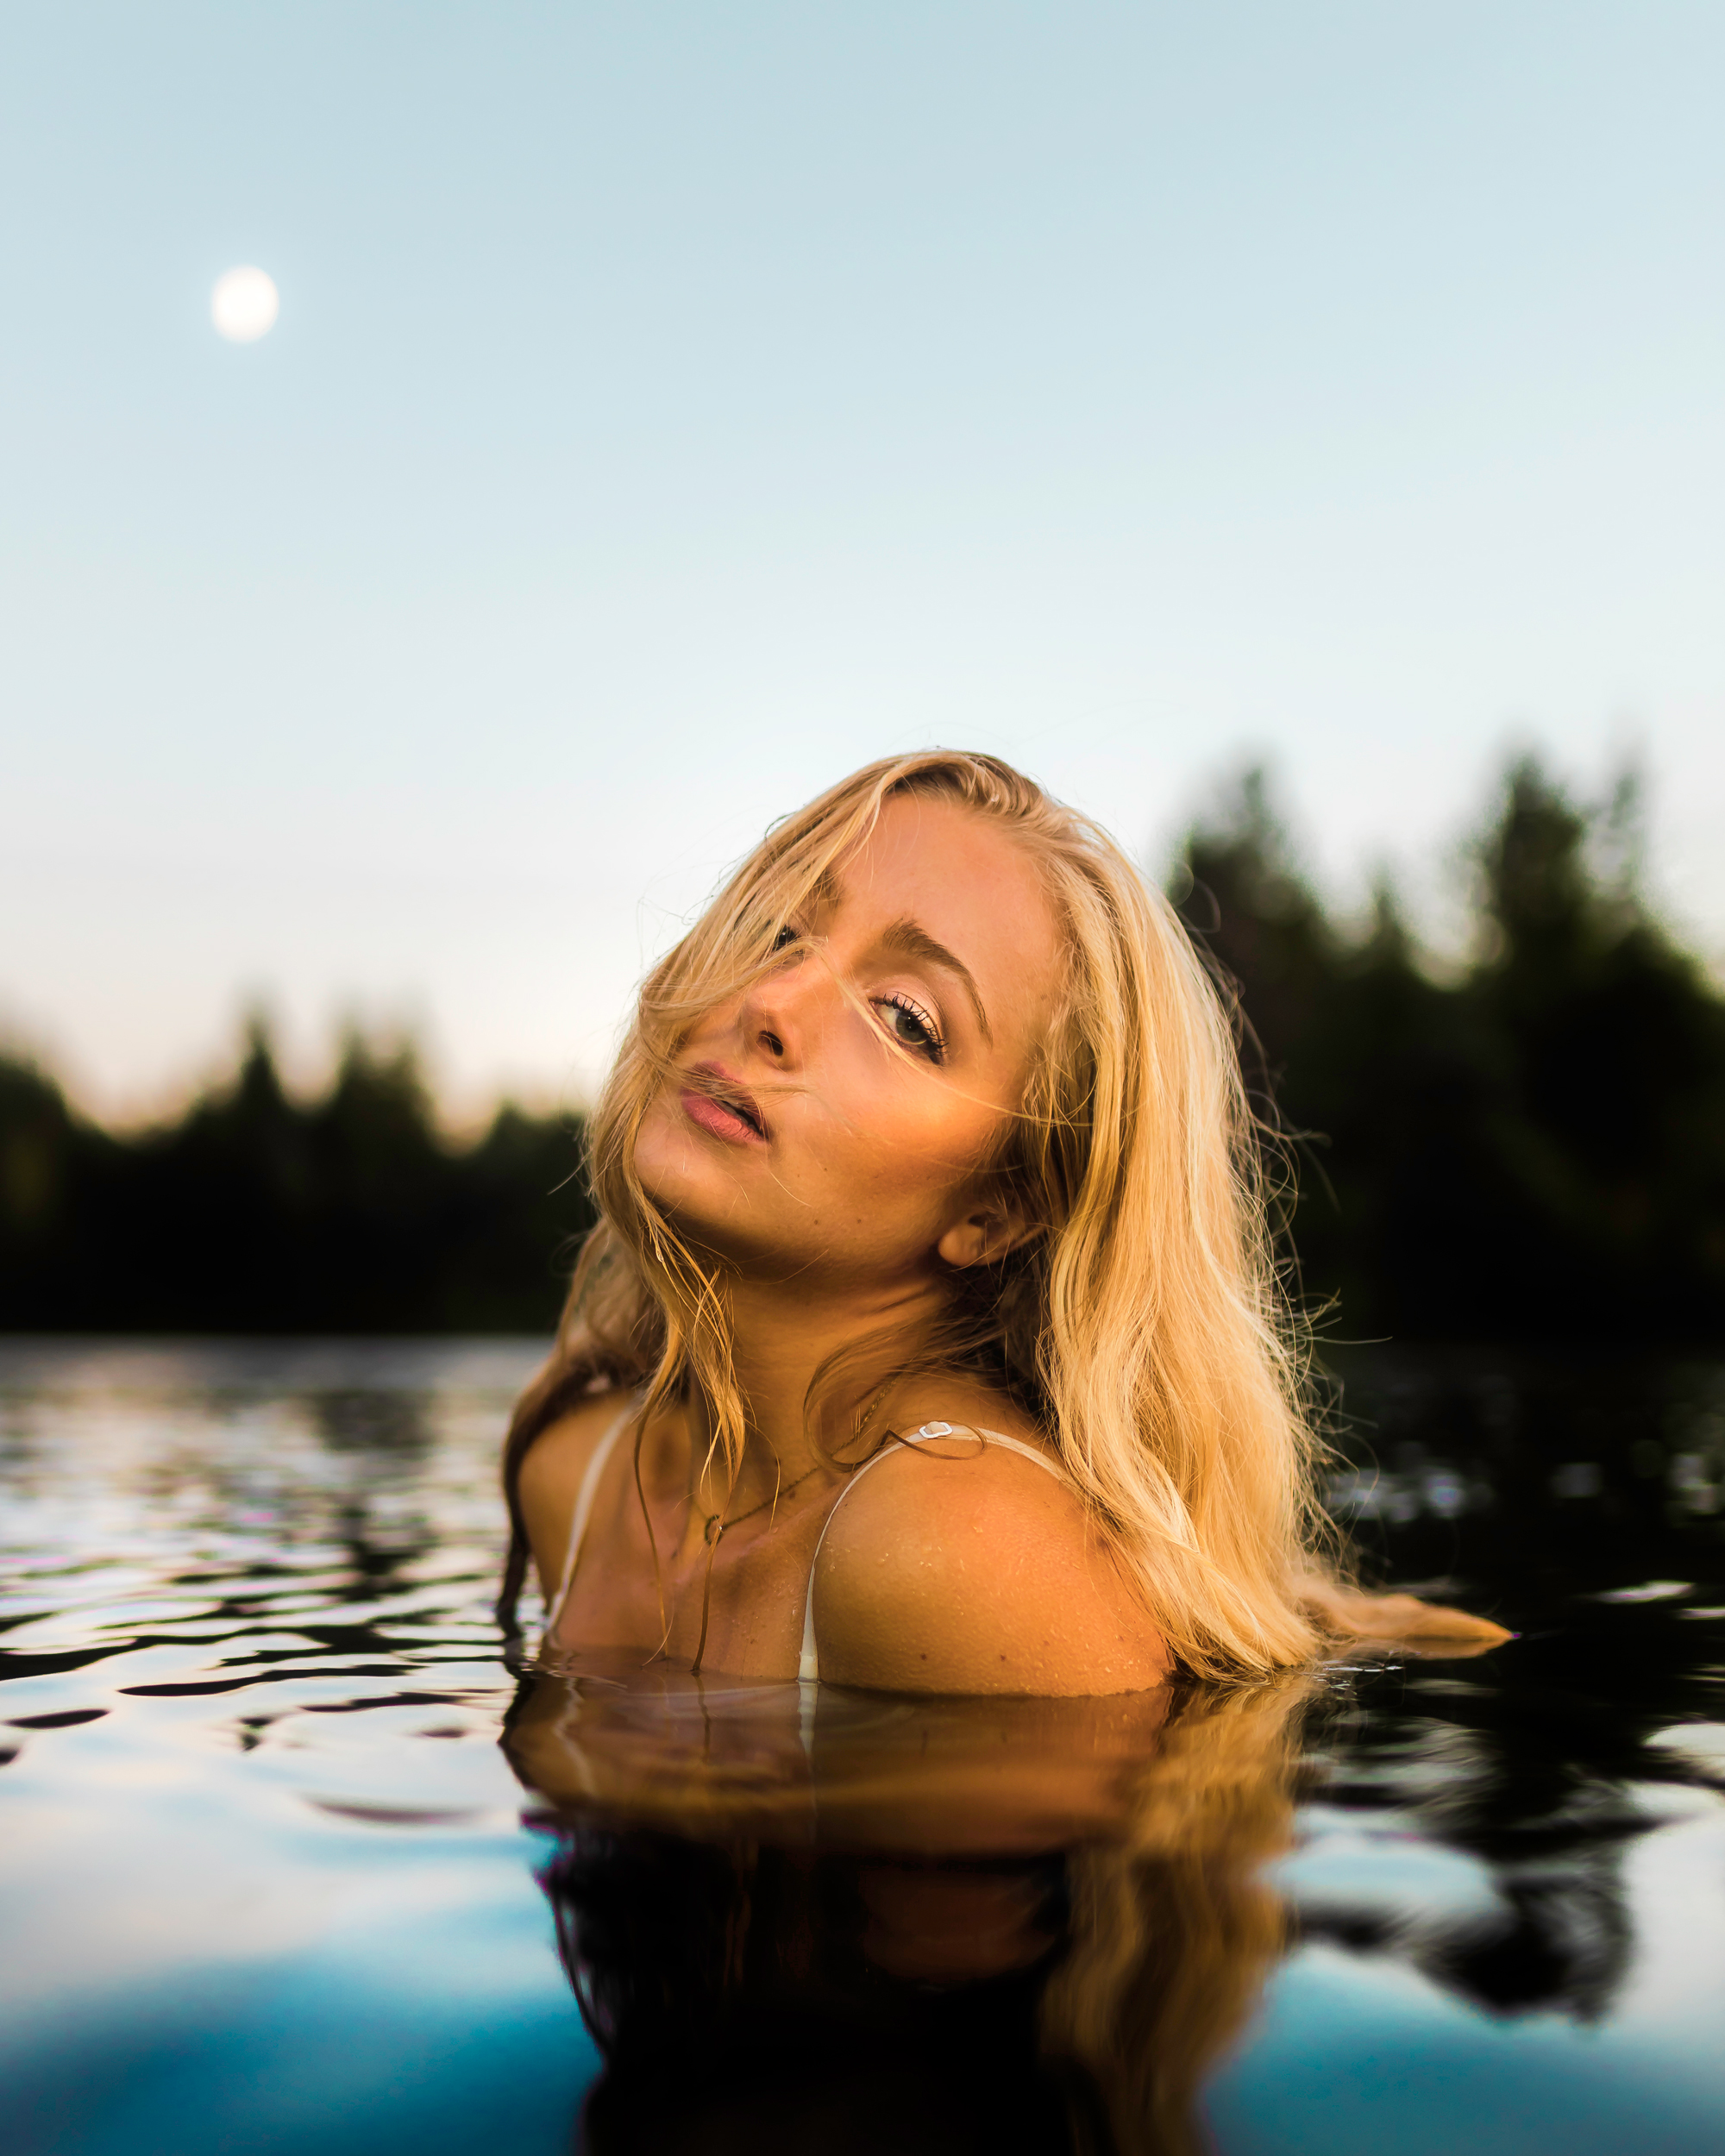
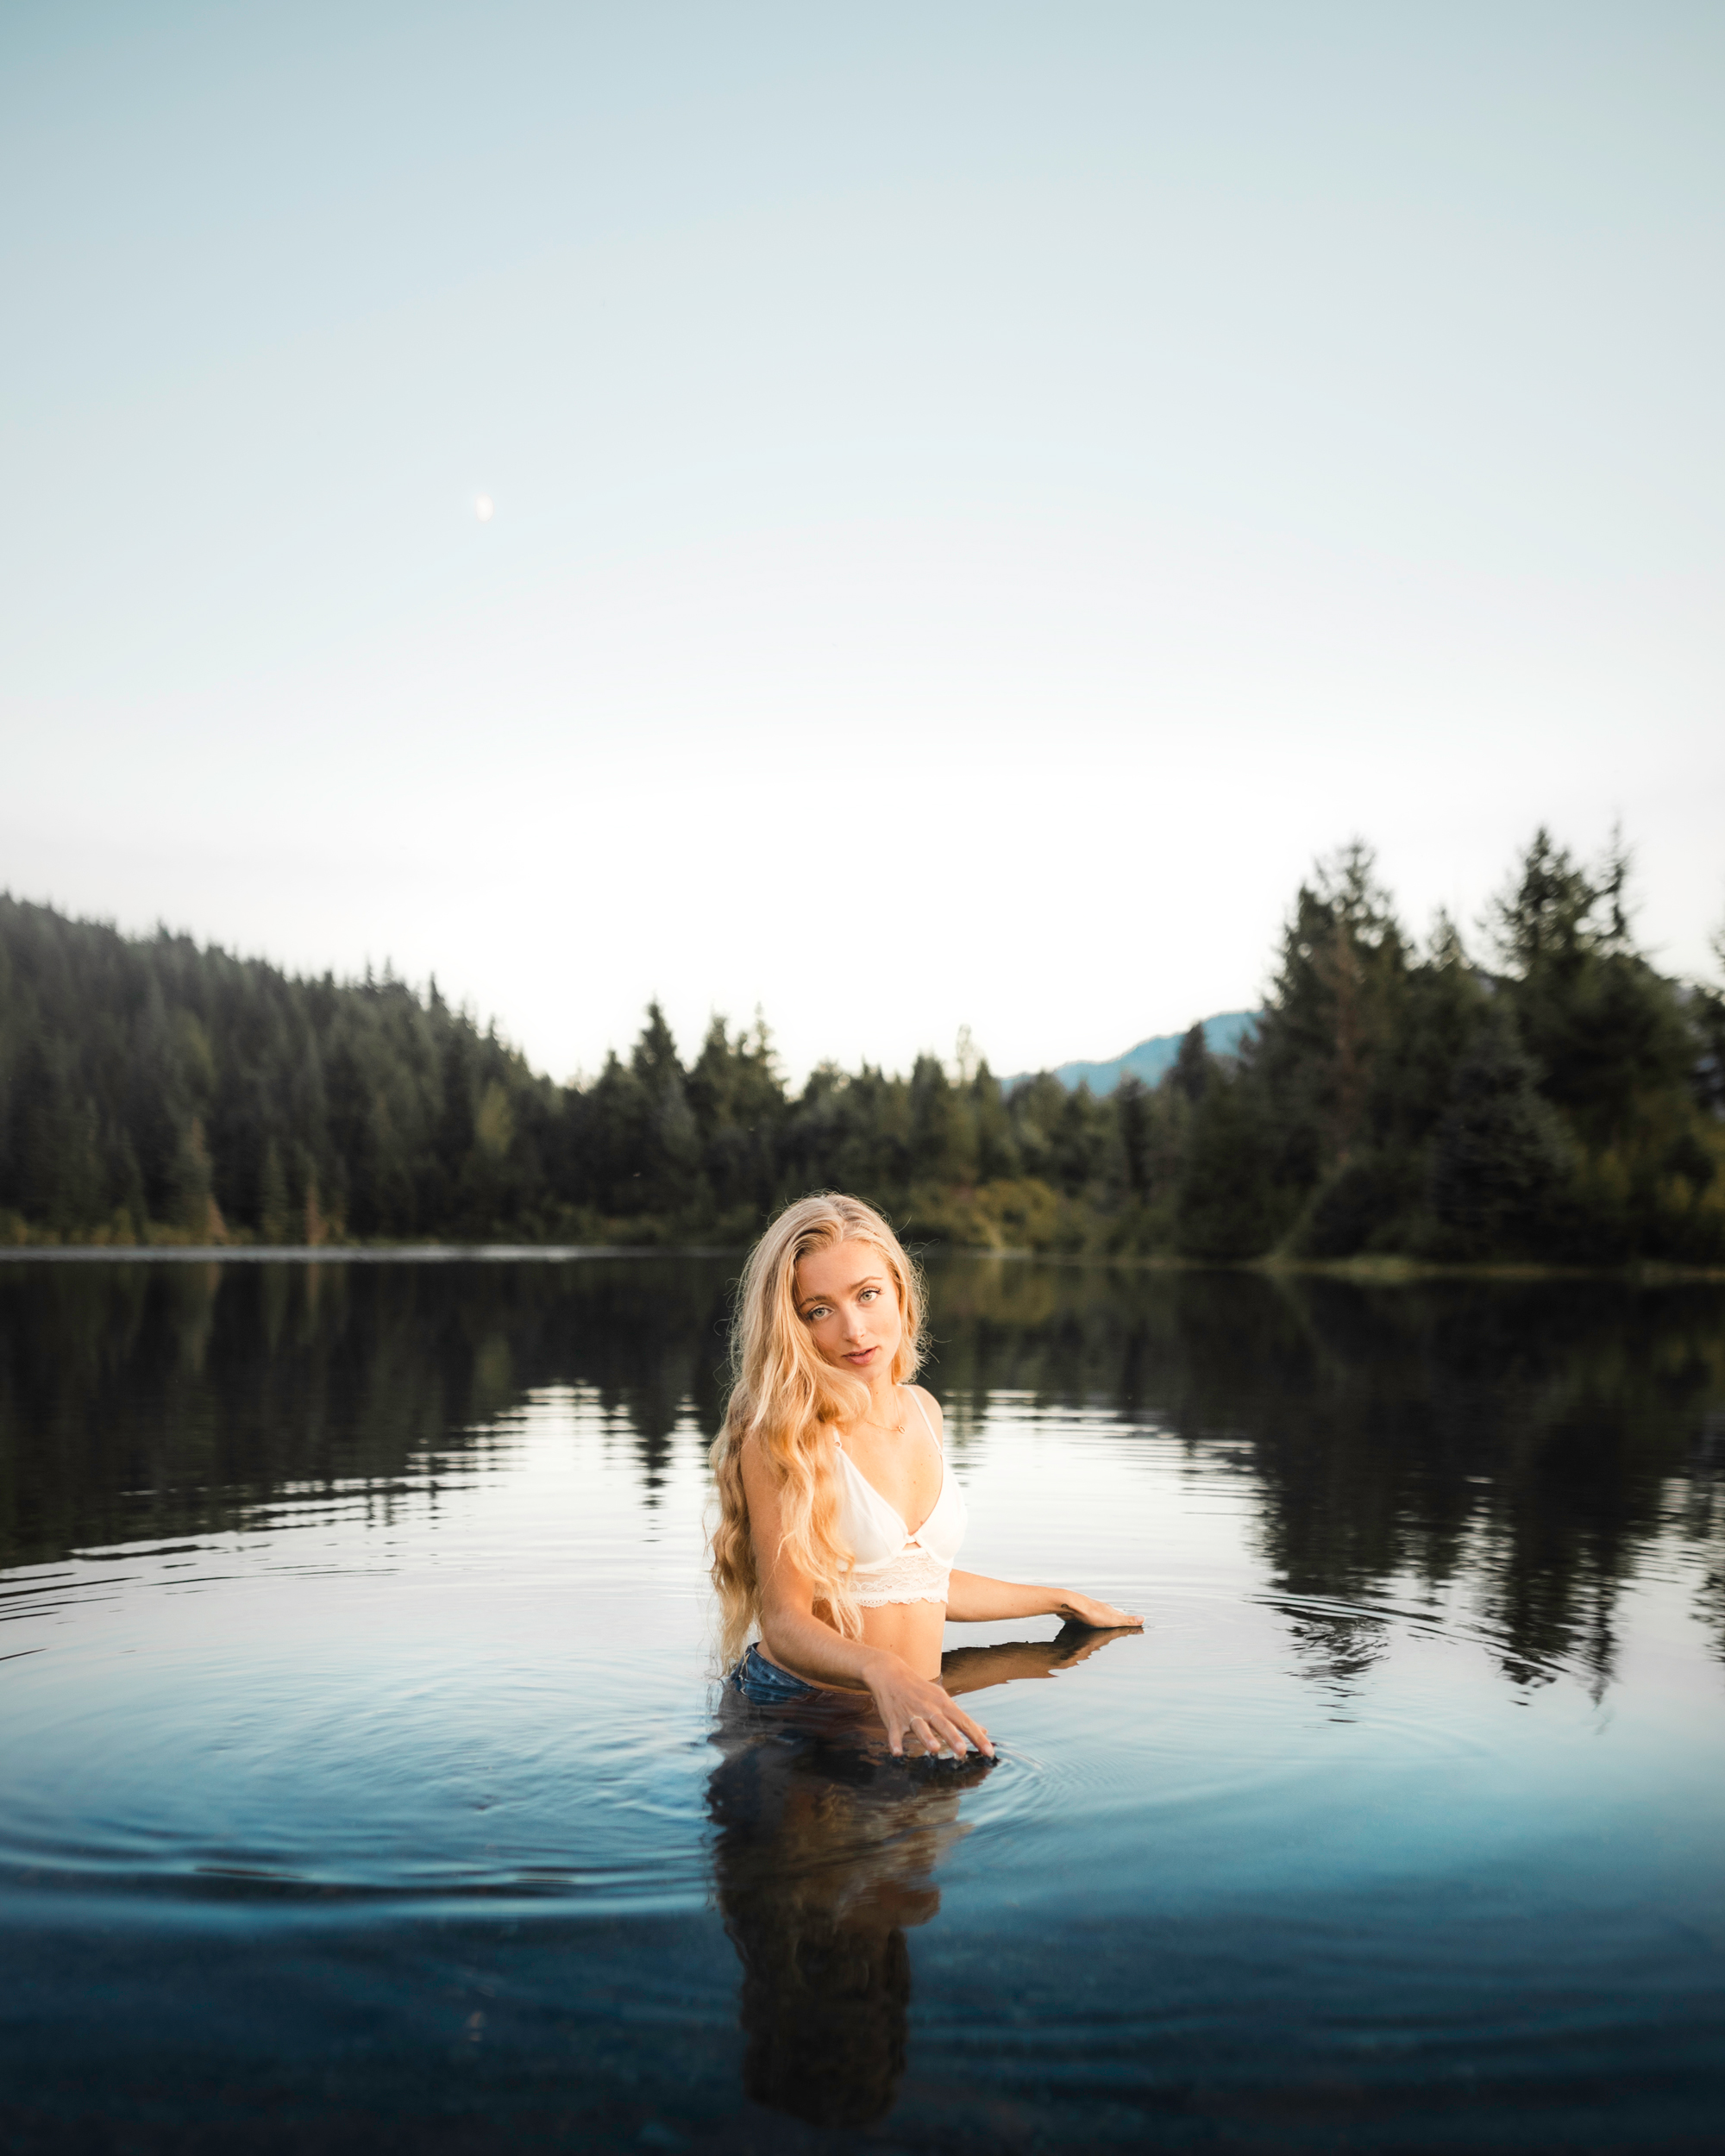
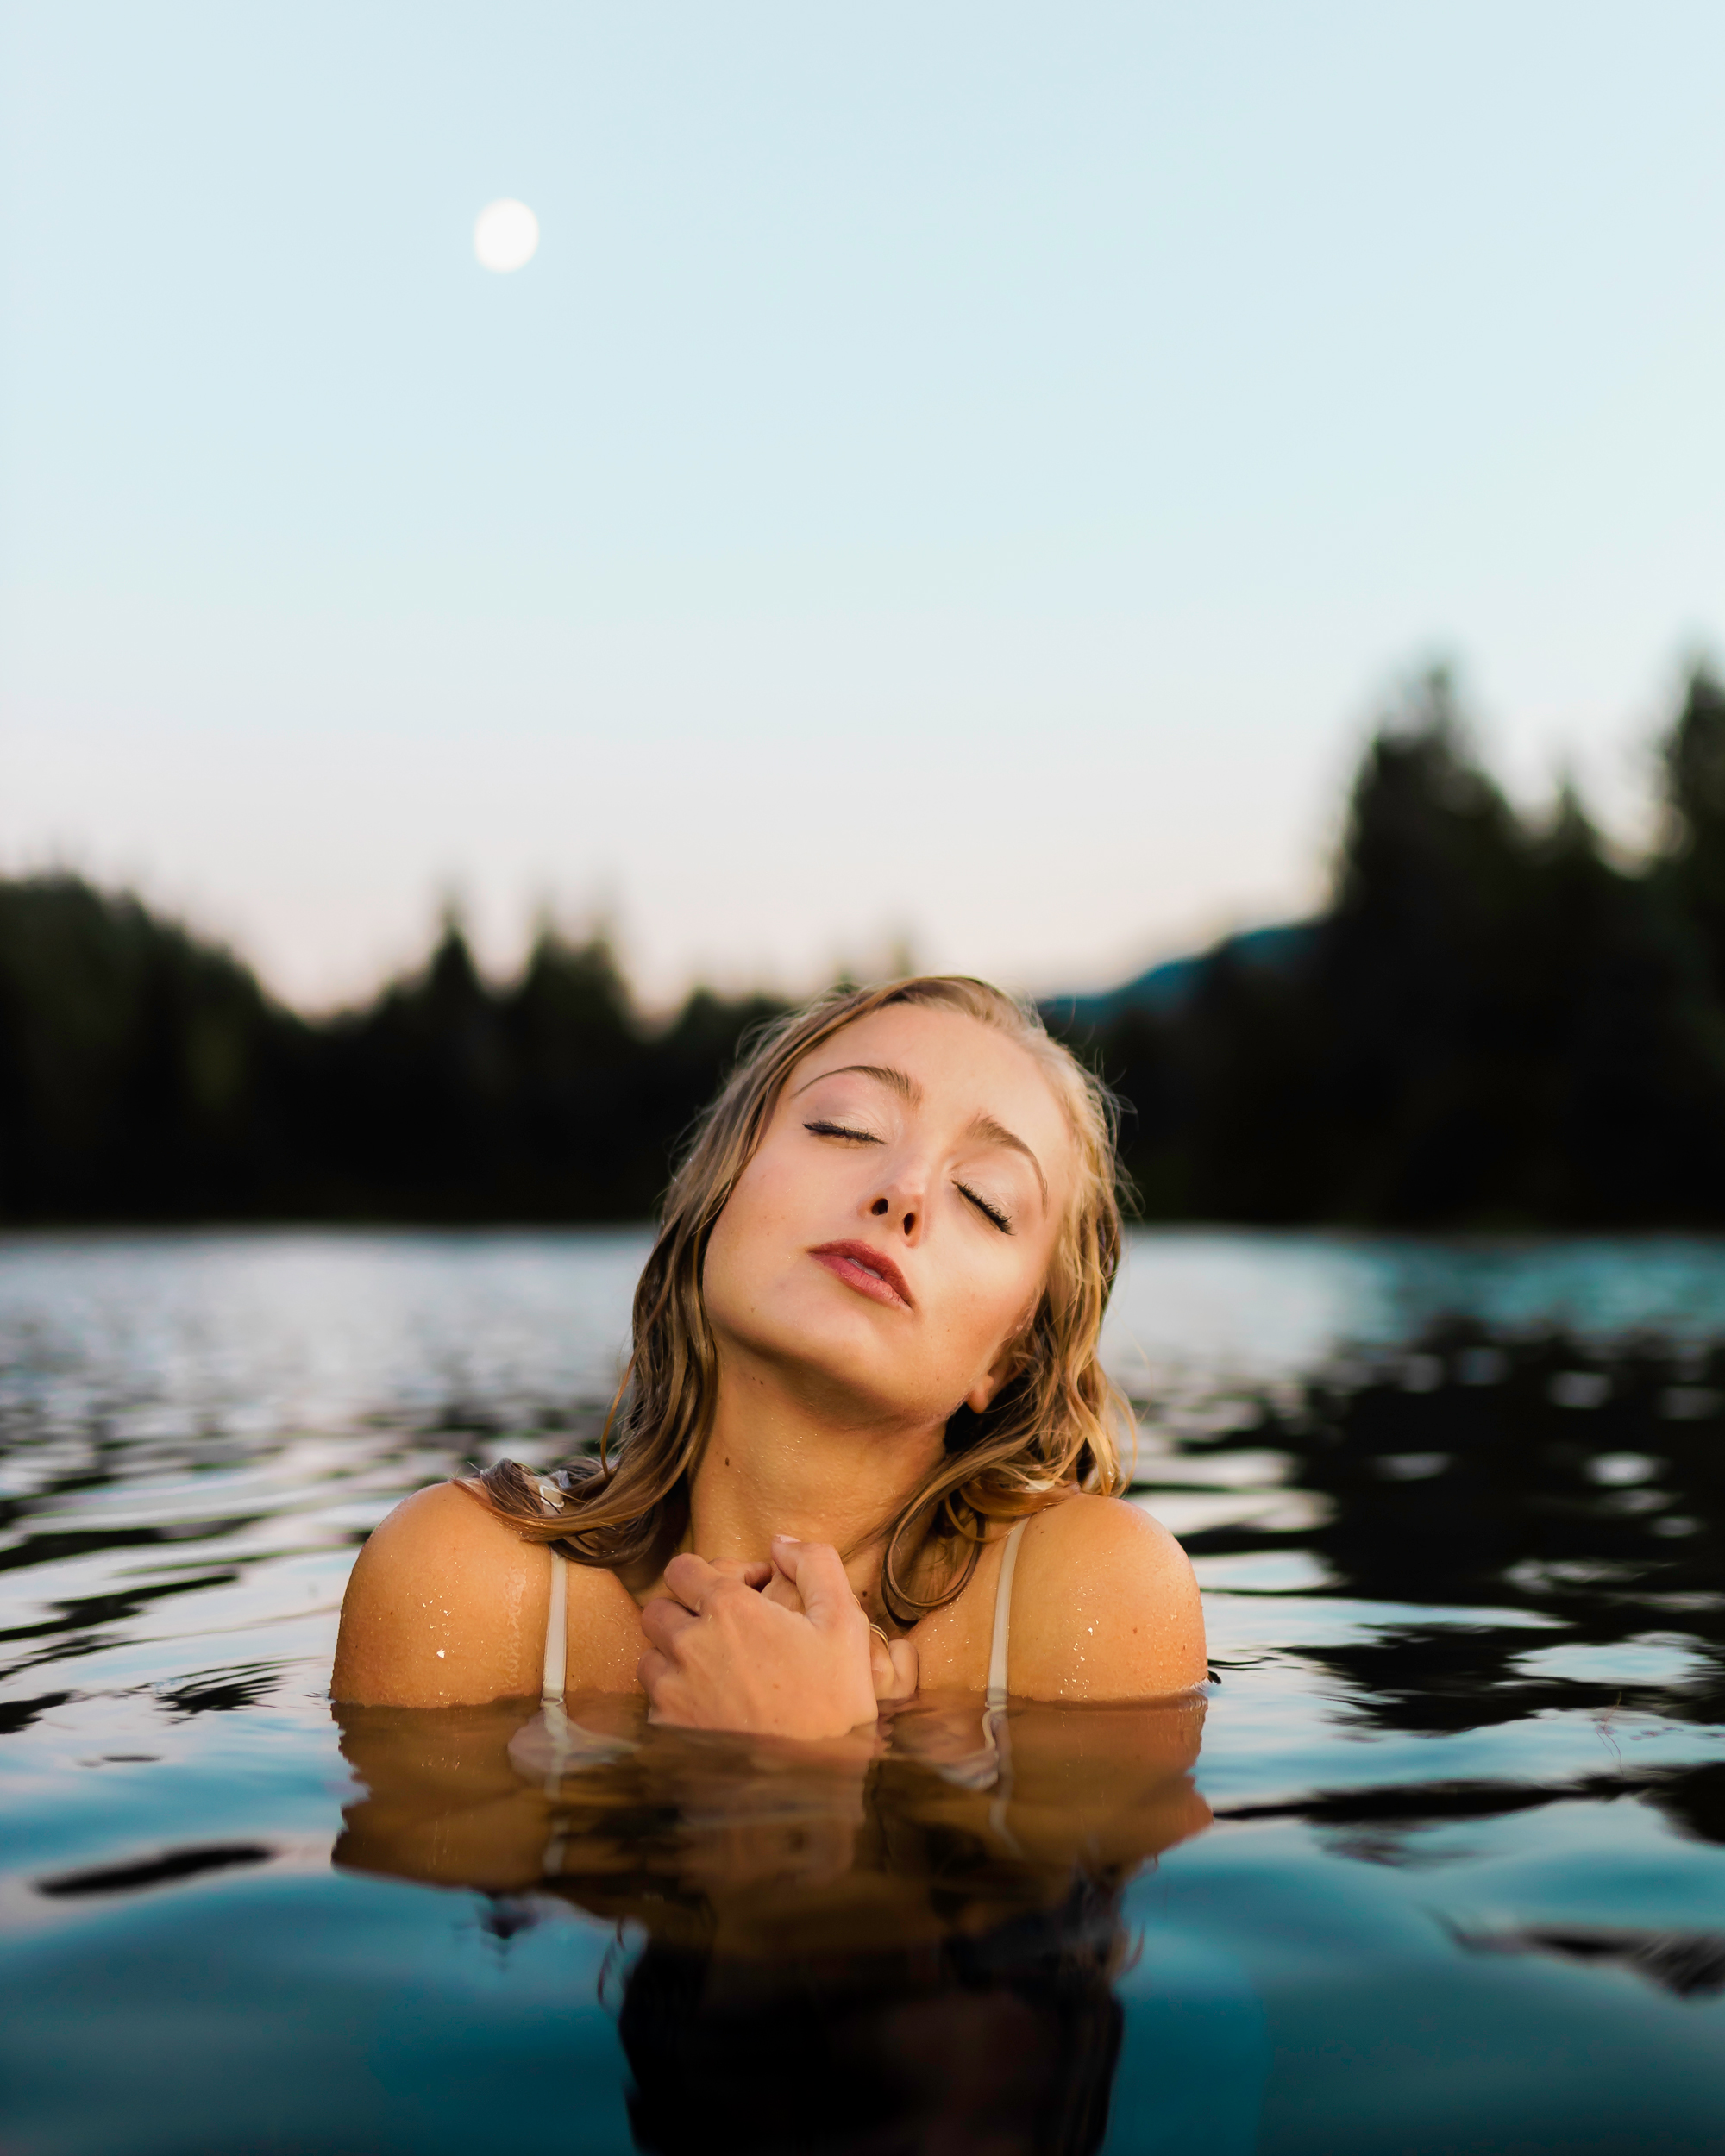
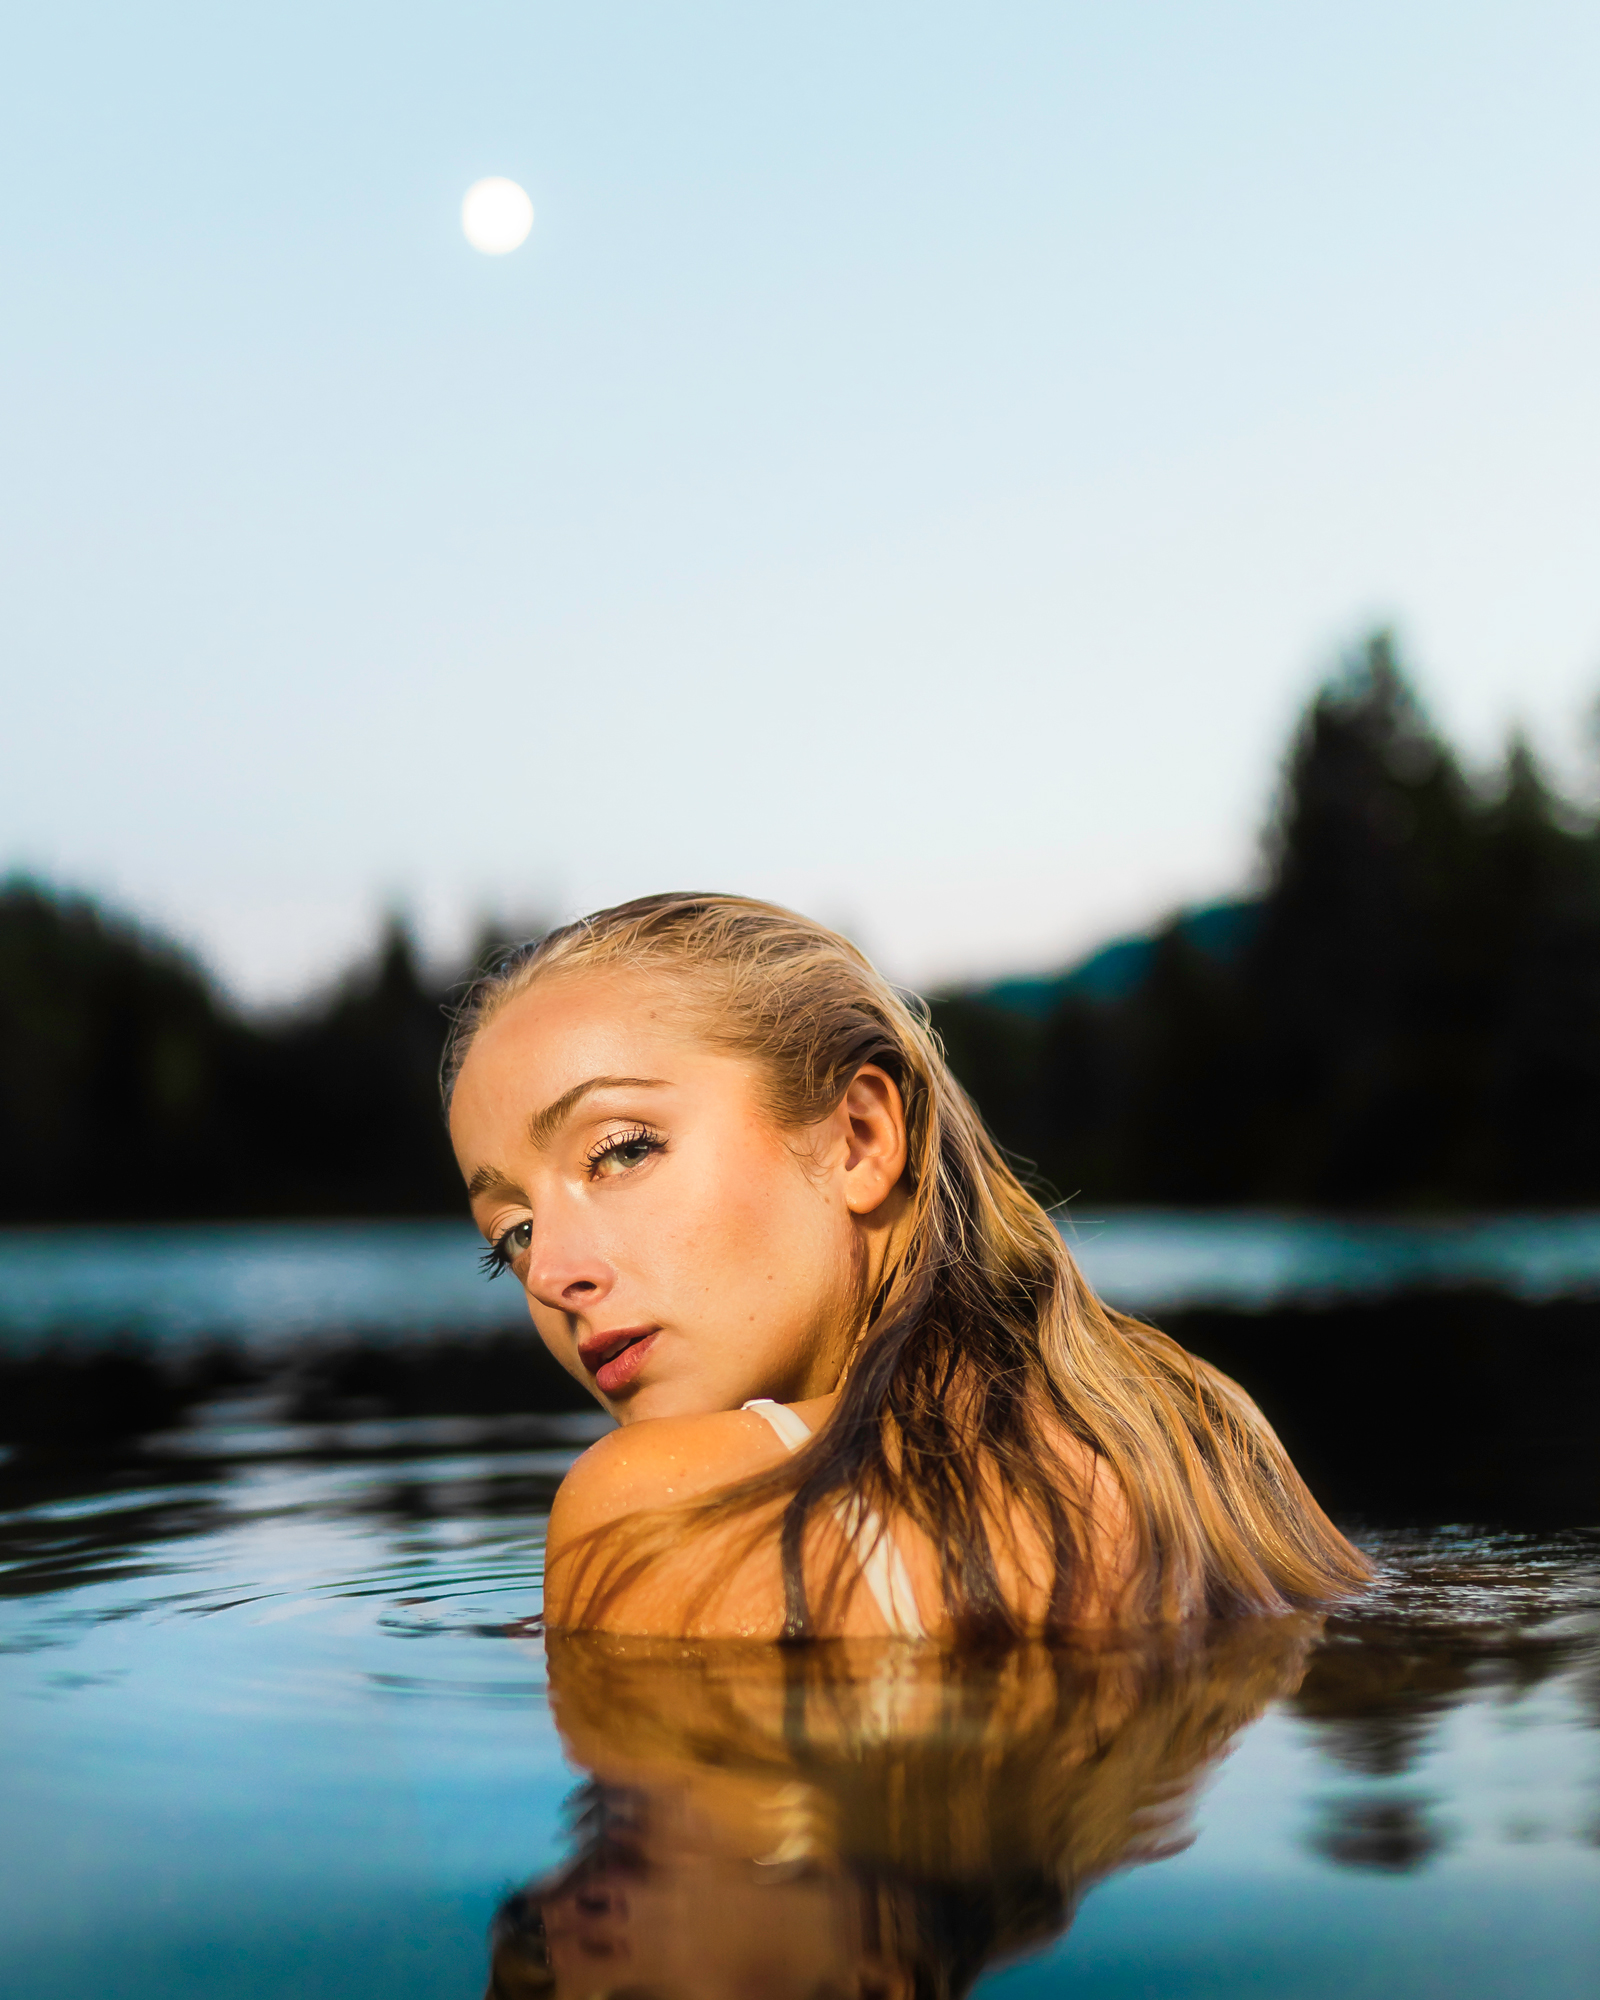
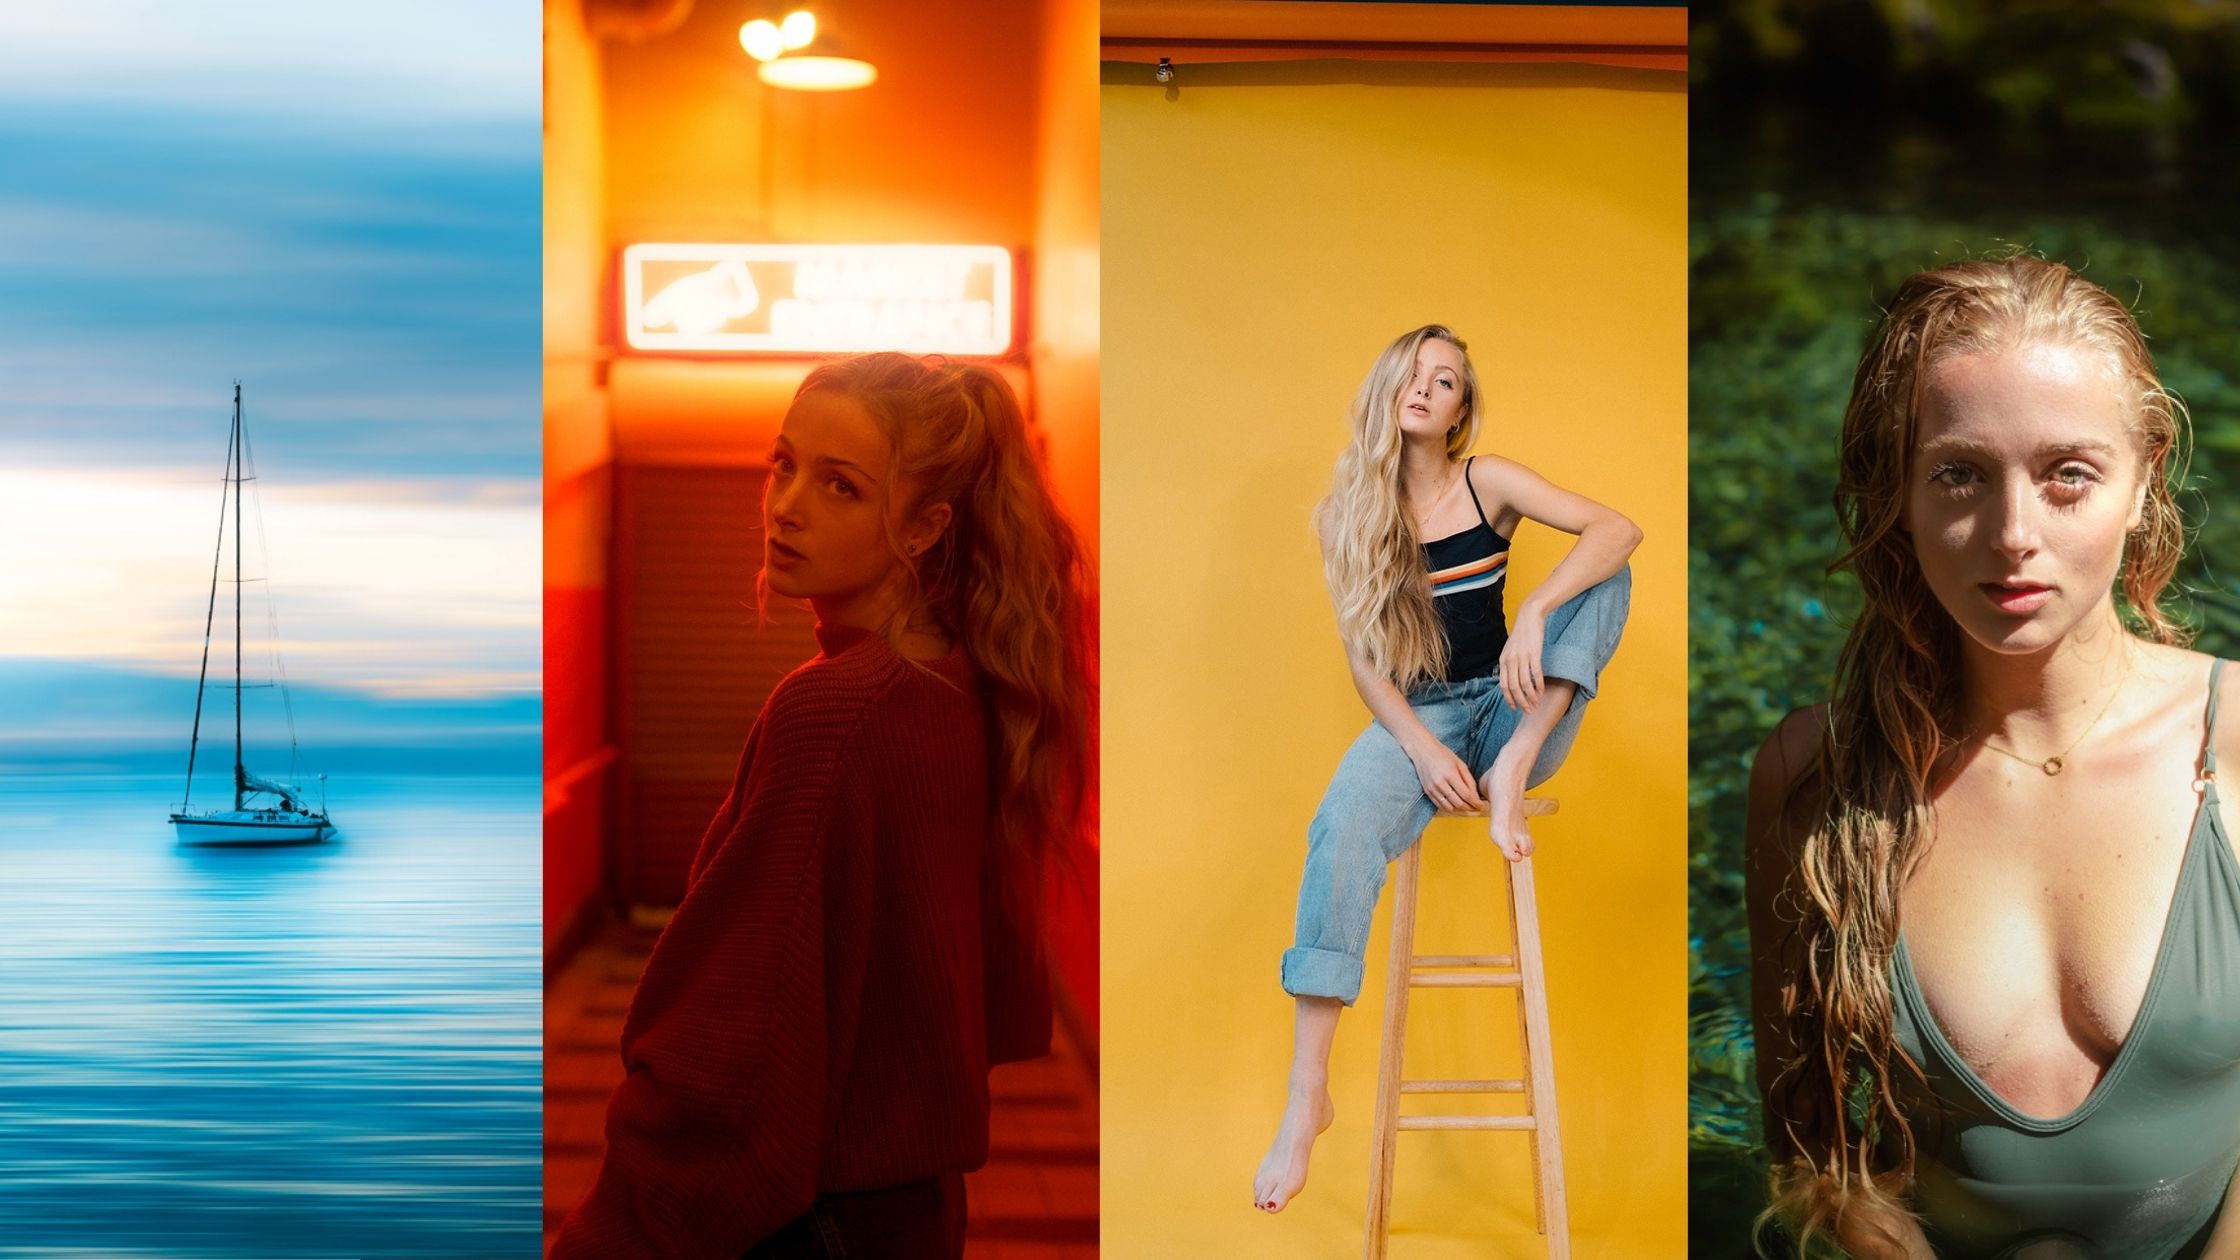
I am going to use an example from an actual photoshoot I created with a friend Taylor Olthoff. We had in mind a portrait shoot in the water and wanted it to be artistic and whimsical.
The words I came up with here were based off of the few things I already knew about the shoot: water and the feeling.
If you only have in mind a landscape in the beginning I would start by describing the landscape or how it makes you feel, same with a piece of clothing or even an entire brand!
Write down the words you came up with in your research portion and build from there! What do these words make you feel like? What smaller details can you pull out? What adjectives would you use to describe the location or brand?
I came up with: “Dreamlike” “dramatic” “ethereal” “dancing” “floating” “organic” “green” “delicate” “deep” “depth” “calming” “soft” “movement” “whimsical”
During the process of recording words I may bring up inspiration photos; photos of a location or art that reminds me of the feeling I am trying to evoke.
Personally, these images allow me to think of descriptive words much easier and help me “research” the concept.
When I am done with this practice I will go through and find synonyms of the words that I thought of utilizing a thesaurus. This helps me find beautiful words that I may not have initially come up with but may actually hit closer to what I am really trying to convey.
Adding in A Client
Now, if I have a client that I am working with- say a perfume company that wants me to create an ad for them utilizing this concept I may write down words that remind me of the client and the clients product.
Similar to the last portion I will bring up the clients website, instagram, or any brand information they may have sent me and record what I see there- not only words but also what I am getting through the imagery they have chosen.
For instance I may come up with: “Sexy” “calming” “delicate” “ethereal” “complex” etc.
Connecting the Two
Once I have my words, I will circle 3-5 words that I really love and I think connect the two lists well or have a similar feeling to them.
Many times I will have a bunch of words that seem to communicate the same thing and I will pretty much end up grouping the entire list into different sections and then choosing the 3-5 words that represent the sections I like the best.
Next, I will take my three to five words- say in this case we went with “sensual, ethereal, organic and delicate” and I will then ask myself “What is it I want my viewer to feel or experience through these words?”
Again I will create another list of words.
“Awe” “joy” “dream” “inspiration” “close to nature” “sensuality” “intimate” etc.
Next, I go through my list and find 1-2 words that connect well with the first three-five I have chosen.
From these five to seven words I now have the making of my concept statement!
Writing the Concept Statement
This is the statement that you will eventually build your concept board after and the statement you will refer to over and over again when making decisions during the execution process.
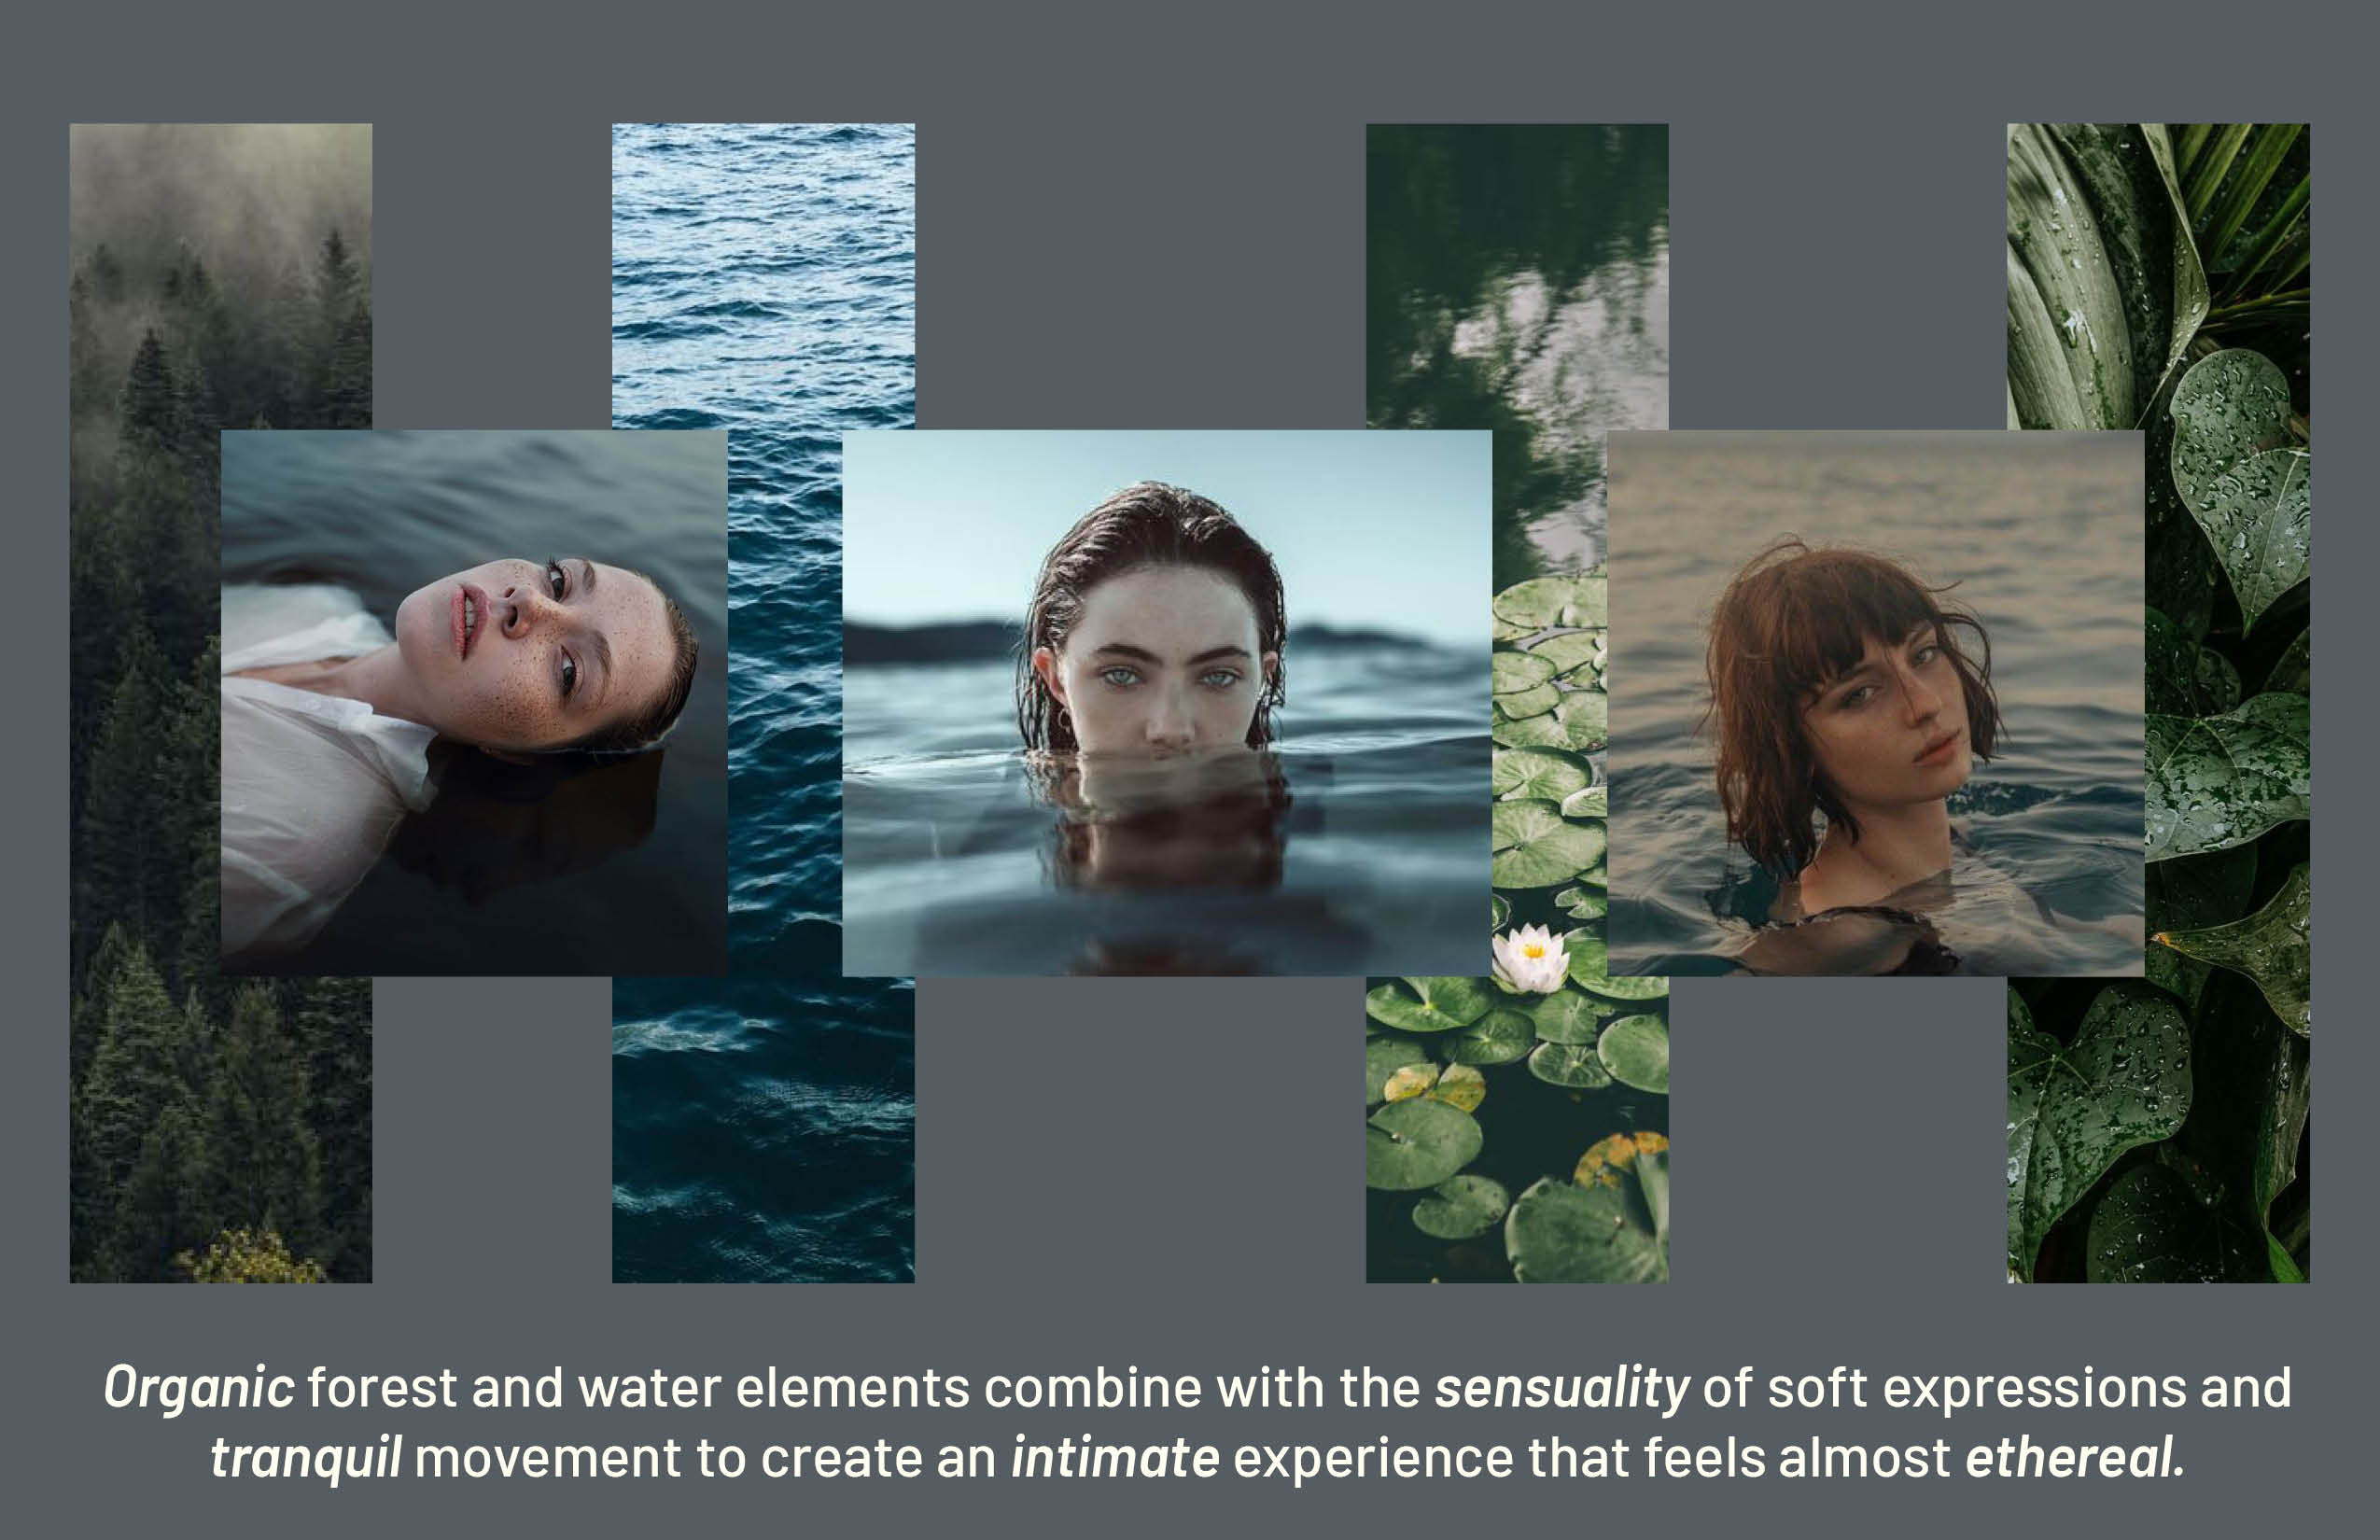
An example of a concept statement may be “Organic forest and water elements combine with the sensuality of soft expressions and tranquil movement to create an intimate experience that feels almost ethereal”
See how we just described, in one sentence, the essence of the visual elements we are using as well as the experience we are trying to convey?
Now each time we have a question we can go back and ask ourselves, does this communicate sensuality? Awe? Is this location dreamy and organic or harsh and moody?
It allows the team, and yourself, to make decisions on their own and helps the project to stay cohesive and true to form.
Creating A Visual Representation
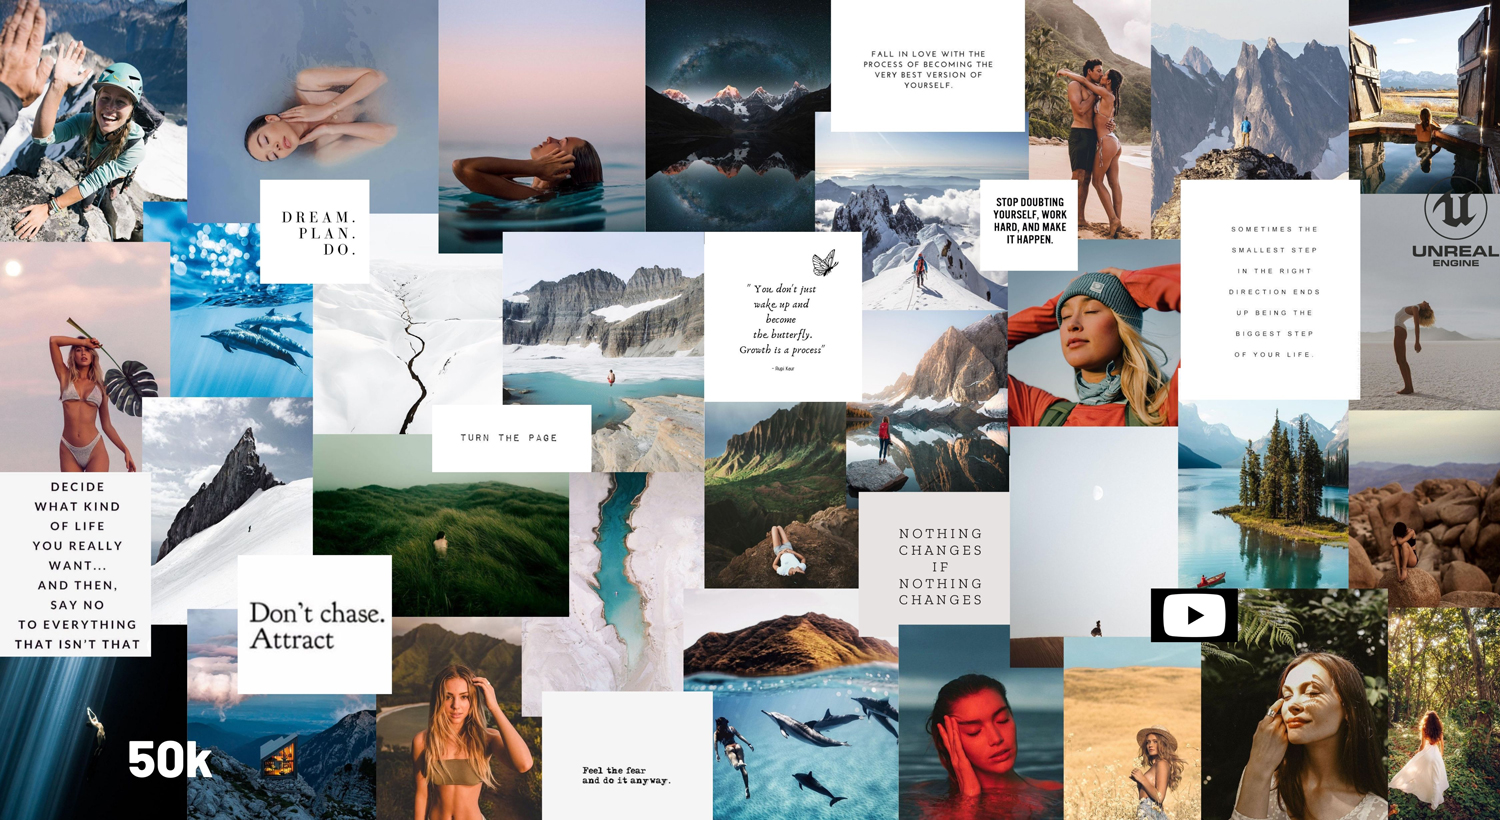
The final step for the concept statement is to create a visual presentation to go along with it. This will give your client and yourself a fleshed out understanding about the particular concept you are presenting.
I personally think this is the most fun part of the process! Many times we as artists are much more visually based and I believe visuals play a huge role in convincing a client of your design validity. It also helps really solidify the vision in my mind!
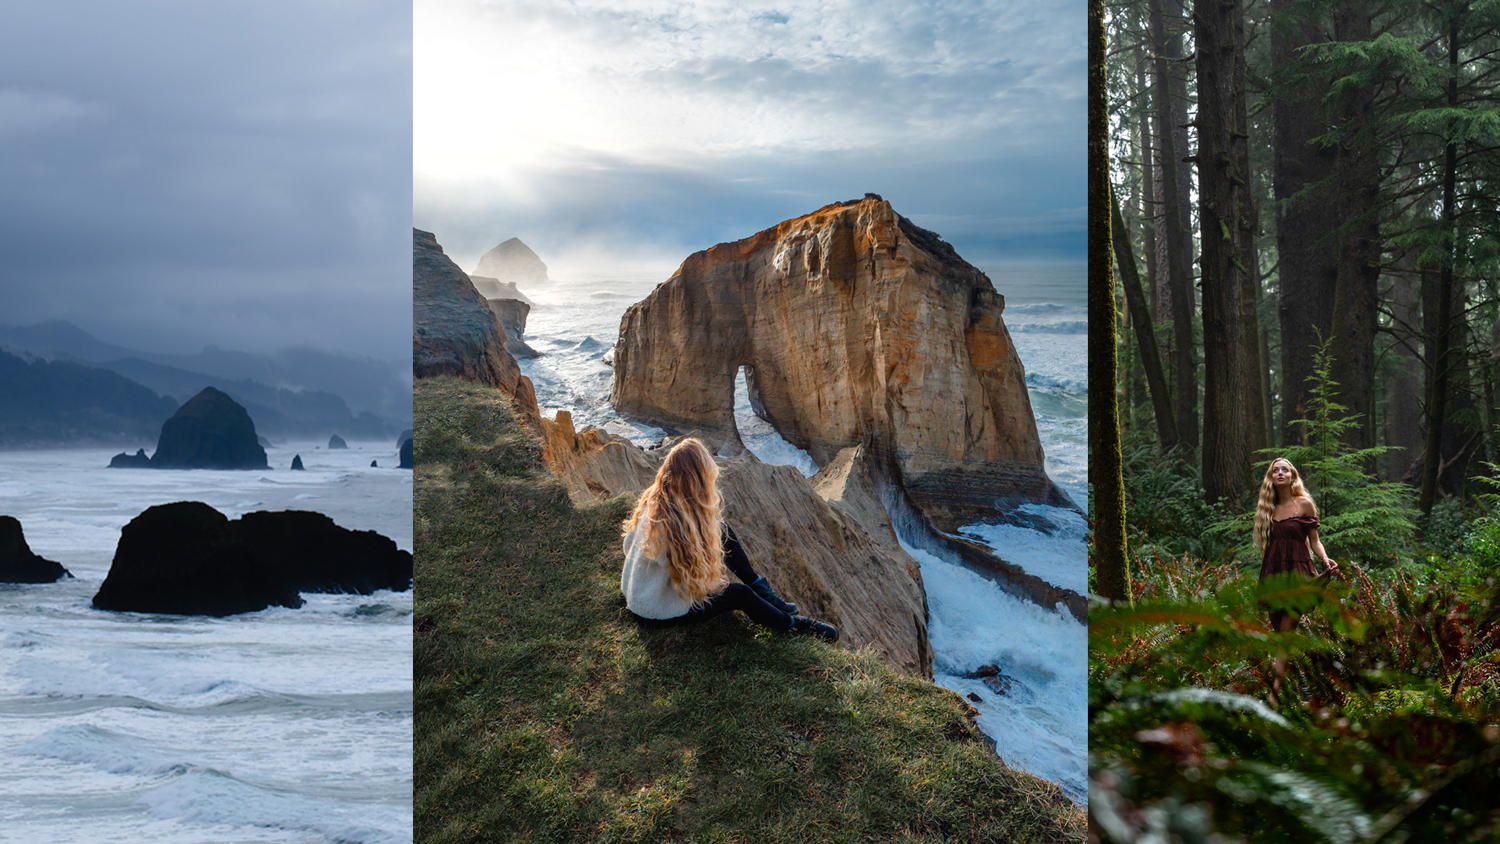
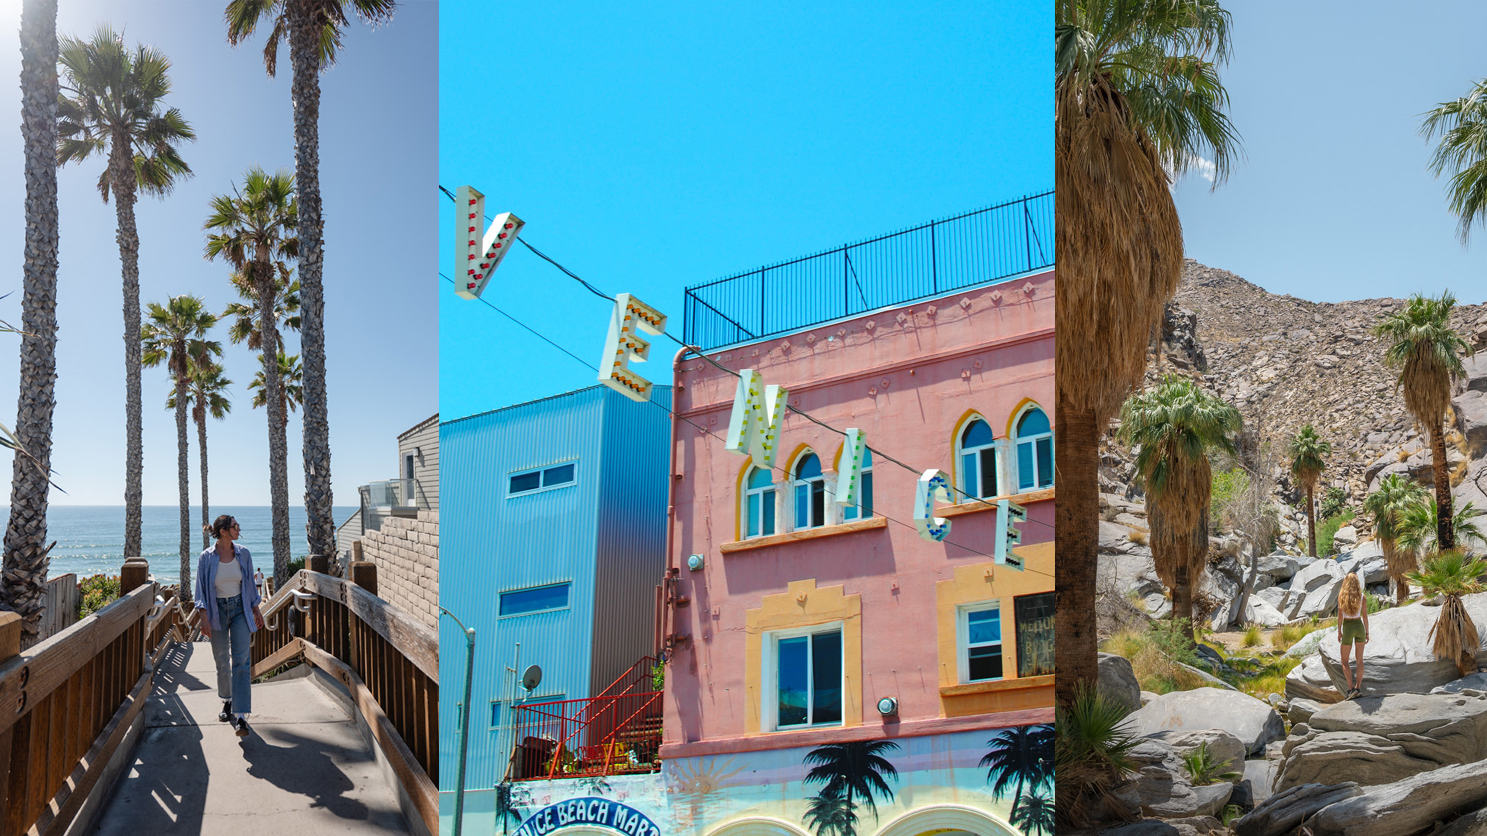
To create the visual I will normally use pinterest to find images that speak to me as well as canva or indesign to put them together into a sort of “mood board”
It is important that the layout looks clean and professional, you can put your own design spin on it but make sure it is easy to understand!
I tend to make sure I have visuals that represent the various parts of the project- for a photoshoot that may be the feeling of the light I want, a model pose or clothing I think fits, location and then some more abstract images that communicate a mood or vibe.
Woohoo!!
Now we have the makings of a concept! With this information you can head out and start pitching projects to clients, designing your own photo shoot or film and bringing it all to life!
Photography in collaboration with Taylor Olthoff: Shooting done by Taylor, modeling and editing done by me.
Recent Posts
Shop With Me on Etsy! Click A Photo Below!
Join Me on Instagram!
Pin it for later!
Want More?
Consciously Direct Your Viewers Emotions: Color Psychology For The Photographer
Do you want your art to emotionally impact your viewer? By simply understanding the principles of color psychology photographers can guide their viewers to any emotional destination they choose!
Growth Mindset vs Fixed Mindset- How A Simple Mindset Shift Can Propel Your Skills To The Next Level
The individuals who excel at their crafts are not the most “talented”, they are the ones who have what is called a “growth mindset”
Cultivating this mindset can lead to unparalleled success in whatever craft or skill set you decide to set your mind to.
How to Create a Vision Board for 2021
While the term “vision board” can seem “woo-woo” to many of us it is actually one of the best ways to program your goals and ideals into your subconscious.
By seeing images of your goals and desires you have a much higher chance of sticking it through until these goals become a reality!




0 Comments