Kalalau Trail Kauai: Your Ultimate Guide To Backpacking The Napali Coast

Don’t have time to read it now? Save it for later!
Backpacking the Napali Coast isn’t for everyone, but if your the type who loves an adventure, is willing to withstand hours of hiking and enjoys a challenge then it may just be for you.
Imagine with me for just a second… Lush, tropical forests, valley trails filled with guava, avocado and jack-fruit ripe for the picking.
A waterfall only 50 ft from your campsite to fill up your water and shower in and a coastline with roaring waves and soft white sand.
If you wander a bit farther you can find sea caves to explore, the perfect spot to set up your hammock and even fellow hikers tanning in the nude. This is Kalalau Beach- and as idyllic as it sounds- it does come at a cost.
Table Of Contents:
1. Backpacking The Napali Coast Introduction
2. When To Backpack The Napali Coast
3. Why Backpack The Napali Coast
6. Backpacking the Napali Coast Difficulty Level & Dangers
8. How to Get To Kalalau Beach
9. What To Bring On The Kalalau Trail
10. Important Trail Information
Disclaimer: This blog post features affiliate links. This means I get a small commission if you make a purchase (at no extra cost to you :)) !
Backpacking The Napali Coast Introduction
The Napali Coast Trail: The Kalalau Trail
Weaving it’s way through the beautiful valleys of the Napali Coast is the Kalalau Trail. It takes you through lush valleys and onto eroding cliff edges, to reach one of the most gorgeous beaches in the world, Kalalau Beach.
The trail is 11 miles out and back with an elevation gain of 2,500 ft each way. It is not an easy trail, not by any stretch of the imagination. In fact, it was actually ranked #9 on the list of the world’s most dangerous trails.
Where Is The Kalalau Trail
Located in the Napali coast wilderness on the North shore of Kauai this trail meanders along the cliffs and valleys of the world famous coastline.
To get here you have to start from Ha’ena State Park which is located about a 20 minute drive from Hanalei.
Where To Stay Before & After Backpacking The Napali Coast
When planning for the Kalalau trail it is a good idea to take note of the fact that you will most likely have to reserve a stay before and after the trail.
The ideal location to stay would be in Hanalei, Princeville or Kilauea. That way you are close to the beginning of the trail!
1 Hotel Hanalei Bay– This is one of the nicest hotels on the island! It’s gorgeous natural design and beautiful location in Princeville make it a great spot to relax after or before your long hike. This is the most expensive hotel on the list but if you can afford it, it is well worth it!
The Cliffs At Princeville–Located in Princeville this hotel has a beautiful pool and jacuzzi and lovely pool! This is definitely a more mid range option for those looking to save a bit of money.
Puamana Maluhia– Also located in Princeville is this cute 2 bedroom condo. This space is beautifully furnished and gives you access to a kitchen to make a huge dinner after your long hike!
Kauai Shores Hotel-If you don’t mind driving a bit, this hotel is a wonderful mid range option! I stayed here when I visited Kauai and it was a cute, retro feeling hotel. They had a great pool, was right on the ocean and had a restaurant on site which was great.

Accomodation:
1 Hotel Hanalei

Accomodation:
The Cliffs at Princeville

Accomodation:
Puamana Maluhia- Condo

Accomodation:
Kauai Shores Hotel
Watch My Youtube Channel!
When To Backpack The Napali Coast
While Kauai, Hawaii is a year round destination it is a good idea to note that the rainy season is from November- March while the dry season is usually June- September.
Winter time also brings larger swells so if you are looking to sea kayak to Kalalau Beach that will only be possible in the Summer.
Rainy season will also make the trail slicker. We did the trail in September and I thought it was the perfect season for it!
We got sun each day with a few short showers of rain that lasted about 15-30 mins before clearing to reveal blue skies.
Kalalau Trail Weather
The weather in Kauai generally stays between the temperatures of 69-89 degrees Fahrenheit.
Different areas of the island do tend to get different amounts of rain- the Napali Coast and the Hanalei areas are much lusher than the rest of the island- which means tons of rain showers!
When we did the Kalalau trail it wasn’t uncommon for it to dump rain for about 15 minutes then clear up and reveal blue skies only to go back to a quick rain dump an hour later.
Why Backpack The Napali Coast?
 An Adventure Of A Lifetime
The Kalalau Trail is one of the most gorgeous places on this earth. It truly feels like you are heading off the grid and into the garden of Eden.
Not many people get to experience places like this and you can count yourself lucky if you are one of them!
Avoid The Crowds
If you want to get farther away from the rest of society- the Kalalau Trail is for you! After Mile 2 the trail gets quiet and you will only pass a few hikers on the way to this majestic location.
This beautiful trail will give you a taste of what Hawaii is really like- away from all the resorts and tourist filled beaches. You will be able to feel the island for what it really is- peace and paradise.
 Photography
If you are like me, you find that capturing a beautiful place is almost as good as actually being there.
The Kalalau trail, with its gorgeous vistas, unreal sunsets and peaceful sunrises is the perfect place for a creative type.
On each turn you will find inspiration- from the lush green of the jungle, the deep blue of the ocean and the warm cast of light at sunset you will be sure to come away from this trip with images of a lifetime.
Kalalau Trail Map
Backpacking The Napali Coast
Kalalau Trail Kauai
Statistics
![]() Kalalau Trail Hike Length: 22 miles out & back
Kalalau Trail Hike Length: 22 miles out & back
![]() Kalalau Trail Hike Elevation Gain: 5,000 ft of ascent
Kalalau Trail Hike Elevation Gain: 5,000 ft of ascent
![]() Kalalau Trail Elevation: 3,609 feet
Kalalau Trail Elevation: 3,609 feet
![]() Kalalau Trail Difficulty Level: Very Challenging
Kalalau Trail Difficulty Level: Very Challenging
![]() Kalalau Trail Time: 10-12 hours
Kalalau Trail Time: 10-12 hours
![]() Trail Markers: An occasional sign marks the way along with mile markers. The trail is quite narrow and there is not really anywhere else you could go so it would be quite difficult to lose the trail in most areas.
Trail Markers: An occasional sign marks the way along with mile markers. The trail is quite narrow and there is not really anywhere else you could go so it would be quite difficult to lose the trail in most areas.
Backpacking The Napali Coast Difficulty Level
Very Difficult
This trail is not to be underestimated. The length and elevation gain of the trail is only one factor.
You also need to factor in the humidity of the climate, the intensity of the sun, possibility of heavy rain/ flash floods, the slick, rocky terrain and the multiple stream crossings and narrow cliff sections.
Backpacking The Napali Coast Dangers
The Kalalau Trail is considered one of the most dangerous trails in the world. This is because of the large number of fatalities that have occurred on the trail.
The main dangers on the trail come from flash flood possibilities and cliff sections. There are many stream crossings and a few larger river crossings.
You have to be very careful not to cross these at the wrong time– these are the sections that have contributed to the most deaths.
Other dangers come from the narrow trails on the cliff sections. While most of the hike a fall wouldn’t be fatal there are a few sections where if you fell you would plummet straight into the ocean where crashing surf would pound you directly into the rocks.
Do You Need A Permit To Hike The Napali Coast: Kalalau Trail Permits
How To Get Kalalau Trail Reservations
To get access to the Kalalau trail you will need to acquire permits from the Hawaii government. You can apply and buy permits 90 days before the date you would begin your hike.
Getting permits for the Kalalau trail felt similar to getting tickets to a concert- you want to be on the website at midnight the night they drop so that you can get them before they are gone.
When we got our permits they were all gone after only 5 minutes. Luckily, my friend Kelsey managed to score 2 for us!
You can go here to learn about what permits you need and how to get them. You can find the camping specific permits here.
How Long To Get Permits For when Backpacking The Napali Coast
3-5 Days
Before selecting your permits you will want to decide on the length of time you want to purchase them for.
When I did the Kalalau Trail we reserved the permits for 3 days. We used the first day to hike into the beach, the second day to explore and the third day to hike out.
If I were to do it again I would stay for at least 2 more days for 5 total.
After only one day of hanging out I really did not want to hike back out. There was a valley trail I wanted to explore, and more playing in the sea caves I wanted to do.
If you are going to take all that time to hike into the beach, might as well make the most of it and stay for a while!
Having 4-5 days also gives you the option of camping at the first camp spot- at mile marker 6 if you do not want to hike all the way to the beach on the first day or all the way back on your last. This breaks up the hike and makes it a bit more bearable.
Kalalau Trail Parking
When beginning your backpacking trip to Kalalau Beach you will have to leave your car somewhere.
There are two areas you can leave your car:
The Haena State Park Parking Lot: This is where we decided to leave our car. To park here you will need a parking pass, which you can purchase here. You will need your camping permit first to purchase these.
I would be aware that many cars have gotten broken into here and would HIGHLY recommend not leaving any suitcases or valuables in the cars.
Waipa Park & Ride: When parking here you will have to take the shuttle to and from Haeana state park. This means that when you get back to the trailhead after the long hike out you will then have to wait for the shuttle to take you back to your car.
Kalalau Trail Shuttle
If you park at the parking lot near Princeville you will have to take the shuttle to and from the trail. You can purchase tickets to the shuttle beforehand here.
The shuttle runs from 6:20 AM to 6:40 PM.
Kalalau Trail Luggage Storage
As there is a high rate of car break-ins in Kauai I would highly recommend not leaving your valuables or suitcases in your car when you are hiking the Kalalau Trail.
If you are staying at a hotel after the trail you should be able to call in and ask if they can provide luggage storage for you while you are on the trail. Many hotels will do this.
If you cannot get your hotel to hold your luggage while you are gone, you can use a service called Elite Baggage.
The lady who ran it was kind enough to pick up our luggage from our hotel and then hold it while we were on the trail- this gave us peace of mind that our belongings were safe.
How To Get To Kalalau Beach
To get to Kalalau Beach you have a few options:
Backpacking Kalalau Trail
This is the most common way to get to Kalalau Beach, backpacking it!
You can choose to spread the backpacking trip to the beach out over 2 days and camp at the Mile 6 campsite the first night and then at the beach the second or you could send it all the way to the beach in one day!
That’s what we did and if you’re in good shape and used to backpacking I would highly recommend it! Make sure you reserve a permit 90 days in advance. You can find permit information here.
Day Hiking Kalalau Trail
If you are feeling crazy, you could, in theory, day hike to Kalalau Beach. I’m going to go ahead and say I do not recommend this, but I have seen some trail runners do it and well props to them! Keep in mind you still need a camping permit to do this- anyone in the valley needs a camping permit legally. You can find those here.
Sea Kayaking To Kalalau Beach
In the Summer time- through late September you can also sea kayak to the beach.
This way allows you to get to the beach much faster and avoid all the dangers that the trail comes with.
In saying that, the waves off of the Napali coast can get quite big so you will have other things to worry about. If you decide to take this route I would highly recommend going with a tour company or guide! After a quick search I found a guiding company that offers it- you can find that here.
Backpacking The Napali Coast
What To Bring On The Kalalau Trail
Kalalau Trail Backpacking Items
If you are backpacking the Kalalau you will need to bring your basic backpacking items:
- A Tent
- Backpacking Bag
- A Sleeping Pad
- A light sleeping bag- or just a quilt!
- A Camp Stove
- Hiking Poles
- Food
- Water
- Water Filter
- Water Bottle
- Water Bladder
- First Aid Kit
- Headlamp
- Satellite Phone
- Camp Pillow
- Lightweight Lantern
- A Hammock
- Sunscreen
- A Downloaded Map- I use All Trails
What to Wear On The Kalalau Trail
- Hiking Shorts
- Synthetic lightweight tank top
- Rain Jacket
- Bathing Suit
- Sandals
- Hiking Boots
- Sun Hat
- Sunglasses
Check Out All My Backpacking Gear Favorites!
Backpacking The Napali Coast:
Important Trail Information
Kalalau Trail Campsites
While on the trail there are two main campsites:
Mile 6 Campground
The mile 6 campground is located a little bit past the halfway point of the trail to Kalalau Beach.
Tucked in a dense forest next to a stream perfect for filling up your water this is the perfect place to camp if you do not want to do the entire trail in one go.
I will say there aren’t any views and it is a bit hot and humid in the forest- the Kalalau Beach campground is far more beautiful than this one so if you can, I would recommend pushing through to the beach.
Kalalau Beach Campground
This is the main campground on the trail and one of the most beautiful I have ever slept in! Tucked right off the beach in the trees you will find many available camping spots.
We chose to pass the first few campsites we saw in favor of getting one closer to the beach and to the waterfall- I believe we chose correctly!
Feel free to set your packs down and go explore before committing to one or the other.
At the beach campground there are also a few different bathrooms, which are a bit gross if I am being honest but are good to have access to.
The water source is the waterfall which is towards the end of the path. Find a hiker who has been there longer and ask for directions- almost everyone here is super friendly!
Water On The Trail
When backpacking such a long and hot trail it is essential to have a water filter available to keep yourself hydrated. Luckily, there are multiple river crossings and more stream crossings than I could count!
The best place to fill up in the middle of the trail is at mile 6! Otherwise there are water sources at least 1x every few miles so you shouldn’t be without access to water for very long.
Kalalau Trail Waterfalls: Side Hikes
If you want to explore a bit more of the trail there are a few side trails you can take on your way to Kalalau Beach.
Hanakapiai Beach
Only 2 miles into the Kalalau trail you will find Hanakapiai Beach, this area of the trail will be filled with day hikers who want a little taste of hiking on the Napali Coast.
This is a beautiful beach and you can stop for a quick breather here before carrying on- or join the day hikers and make this your destination!
Keep in mind- if you do want to do this trail you will still need a reservation for Haena State Park! You can find that here.
Hanakapai’i Falls
This is the first side hike you will find on the Kalalau trail- located at Mile 2 of the trail. This would be a perfect day hike for those who do not want to do the entire backpacking trip! Find more information here.
Hanakoa Falls
Hanakoa Falls is the second hike you will encounter on your way to Kalalau Beach. It is located at Mile 6 and is only 1 mile round-trip. Apparently the waterfall is 1000 ft!!
Photos from this waterfall make it look absolutely gorgeous- the next time I make it back here I will definitely be hiking it! Find more info here.
Backpacking The Napali Coast
Kalalau Trail Overview
Kalalau Trail 1st 2 Miles
Upon leaving the parking lot in Haena State Park you begin your hike on a raised boardwalk through Taro fields, this first quarter mile doesn’t really count- simply taking you to the Napali Coast Wilderness Entrance and the beginning of your long journey to the beach.
Once you reach the Napali Coast sign you are exactly 11 miles away from your destination– what an exciting day it is!
Immediately upon starting the trail you are heading uphill- through beautiful vines and a lush green forest you start to get an idea of what this trail has in store for you.
Hiking alongside you are day hikers, heading to Hanakapai Beach. Most of them will be under prepared, wearing flip flops and bathing suits and slipping & sliding on the muddy ground. From the glances you get you both understand that your days are going to be very different.
At around mile 1 you get your first view of the Napali Coast- stretching out in front of you. You will be traveling through these valleys- take it all in!
Mile 2 rolls around quickly and you drop down to your first river crossing right at Hanakapai Beach. Here you will pass beyond the realm of day hikers and into the true sections of the Kalalau Trail.
Kalalau Trail Mile 3-6
Mile 3 of the trail begins with a long, steady and unrelenting incline. Here the sound of tourists start to disappear as you venture further along the noticeably less kept up trail.
Take your time on this section- from what I remember it is the longest section of elevation gain and you will need your energy to last the entire day.
At around mile 4.5 you will come out to another viewpoint. This time you can see in front of and behind you.
You are officially hiking the Napali coast! Woohoo! Take a second to enjoy the fresh ocean breeze.
The next mile and a half passes while you weave in and out of the valley. The trail you will quickly learn tends to alternate between humid forest sections as you climb in and out of the valleys and cliff sections that wrap you around to the next valley.
Finally, you come to mile 6. There is a perfect river here for filling up water and dunking your head.
Here you can decide to call it a day and set up camp or do what we did- take a snack and water break and head to the beach!
Kalalau Trail Mile 7-8: Crawlers Ledge
Up until now the trail has been quite safe and sheltered, mile 7 is where that comfort ends. For the next two miles you will be crossing the most exposed section of the trail.
If it is getting dark or intensely stormy by the time you are approaching mile 7 I would HIGHLY recommend turning around and camping at mile 6.
You do not want to be stuck in this terrain without light or relatively calm weather.
Crawlers Ledge
The first section you will come to is the infamous Crawlers Ledge.
This is known as one of the most dangerous sections of the trail due to it’s narrow trail, rocky terrain and exposure to the crashing waves below. Try your very best not to fall here- it could be fatal.
You approach Crawlers Ledge by descending from the valley above- the descent is actually quite nerve racking as you are what is called “scree”.
“Scree” is small, loose rock, that tends to move and slide when you step on it.
If you can, use your hiking poles to stabilize you and take your time. Make sure to plant yourself and find larger rocks that seem steady to keep solid ground below you.
Once you make it to the Crawlers Ledge you can use the rocks beside you to hold onto. Luckily, this is quite a short section.
Once you get past Crawlers Ledge you approach a second exposed section of the trail. This section of the trail traverses along a washed out cliff edge on scree- the small rocks we talked about before. Take it very slowly here.
Once you pass these two sections you will be diverted back into the forest. Take a breather and congratulate yourself- you just passed the worst of the trail.
Kalalau Trail Mile 9-11
You have passed the worst part of the trail, now it’s almost time for your reward! Two more miles stands between you and one of the most gorgeous beaches in the world, muster up that energy and continue on!
Mile 9-11 takes you through the forest and finally out onto what is called “The Red Hill”. Here you will get your first glance of the breathtaking Kalalau Valley.
Trust me- if there is any time to pull out your camera, this is it!
As you descend Red Hill you can start to rejoice- the beach is within view! One more river crossing to go and you will be at the beach and on flat ground.
After the river crossing you will be on flat ground, in the forest and basically to the beach. Congrats you made it!!!
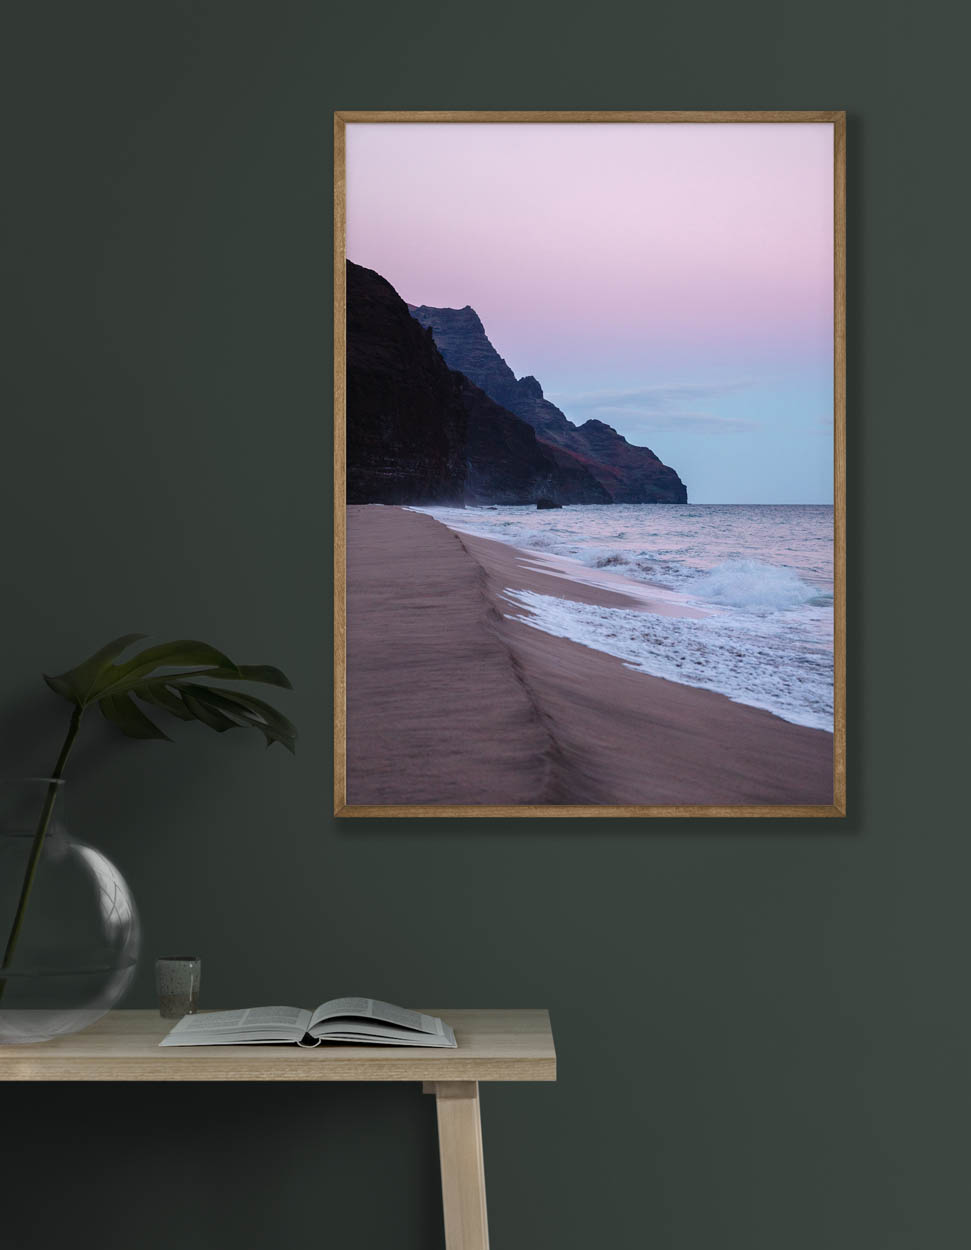
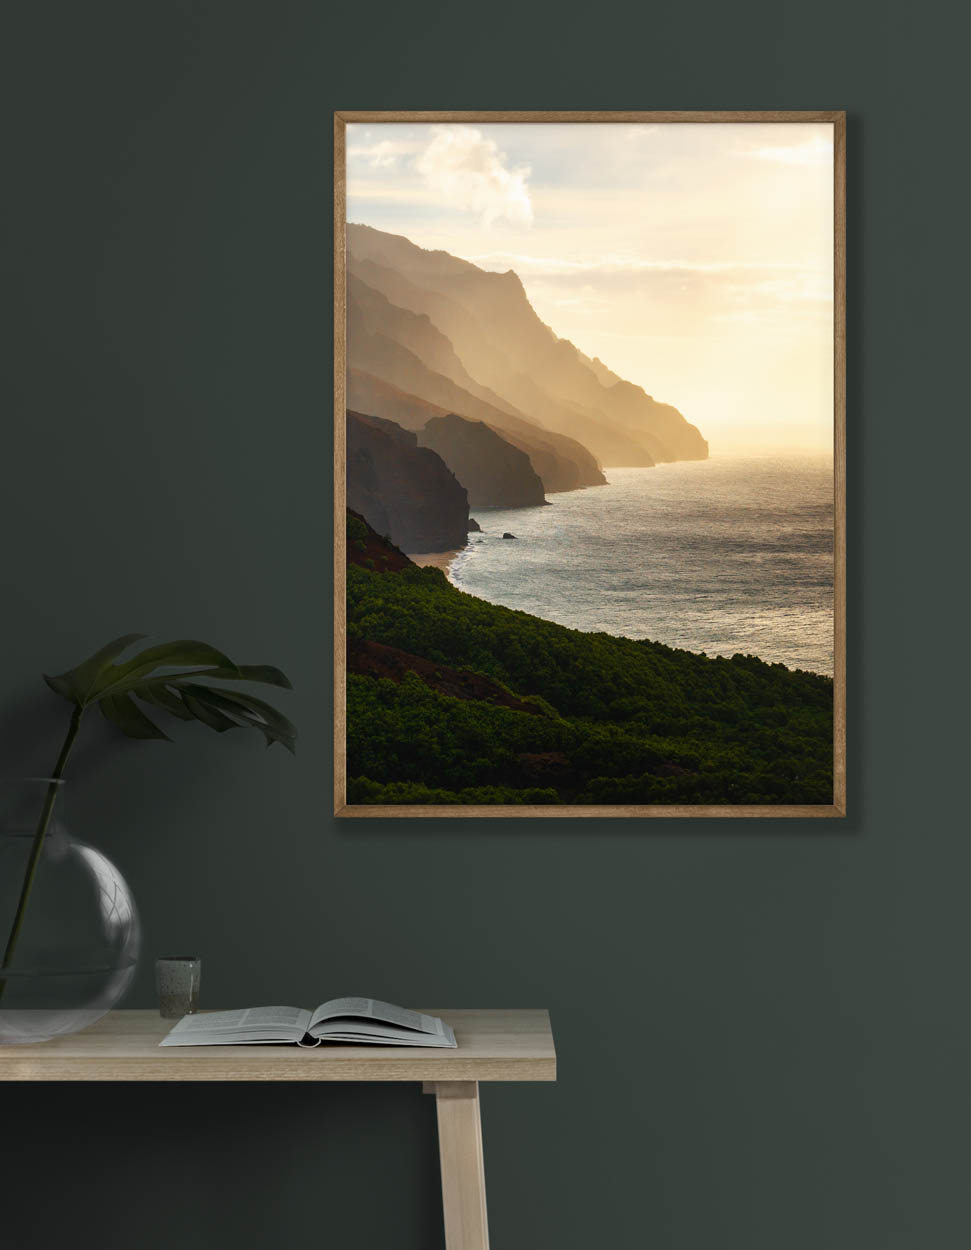
Check Out My Hawaii Wall Art!





What To Explore At Kalalau Beach
 Sea Caves
One of my favorite parts of Kalalau Beach was exploring the sea caves. Nothing like a remote beach, and a giant sea cave to bring out your inner Indiana Jones!
To find the sea caves you will walk to the very end of the beach. You will turn left and enter into the sea caves- from here you can begin your exploring!
The Valley Trail
While I did not personally get to experience the Valley Trail I heard about it from many other hikers.
There is a trailhead sign that marks the beginning of the Valley trail. If you download it on All Trails you will be sure to have accurate information on where to begin.
From here you can follow the trail up to a garden of sorts where past valley dwellers have planted fruit trees like avocados, jackfruit and guava! I have even heard you can hike a bit farther and find a relaxing waterfall and pool to hangout in.
 The Waterfall
At the end of the beach you will find a gorgeous waterfall that cascades down the cliff. Here you can fill up water, take a quick shower or just admire the water.
Backpacking The Napali Coast Conclusion
Backpacking the Napali Coast is a once in a lifetime type of experience.
It will challenge you and help you face fears you probably didn’t even know you had, while at the same time it will nurture your soul with it’s beauty and peace.
I hope this blog post gave you all the information you need to embark on this trail safely.
Leave me a comment if you have done, or want to do this adventure in the future 🙂
Check Out More Adventures!
Recent Posts
Shop With Me on Etsy! Click A Photo Below!
Join Me on Instagram!


