
Artist Point Snowshoe- The Best Winter Activity In Washington!

Don’t have time to read it now? Save it for later!
Getting out into the mountains is one of my favorite ways to fight the winter blues and the Artist Point snowshoe is by far the best mountain snowshoe in Washington!
This blog post goes over everything you need to know while planning a trip to snowshoe at Artist Point!
Disclaimer: This blog post features affiliate links. This means I get a small commission if you make a purchase (at no extra cost to you :)) !

Artist Point Snowshoe- Is It Worth It?
If you live in Seattle or somewhere in southern Washington you may be wondering if the snowshoe to Artist Point is worth the long drive.
While Winter causes the best of us to feel like homebodies I can say with utter conviction that you will be SO happy you decided to leave your cozy house and get out into the snow- especially on this snowshoeing trip!
Artist Point has some of the best views in Washington State– in fact the view looking over Mt. Shuksan is one of the most photographed in the world. It also routinely gets the most snow in the world- so you have a high chance of walking through powdery goodness!
If you head out on a clear day you can look forward to endless views of North Cascade peaks (and even into Canada!) as well as stunning viewpoints of Mt. Baker and Mt. Shuksan– two of the most beautiful mountains in Washington State.
Artist Point Snowshoe Statistics:
Location: Mount Baker Ski Area- The North Cascades in Washington
When to go: Early November- Early June!
Elevation gain: 1000 ft of gain
Length: 4-4.5 miles RT depending on how far you go
Difficulty: Easy
Avalanche: This route does go through Avalanche Terrain so make sure to check the conditions at Northwest Avalanche Center.
Weather: This route is best on a clear day so you can get all the views! Check the weather at Mountain Weather Forecast.

Location Of Artist Point
Getting there From Bellingham: Driving Time: 1.5 hours
Take Mt.Baker Highway all the way to the end of the road. You will come upon Heather Meadows and Picture Lake- keep driving past picture lake and past the ski lifts.
On the right there is a large parking lot- next to the bathrooms at the end closest to the ski area is where you will begin your snowshoe! This lot is free to park in and doesn’t require a permit unless you are planning on staying overnight.
Getting to Artist Point From Seattle: Driving Time 2.5-3 hours
Simply hop on 1-5 North and head towards Bellingham- get off I-5 at Sedro-Wooley and take Highway 9 north until you hit Deming, Washington.
At this point the highway will turn into Highway 542 or Mt. Baker Highway! Take this road all the way to the end. Once you hit Heather Meadows keep going past Picture Lake and past the ski lifts.
At the very end of the road- on the right, there is a large parking lot- next to the bathrooms at the end closest to the ski area is where you will begin your snowshoe! This lot is free to park in and doesn’t require a permit unless you are planning on staying overnight.
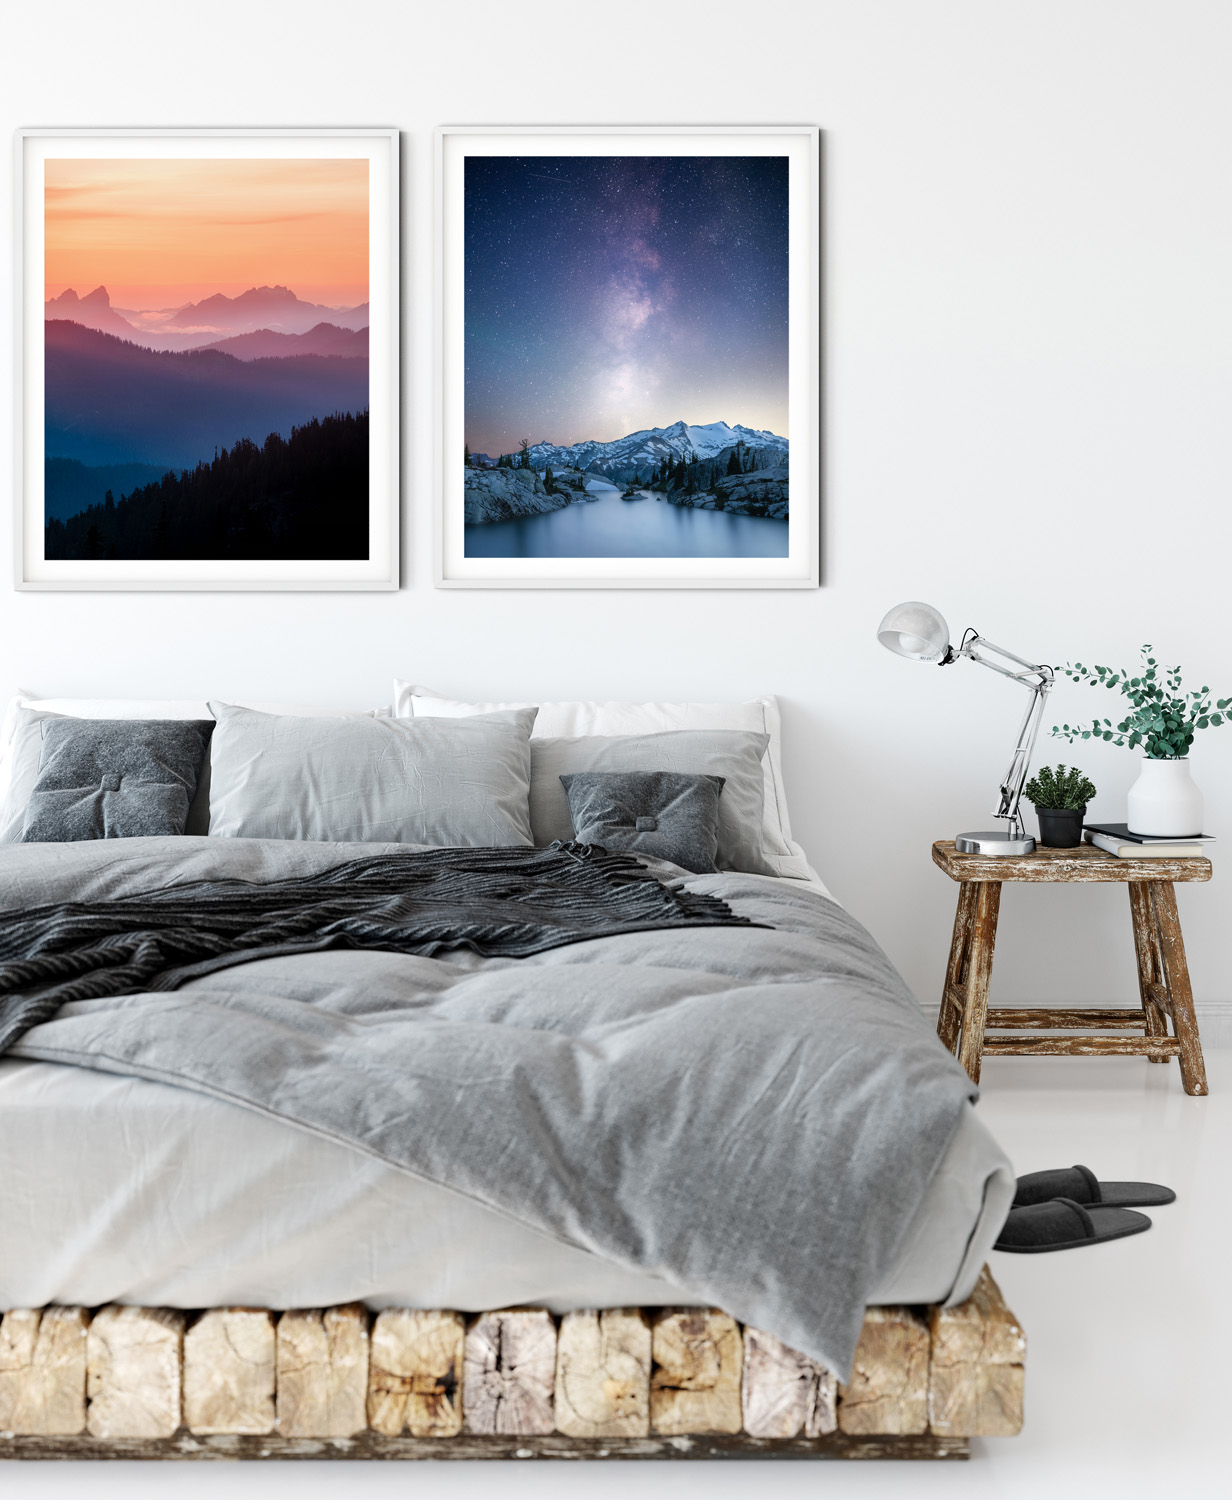
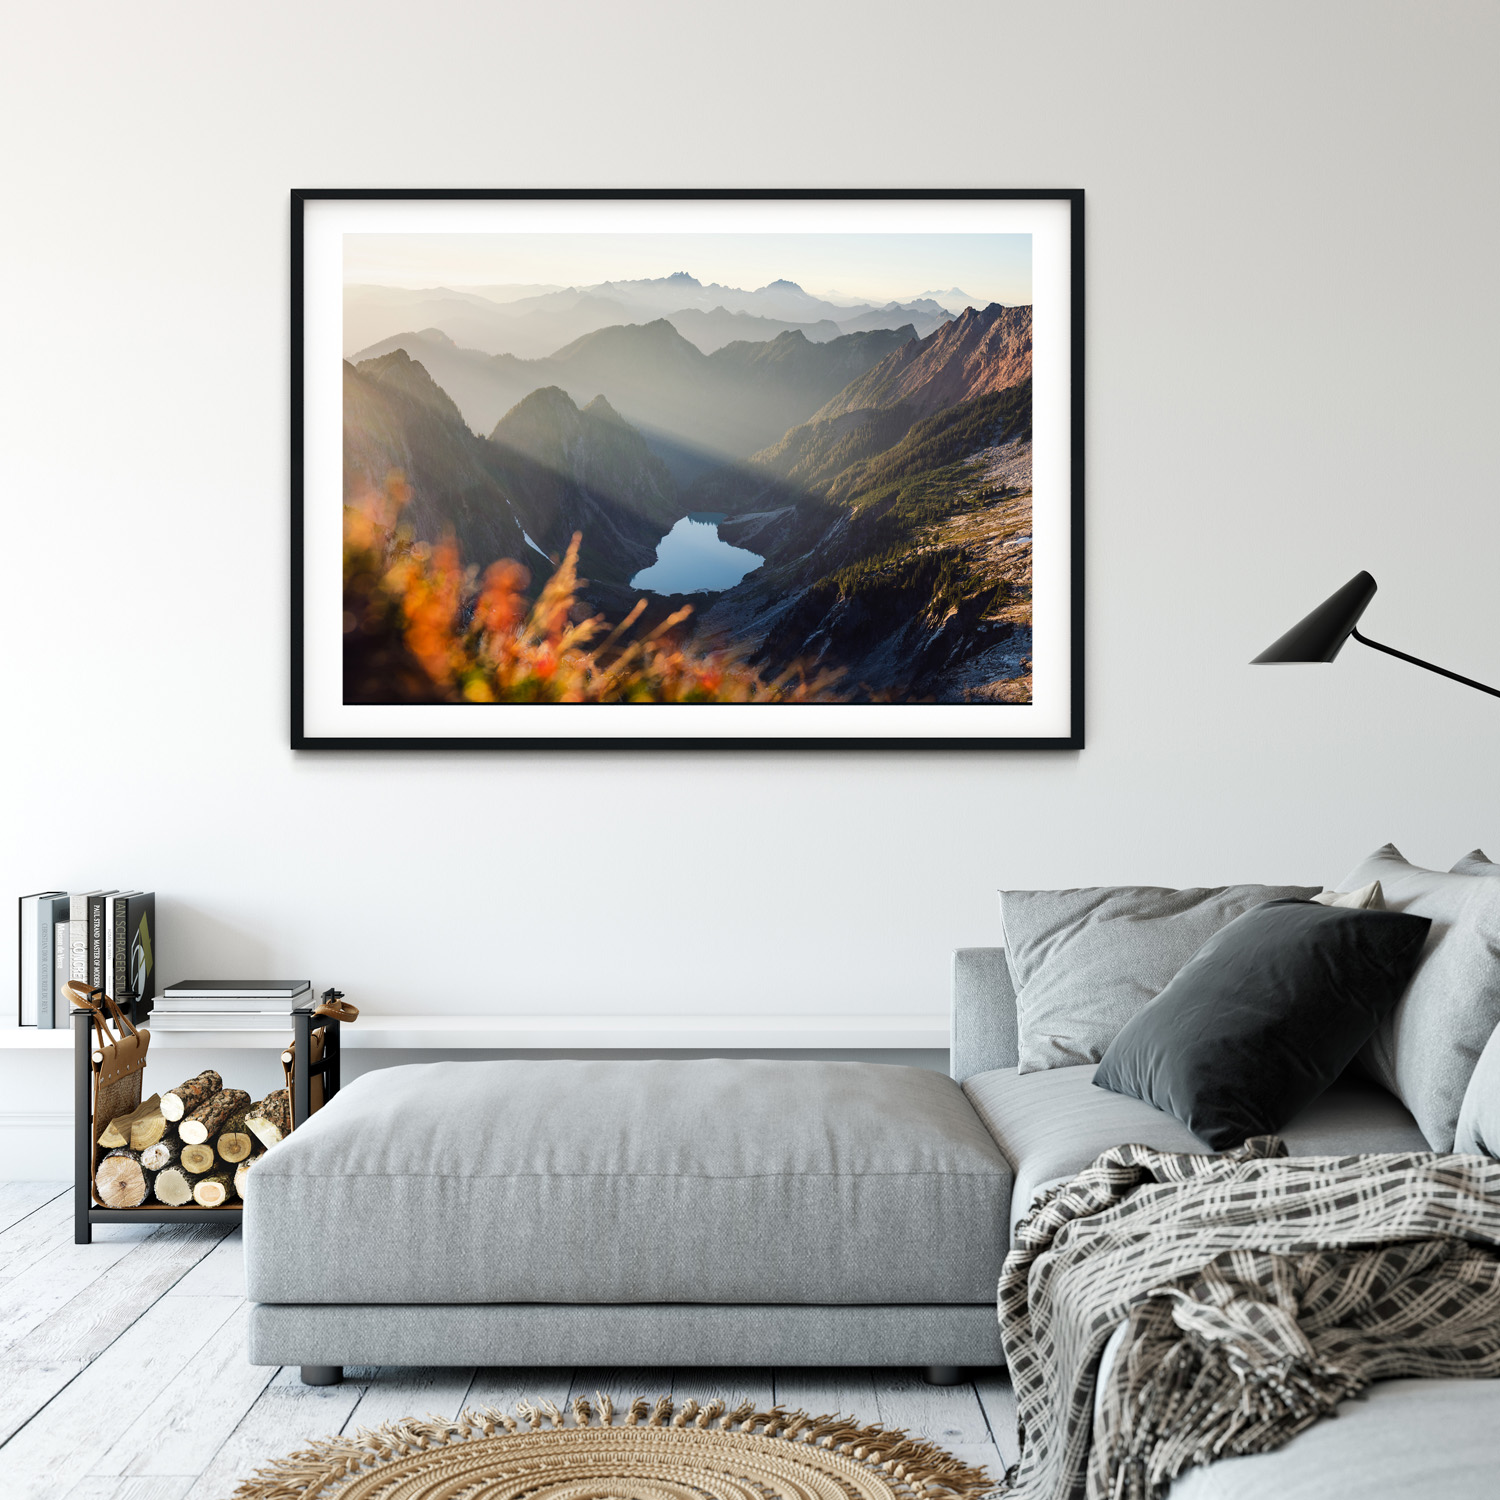
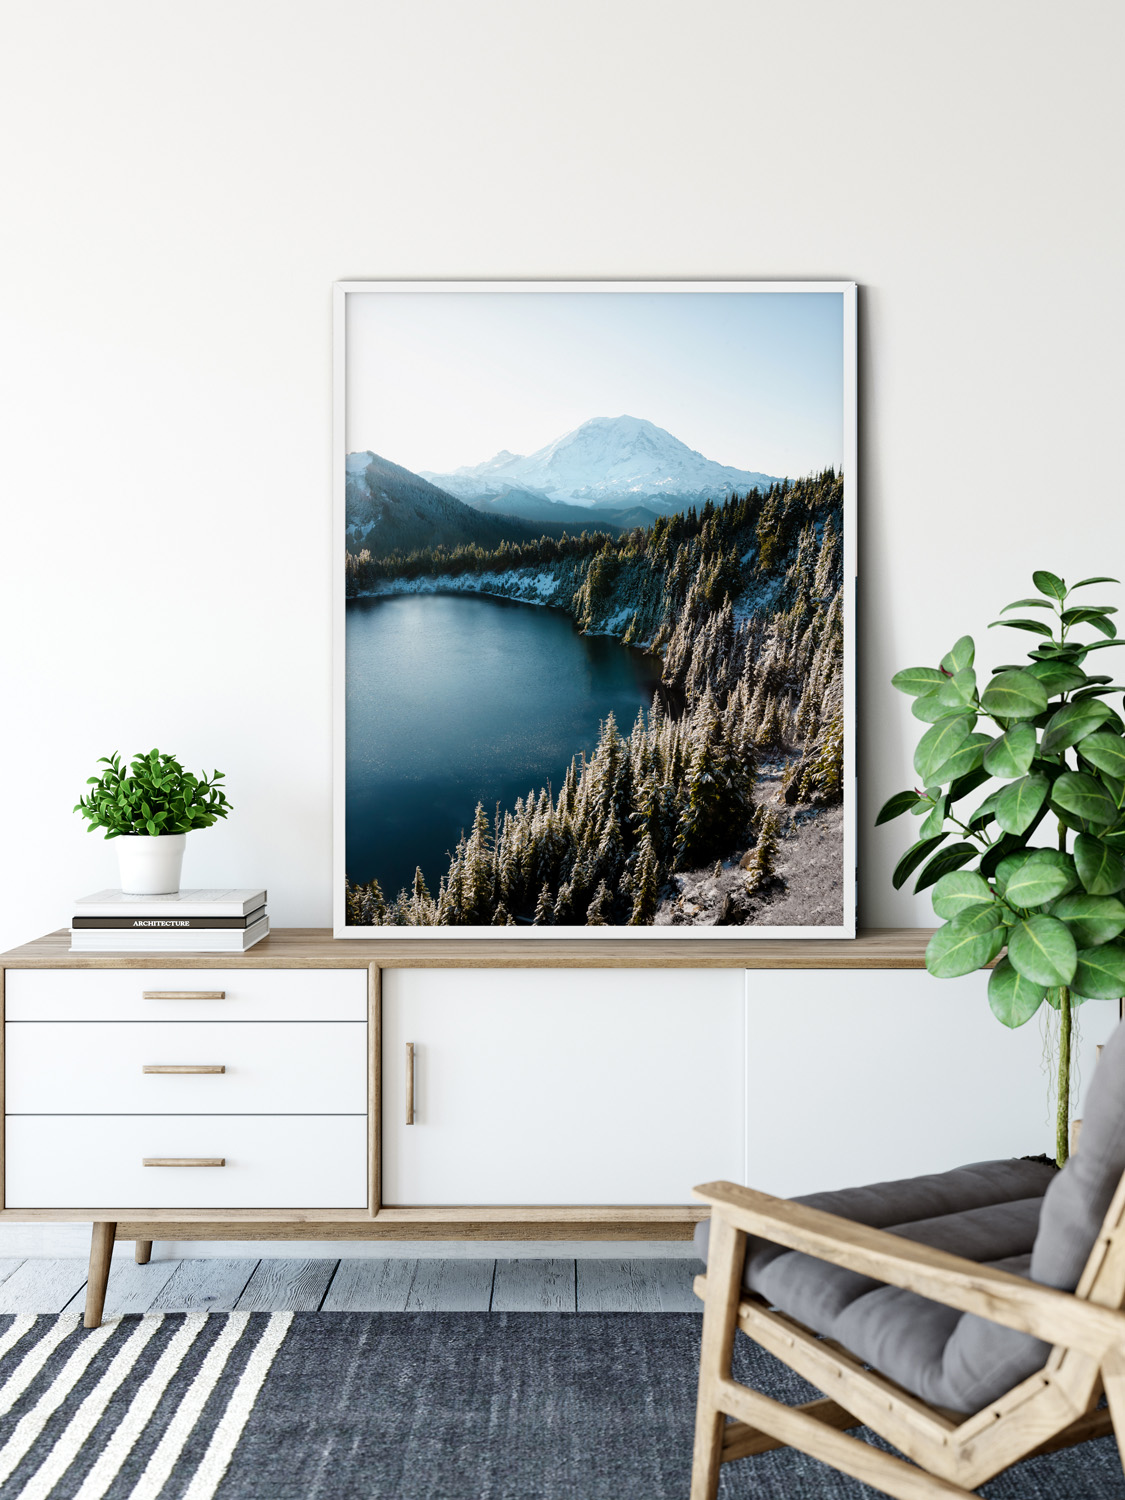
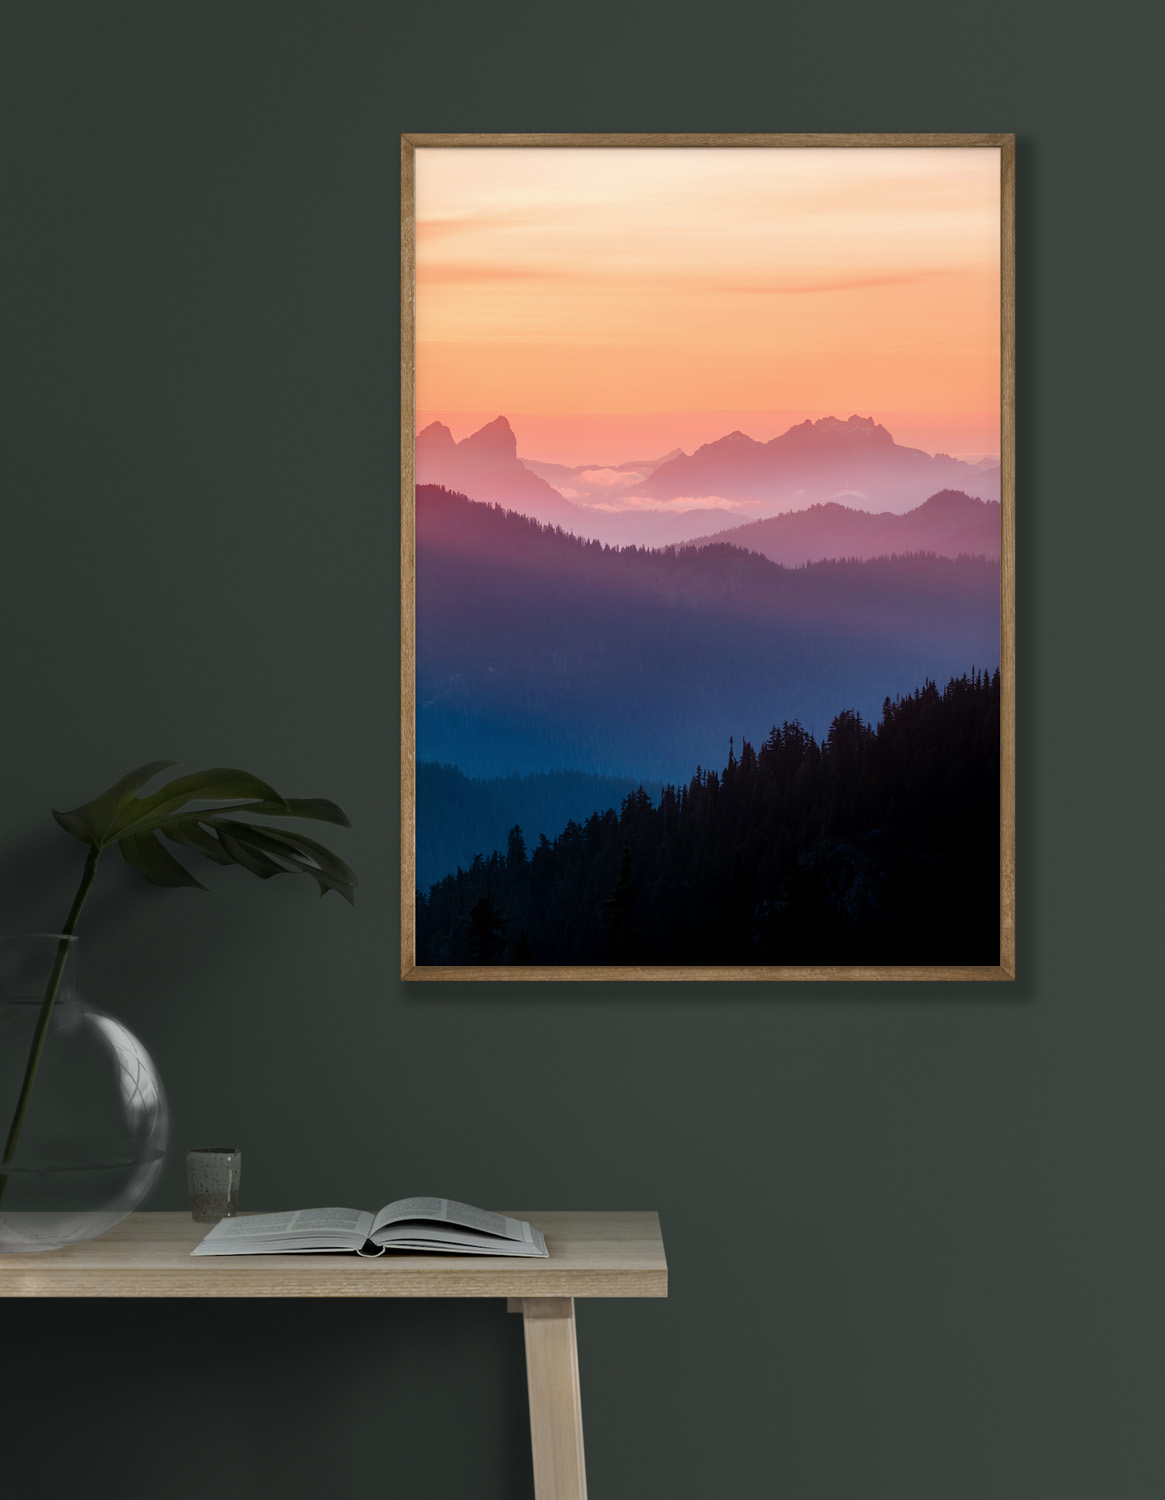
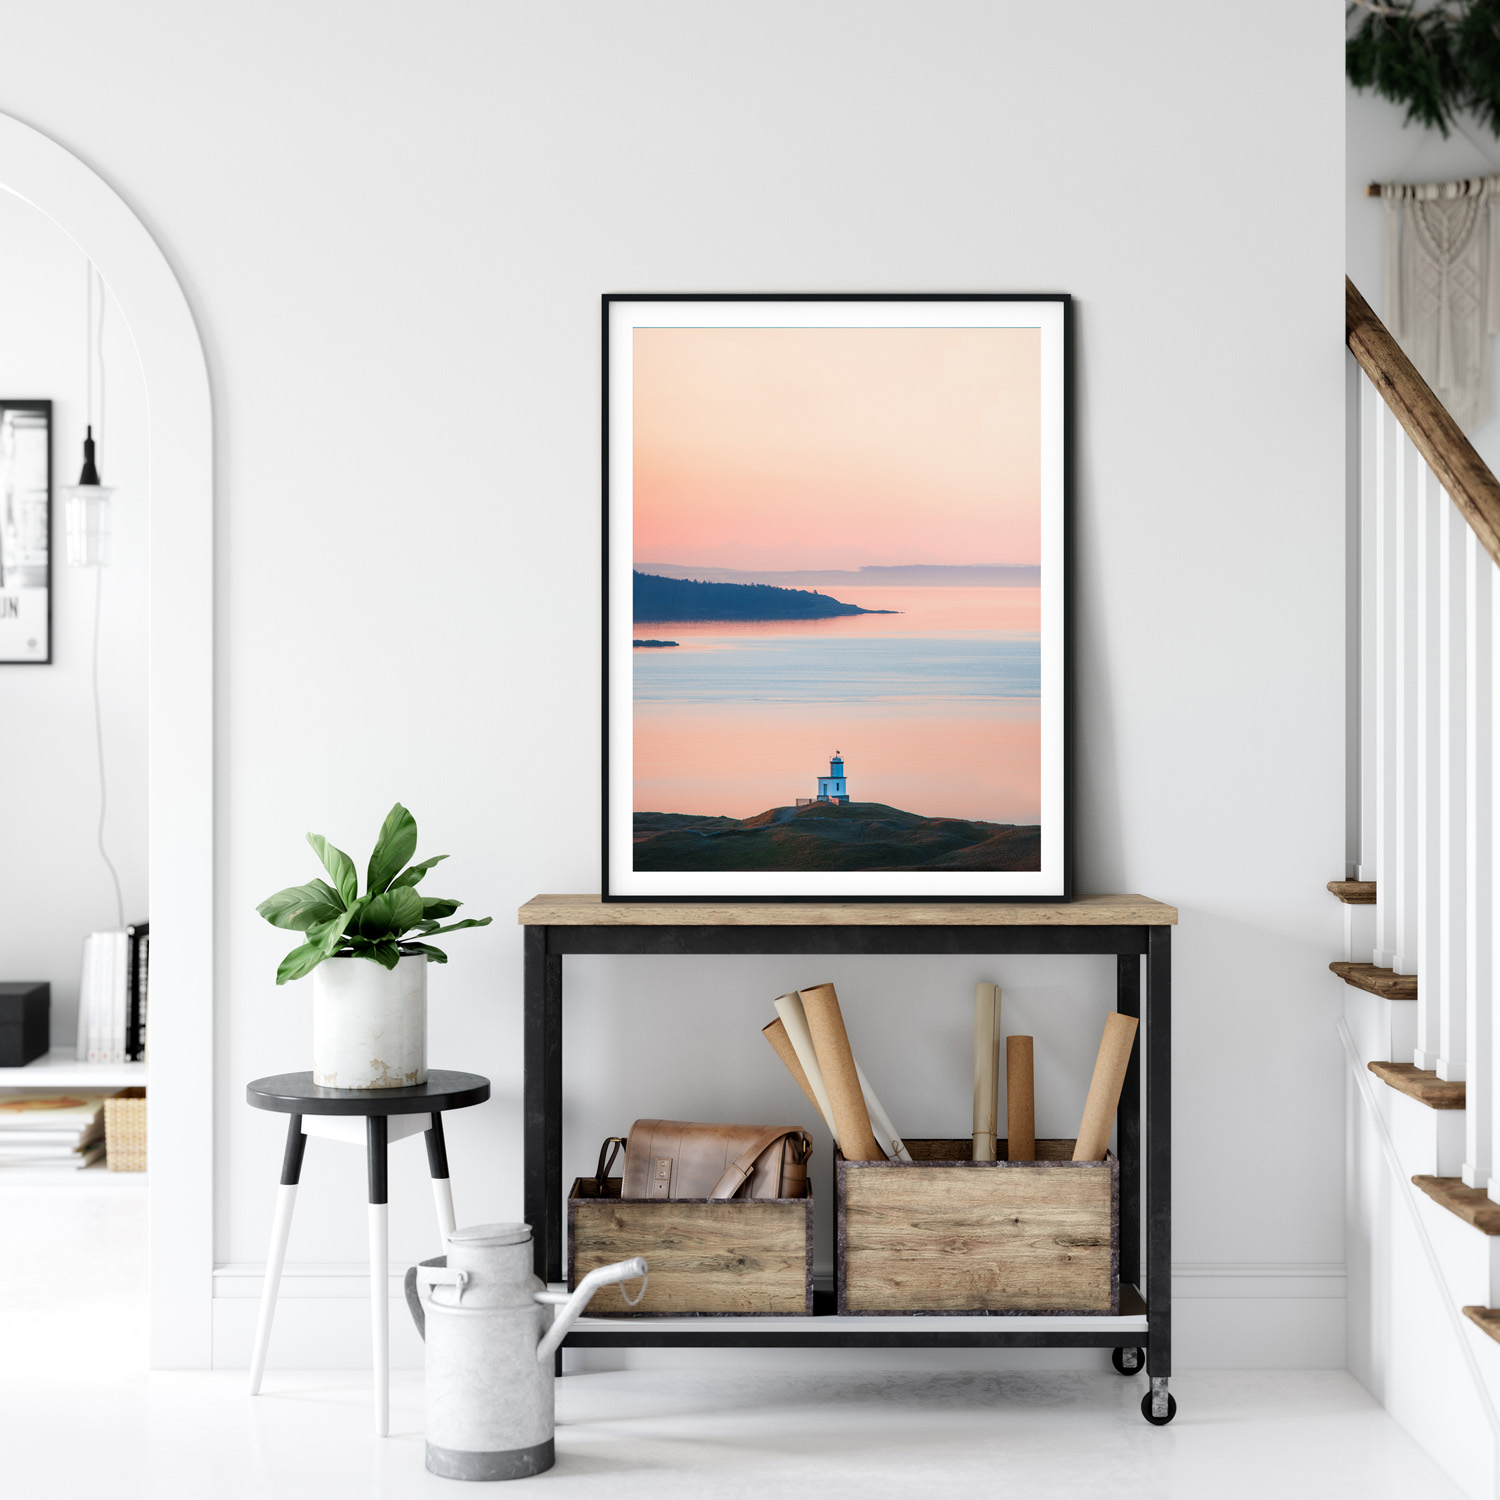
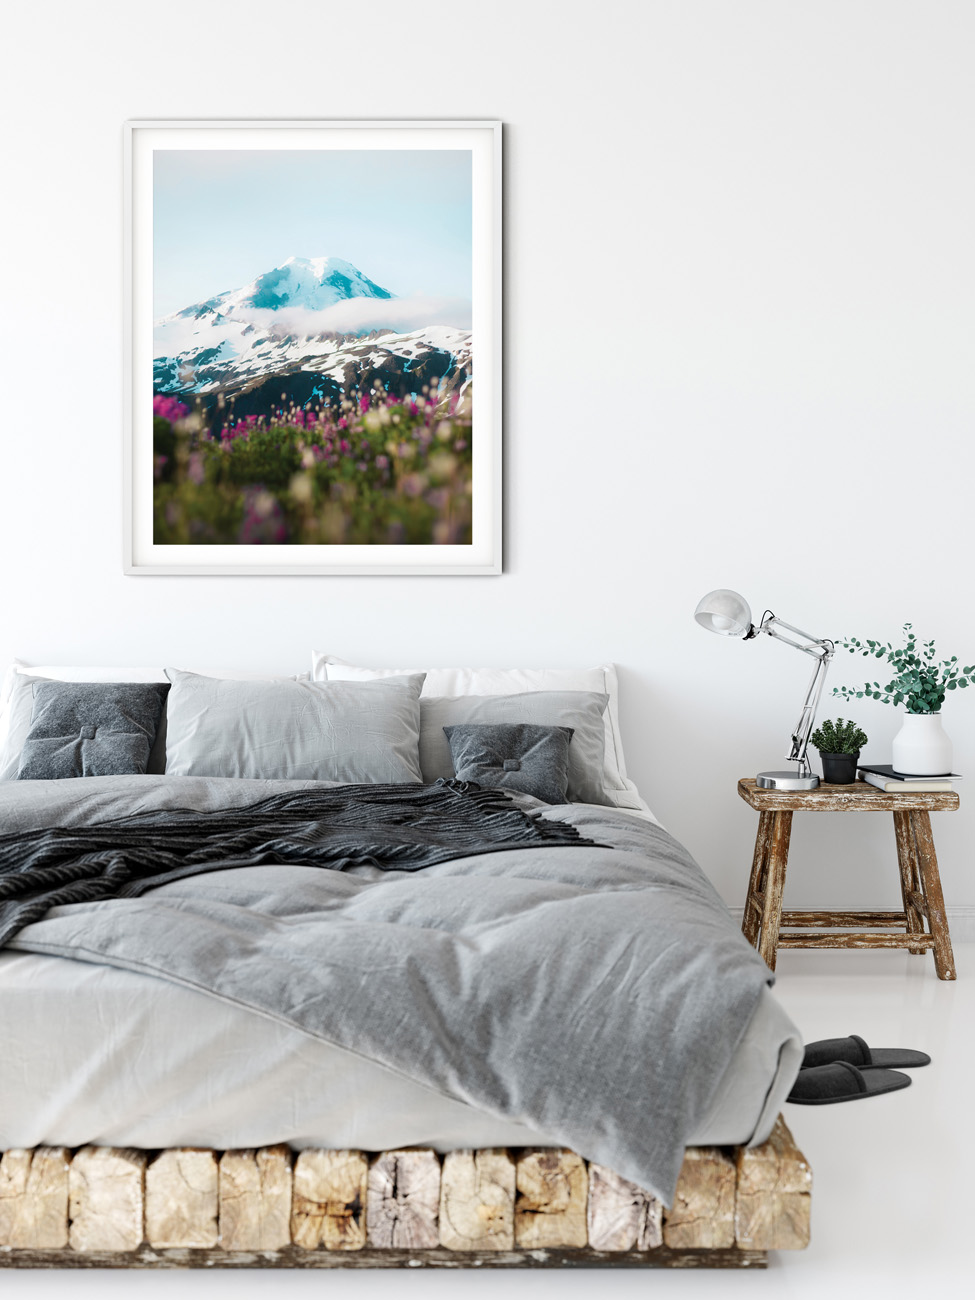
Check Out My Washington Wall Art!


When To Snowshoe Artist Point
Best Time of Year to Snowshoe Artist Point
As early as mid October- Mid June! Artist Point stays under snow most of the year and makes for this wonderful snowshoe.
Best Time of Day to Snowshoe Artist Point
Mid-day makes for a wonderful snowshoe but you truly cannot beat snowshoeing to Artist Point and watching the sunset there. The alpen glow on the mountain peaks is truly unforgettable. Just make sure you have a headlamp and GPS to guide you back safely!
Avalanche Safety
The snowshoe up to Artist Point does in fact go through avalanche territory- and because of the large volume of snow the area receives you need to be aware of the conditions. I would highly recommend checking conditions prior to planning your trip at Northwest Avalanche Center
Weather
If you want to get the best views of Mt.Baker and Mt. Shuksan from Artist Point I would highly recommend aiming to go on a clear day. If you do head out on a cloudy day make sure to have the map or GPS location downloaded as it can easily get fogged in and make for some difficult navigation.
Check the weather forecast at the Mountain Forecast website.


Artist Point Trail Description
Unlike most trails this one is more of a “pick your own adventure” type of vibe. The top can be accessed by a variety of different paths. To make it easy on yourself make sure to download an offline map and use that to guide you.
I personally enjoy using All-Trails on my phone or marking the trail in my Garmin Explorer!
Artist Point Trailhead
If you are at the far parking lot the trailhead begins right next to the bathrooms near the ski area– the bathrooms are just a small little vault toilet in a hut so if you have hit a large building you have gone too far.
First Part Of The Trail
Once you are at the bathrooms you will continue to the left. From here you will see the groomed downhill ski area to your left. There will be a roped off section that differentiates the downhill section and then a sign that says “uphill traffic”- that sign is for you!
Follow along the side of the ski hill for most of the way up. You should be able to see a trail of footprints- follow them up!
Second Part Of The Trail
After you have passed a short and steep section that runs along the ski area the path will start to flatten out. From here you can kind of make your own trail- you will want to continue heading to your left and upwards. If you have a GPS you can look to see where “Huntoon Point” is! This is the farthest & highest section of the trail and the spot with the best views!

What To Bring While Snowshoeing Artist Point
If you have ever gone hiking you will be well prepared for this adventure. The only extra thing you need is (you guessed it!) snowshoes!
If you have never gone snowshoeing- don’t worry too much about a learning curve.
Snowshoeing is essentially hiking with large, flat, plastic things attached to your feet. The only thing you will need to adjust to is making sure you don’t accidentally clip yourself while walking with your other snowshoe.
Snowshoes
I personally do not own snowshoes, luckily for me there are many places you can rent them in the winter!
I will usually rent them from Ascent Outdoors in Ballard, Seattle or from REI! There is an REI in Seattle or in Bellingham that you can check out.
Extra Gear For Snowshoeing
-Poles
Hiking in snowshoes can be a bit frustrating initially- having poles really can help you keep your balance! Most of the places I have rented snowshoes also rent poles for super cheap- if it’s your first time out I would definitely recommend adding poles to your setup.
-Hiking Backpack
Just like normal hiking you will want to bring a nice day pack with you to throw snacks, water, and your 10 essentials in. I personally like to use this one below! It is a 20L pack and so it can hold all of my extra layers and camera gear.
-Insulated Water Bottle
When hiking in the snow things can get pretty chilly- to guarantee your water won’t freeze bring an insulated water bottle!
-Sunglasses
If you are heading out on a sunny clear day you will want to bring polarized sunglasses with you.
Because of the reflection off of the snow it can get ridiculously bright out and being in that for too long can result in snow blindness (essentially a sunburn on your eyes). This is super uncomfortable and I would definitely try my best to avoid it.
– Your 10 Essentials
These are items that should pretty much always be in your bag while you are out hiking in the back country. These include a headlamp, first aid kit, water, snacks, fires starter, extra layers, a knife, map and navigation tool, an emergency bivy and sun protection.
– Hand Warmers


What To Wear While Snowshoeing
-Fleece Lined Leggings or Hiking Pants
Depending on the weather forecast I will either decide to wear a pair of fleece lined leggings (linked below) or hiking pants with a merino wool base layer.
While snowshoeing I can tend to get really warm and want to be able to still have some ventilation. I will only wear the double layer when I think the forecast is going to be really cold.
-Merino Wool Base Layer
My favorite clothing item! Merino wool is a life saver in the cold weather. It keeps you warm AND dry.
Merino wool long sleeves tend to still have enough ventilation that when you are sweating from a long uphill section you wont start to feel damp, but they have enough thickness that when you stop and eat you will still be warm and cozy.
– Fleece Mid Layer
Once you have your base layer all set it is time to add a fleece! Having a nice mid layer is really what allows you to customize your warmth level.
–Puffy Jacket
Puffy jackets are AMAZING for keeping you warm and toasty. For snowshoeing I will tend towards a mid level thickness so I don’t end up overheating while hiking!
-Shell
Having a jacket hard shell on you at all times while hiking is essential- I always remember the saying “wet=cold” and in the Pacific Northwest where we get tons of rain and snow that is amplified even more! Make sure to bring a shell jacket whether or not it looks like it is supposed to snow that day- trust me, being safer with this one always turns out well.


Footwear For Snowshoeing
-Snow Boots Or Insulated Hiking Boots
Since you will be wearing snowshoes you shouldn’t have to worry too much about getting wet feet. In saying that I would still recommend either wearing warm snow boots or waterproof hiking boots! Better safe than sorry 🙂
-Wool Socks
I’m all about making sure my feet stay warm and dry when snowshoeing! For the colder months, I will buy mid-weight socks with thicker padding on the bottom of the sock.
-Gaiters
Gaiters are wonderful for anything in the snow! The strap over your boots and pants to make sure no snow goes into the top of your boots and gets your feet cold!


Extras To Keep You Warm!
-Beanie
Keep your head warm with a cute and stylish beanie 🙂
– A Buff
The buff is like a no-nonsense scarf! I prefer using this over a scarf since it doesn’t get in the way and I can use it as a hair band if I don’t want it around my neck.
– Gloves
I feel like this goes without saying- warm hands are WAY better than cold hands! Bring a light pair of gloves and you should be perfect! I personally like having a pair of liner gloves and then a pair of gortex shell gloves to throw on top if I want to play in the snow or it starts to get really chilly.


Camera Gear To Bring
Check out my blog post on adventure photography gear for hikers!
– 24-70 Lens
This is the perfect all-around hiking lens, if you could only bring one lens I would recommend this one! This will let you get up-close shots of the mountains, portraits, and wider landscape shots.
-70-200 lens
My personal favorite lens! This lens is perfect for getting some crazy scale shots of your friends hiking with the mountains compressed behind them or amazing mountain layers.
– Polarizing Filter
If you’re shooting in the day time with blue skies and snow, a polarizing filter can help you to reduce the glare off of the snow and darken the skies!


Winter Camping At Artists Point
If you want to take your adventure to the next level you can try winter backpacking at Artist Point! This is a stunning place to spend the night and is a great spot to try out winter camping for yourself as you are never too far away from the car.
What To Keep In Mind
Permits
If you want to camp overnight you will need a Northwest Forest Pass for your car- you can buy a day pass here or an annual forest pass here.
Warmth
As you may have already assumed, winter camping is a lot different than summer backpacking. You are going to need more layers, a warmer sleeping bag (I will usually rent a 0 degree bag from Feathered Friends) and a thicker sleeping pad.
Make sure you are checking the weather and avalanche conditions and are prepared for the worst. I would also highly recommend going in groups and having a GPS system like the Garmin in-reach on you. Cold weather camping can be great fun, but beware of the dangers that come with the territory.
Leave No Trace
If you are going to be spending the night out in the back country you will want to keep in mind the “Leave No Trace” rule.
Snow camping has different rules that you will want to brush up on- take a look at this blog post from the Leave No Trace Center For Outdoor Ethics.
Conclusion
The Artist Point Snowshoe truly is one of the best adventures in Washington in the Winter. The first time I did it I just remember gasping at the beauty of it all- my love affair with the North Cascades started then and there!
I truly hope you get to experience the joys of snowshoeing to Artist Point- you won’t regret it one bit.
More Adventures You Will Love!

Recent Posts
24 of the BEST Weekend Getaways From Seattle
Discover the best weekend getaways in Washington from Seattle mountain adventures and coastal escapes to charming towns and cozy cabins.

A Locals Guide to Seattle: 20 Exciting Off-the-Beaten-Path Things to Do
Don't have time to read it now? Save it for later!If you're planning a trip to Seattle and want to experience the best the city has to offer, you're in the right place! I grew up in Seattle and spent over 27 years exploring its neighborhoods, mountains, and...
Your Ultimate Road Trip Guide to Washington National Parks
Discover the best of Washington National Parks in this ultimate road trip guide! Explore the stunning Mt. Rainier, Olympic & North Cascades.
The 7 Best Fall Road Trips In The US
These are the 7 best fall road trips in the United States! Here you will find a road trip for every type of traveler!
Shop With Me on Etsy! Click A Photo Below!
Join Me on Instagram!


More Posts You Will Love!
24 of the BEST Weekend Getaways From Seattle
Discover the best weekend getaways in Washington from Seattle mountain adventures and coastal escapes to charming towns and cozy cabins.
A Locals Guide to Seattle: 20 Exciting Off-the-Beaten-Path Things to Do
Don't have time to read it now? Save it for later!If you're planning a trip to Seattle and want to experience the best the city has to offer, you're in the right place! I grew up in Seattle and spent over 27 years exploring its neighborhoods, mountains, and...
Your Ultimate Road Trip Guide to Washington National Parks
Discover the best of Washington National Parks in this ultimate road trip guide! Explore the stunning Mt. Rainier, Olympic & North Cascades.
0 Comments