Hiking The Ausangate Trek in Peru- The Ultimate Guide For Hikers!

Don’t have time to read it now? Save it for later!
The Ausangate Trek in Peru- the hike that should be on every adventurer’s bucket list.
Yes, yes I know that was a huge statement, but after reading this blog I promise you will understand why!
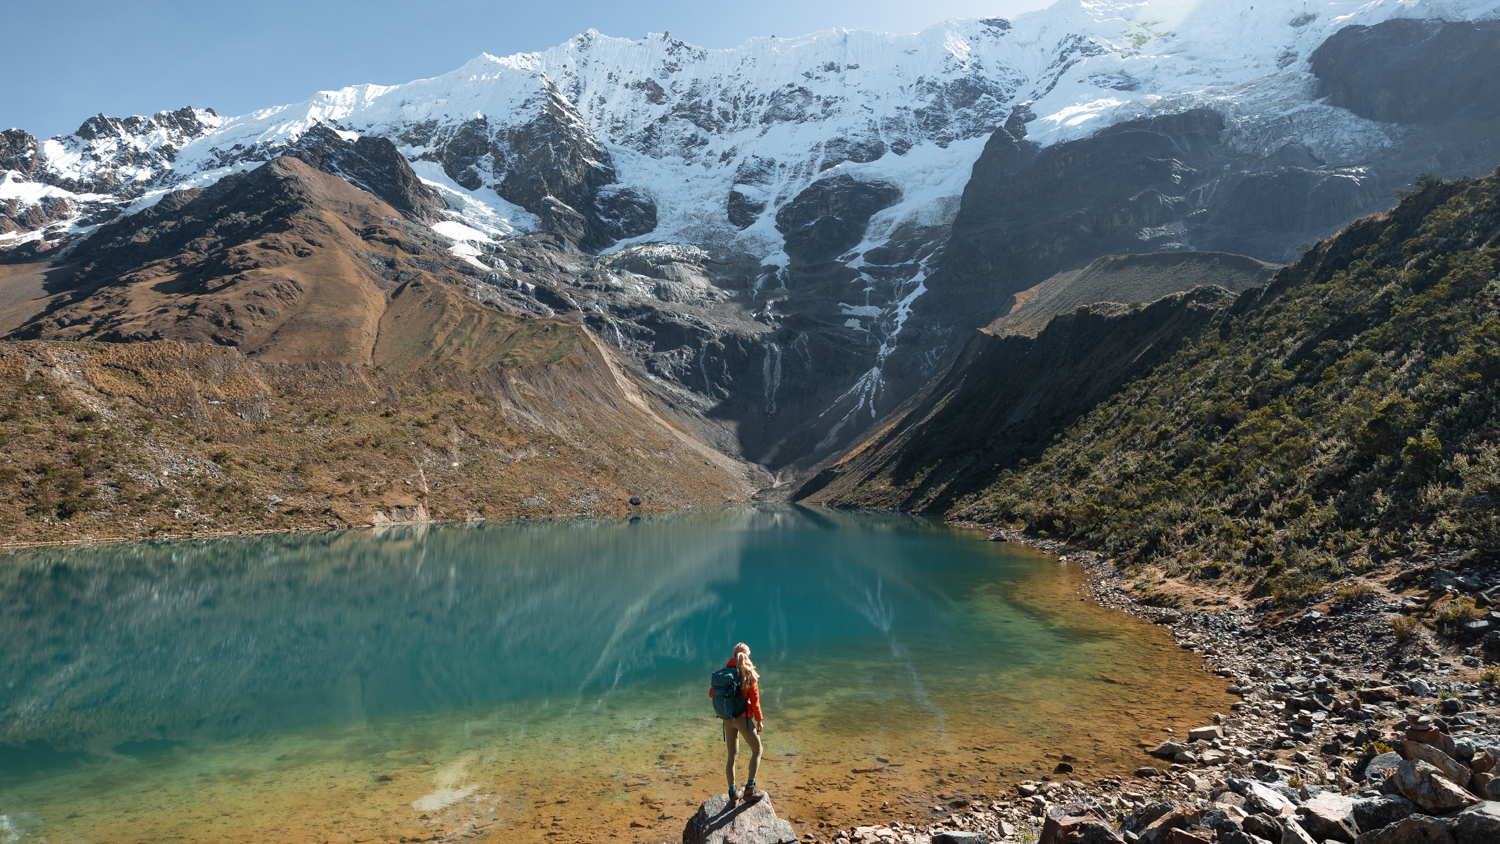
With sparkling blue lakes, mountain peaks that reach higher into the air than any I have ever seen before, and endless packs of alpacas roaming the fields, the Ausangate trek fulfilled all of my Peruvian day-dreams.
While the Ausangate Trek is something you will remember forever due to the incredible, post-card-worthy views, it is also a trip that will test you physically and mentally- making you stronger & prouder by the end of it!
I hiked this trek with Salkantay Trekking and could not recommend them more- I will talk about my experience with them later in this blog!
Ausangate Trek Peru
Ausangate Stats
![]() Length: 40 miles round trip
Length: 40 miles round trip
![]() Elevation Gain: 7,455 ft of Ascent
Elevation Gain: 7,455 ft of Ascent
![]() Highest Altitude: 17,060 ft.
Highest Altitude: 17,060 ft.
![]() Number of Days needed: 5 days and 4 nights is recommended – 6 days if you want to add in Rainbow Mountain
Number of Days needed: 5 days and 4 nights is recommended – 6 days if you want to add in Rainbow Mountain
![]() Loop Trail: The trail that you follow on the Ausangate Trek circumnavigates the Ausangate Mountain starting on the East side following around to the West, you can also start on the other side if you like.
Loop Trail: The trail that you follow on the Ausangate Trek circumnavigates the Ausangate Mountain starting on the East side following around to the West, you can also start on the other side if you like.
![]() Optional Addition: Many people opt to add an out-and-back hike to Rainbow Mountain and the Red Valley!
Optional Addition: Many people opt to add an out-and-back hike to Rainbow Mountain and the Red Valley!
Just make sure to factor in the additional mileage and elevation gain into your planning.
![]() Ausangate Difficulty: Extremely Difficult & Remote
Ausangate Difficulty: Extremely Difficult & Remote
![]() Trail Markers: There are markers and cairns on the mountain passes but besides that, the signage is few and far between. The trail is quite clear but could easily be lost in bad weather conditions or if you aren’t paying attention.
Trail Markers: There are markers and cairns on the mountain passes but besides that, the signage is few and far between. The trail is quite clear but could easily be lost in bad weather conditions or if you aren’t paying attention.
How To Get To Ausangate
The Ausangate Mountain is the fourth highest peak in Peru, standing at a height of 20,905 ft tall.
It is the highest mountain in the Vilcanota Mountain Range and towers above the surrounding peaks- making it quite hard to miss.
It sits 60 miles SE of Cusco and takes a bus ride, tour guide or taxi 3 hours to get to the starting town of Upis.
Join Me On Youtube!
When Is The Best Time To Hike the Ausangate Trek?
Seasons in Peru are split into Dry Season and Rainy Season.
Dry season being between May and September, is the best time to do the Ausangate Trek. During this time you are more likely to have clear trails, blue skies and warmer weather.
Rainy season is between October and April and with it comes- you guessed it! Lots of rain. This can turn into snow in the mountains and can cause the trail to close for short periods of time.
We went in mid June and had the most amazing weather, each day was sunny and blue skies and we only experienced hail/rain once right as we were settling into our tents one night. The nights were cold but the days were nice and warm and many times I was just in a tank top and leggings.
![]() READ MORE: Explore Peru’s Secret Desert Oasis: Huacachina Peru
READ MORE: Explore Peru’s Secret Desert Oasis: Huacachina Peru
Why Do The Ausangate Trek?
 Insane Views
The Ausangate Trek routinely tops the lists for one of the most beautiful treks in the world– you pass by countless gorgeous lakes, hike over 4 mountain passes and sleep under millions of sparkling stars.
The trail never gets monotonous and every time you think you have seen it all another mountain range comes into view sparking even more excitement and awe.
 A Personal Challenge
If you are looking for something to challenge your physical and mental abilities, Ausangate is a great place to start. Getting up to 17,000 ft (almost the height of Everest Base Camp!) is a great way to test yourself all while seeing somewhere new and beautiful!
 Photography
You really can’t get much more photogenic than this trek. With scenes that look like they came out of a movie at every turn you will sure to be inspired. From the alpacas in front of mountain peaks to the most insane milky way I have ever seen in my life there are possibilities for every type of photographer.
How Difficult Is The Ausangate Trek?
The beauty of this trek does not come without a price, this is a high alpine hike that doesn’t dip below an altitude of 14,000ft. for very long
While the hiking itself can be quite strenuous it is the altitude that makes this trek such a challenge.
Preparing properly for such high altitude is the key to having a successful trek.
Hikers should not only be in prime physical condition before attempting this trek but also have taken the proper time to acclimate in Cusco (at least 3 days is recommended).
There were many times when I had to hike while feeling quite out of breath for 30 minutes on end, you do learn to push through the feeling but it can slow you down more than you expect.
Taking frequent breaks and learning to pace yourself is key.
Safety Tips
One of the most important things to think about when trekking in a different country is safety. While I felt super safe with Salkantay Trekking I do think it’s still important to have a plan in case something happens.
I make sure to do a few things before treks like this:
1. Have Travel Insurance: Making sure you are covered in a different country is essential. You want to be able to get help and have coverage in case something happens. I personally like Safety Wing Insurance and I get them each time I travel.
2. Download the Map: While the guide will be directing you, I think it is still important to have your own map downloaded on your phone or GPS device. I personally use All Trails to download all of my offline maps.
3. Have a Satellite Device: Again, your guide should have this but in case you get seperated having a satellite phone can help you get help. I personally use a Garmin In Reach.
Get Access to 1,000's of Online Trail Maps with All Trails!
All Trails is by far my favorite resource to use to download maps to my phone and Garmin for all my back country trips. Sign up for a subscription to access offline maps & more!
Check Out My Peru Wall Art!


Ausangate Meaning
One of the most beautiful parts of doing this trek with a tour guide is that you get to learn all about the Peruvian way of life and belief system.
Ausangate itself has a very important role in the Andean Religion and to the Quechua people as it is one of their most significant apus, or mountain deities.
The Apu Ausangate is in fact considered the “owner of the entire Cusco region” (Apus-peru) and many people make offerings to this mountain for safe passage, kind weather and good farming years.
Ausangate Trek: 5 Days- What To Expect
The Ausangate Trek follows the trail around Ausangate for 5 days and 4 nights.
I went with Salkantay Trekking for this trip and they did an absolutely amazing job of guiding us around the mountain and providing us with everything that we needed.
On this trek you pass over 4 mountain passes and by more lakes than I can count! We chose the 5 day trek which you can check out here. You can also choose between a longer 7 day option and some shorter options that include Rainbow Mountain.
Going With A Guided Group- Salkantay Trekking
My only experience before this trek in the backcountry was going at it alone- carrying all my own gear, tents and food. Let me tell you, having a team of horses and people dealing with all the logitistics makes you feel absolutely spoiled!
We chose to go with Salkantay Trekking– an amazing choice if I do say so myself. The individuals that work for this company are all kind and caring and love what they do. I learned more about Peru on this trek than anywhere else on my trip.
The Food With Salkantay Trekking
The food by far beat my normal back country dinner of freeze dried mac and cheese.
For breakfast, lunch and dinner you can expect a 2 course meal (!!!) of amazing healthy Peruvian food, along with a happy hour before dinner fit with tea, hot cocoa, cookies and other fun little snacks.
As a vegetarian I was nervous I wouldn’t have much to eat, but the cooks easily provided me with amazing options and I was just as taken care of as everyone else!
One of my favorite things about the trek was being woken up every morning in my tent with a cup of hot coca tea.
The Accommodations
Another amazing thing about going with a guided group is not having to be responsible for setting up your own sleeping arrangements.
The porters would get there with the horses before us and set up all the tents- adding in sleeping bags (if you rented them), sleeping pads, a nice pillow and a wool sleeping bag liner to keep you extra cozy.
The number one thing that made this extra special though?! The hot water bottle they provided us every. single. night. Now that made a difference!
What To Pack For The Ausangate Circuit
 Hiking Gear
Top Things To Bring:
Hiking Boots: I believe hiking boots are one of the most important items in your gear closet- having a comfortable fit, good grip and ankle support can help you exponentially while you are hiking. Make sure to break yours in before embarking on this trek!
My personal favorites include the Renegade GTX Mid Boots, Bridger Mid Waterproof Boots and X Ultra Mid Gore boots. Be sure to try them on for yourself though as they fit different people differently.
Hiking Backpack: Having a good day pack is essential for this trek. My personal favorites are the Osprey Daylite Pack and Mira 23 Hydration Pack.
Hiking Pack Rain Cover: Definitely necessary as you never know what type of weather you will encounter!
Trekking Poles: Trekking poles can help your balance on the way up and knees on the way down. I personally think on long treks like this one, trekking poles are super important. My favs are the Distance Carbon FLZ poles for a super lightweight option and the Trail Trekking poles.
Water Bladder & Bottle: My two favorite ways to bring water with me are with a water bladder and a nalgene. You can also bring a light weight water filter with you but it’s not necessary as the guides will have one.
Safety Devices: A Satellite Phone, Medical Kit and Emergency Bivy are all very important to keep you safe. Your guide should also have these but I like to make sure I am comfortable and safe so I brought mine along as well.
Headlamp: Being able to see at night is essential. I have a headlamp in my hiking bag at all times, even if I am heading out on a morning hike- you never know what can happen.
Sleeping Bag: You can rent one in Cusco or bring your own! I would recommend at least a 15 degree bag as the nights can get quite cold.
Sleeping Pad:If you want to make sure you get a really good night of sleep, I would recommend bringing your own backpacking air pad to put over the ones that you are already provided!
Helpful Extras: Hand warmers and blister bandages can all make your hike more comfortable and safe.

Hiking Backpack
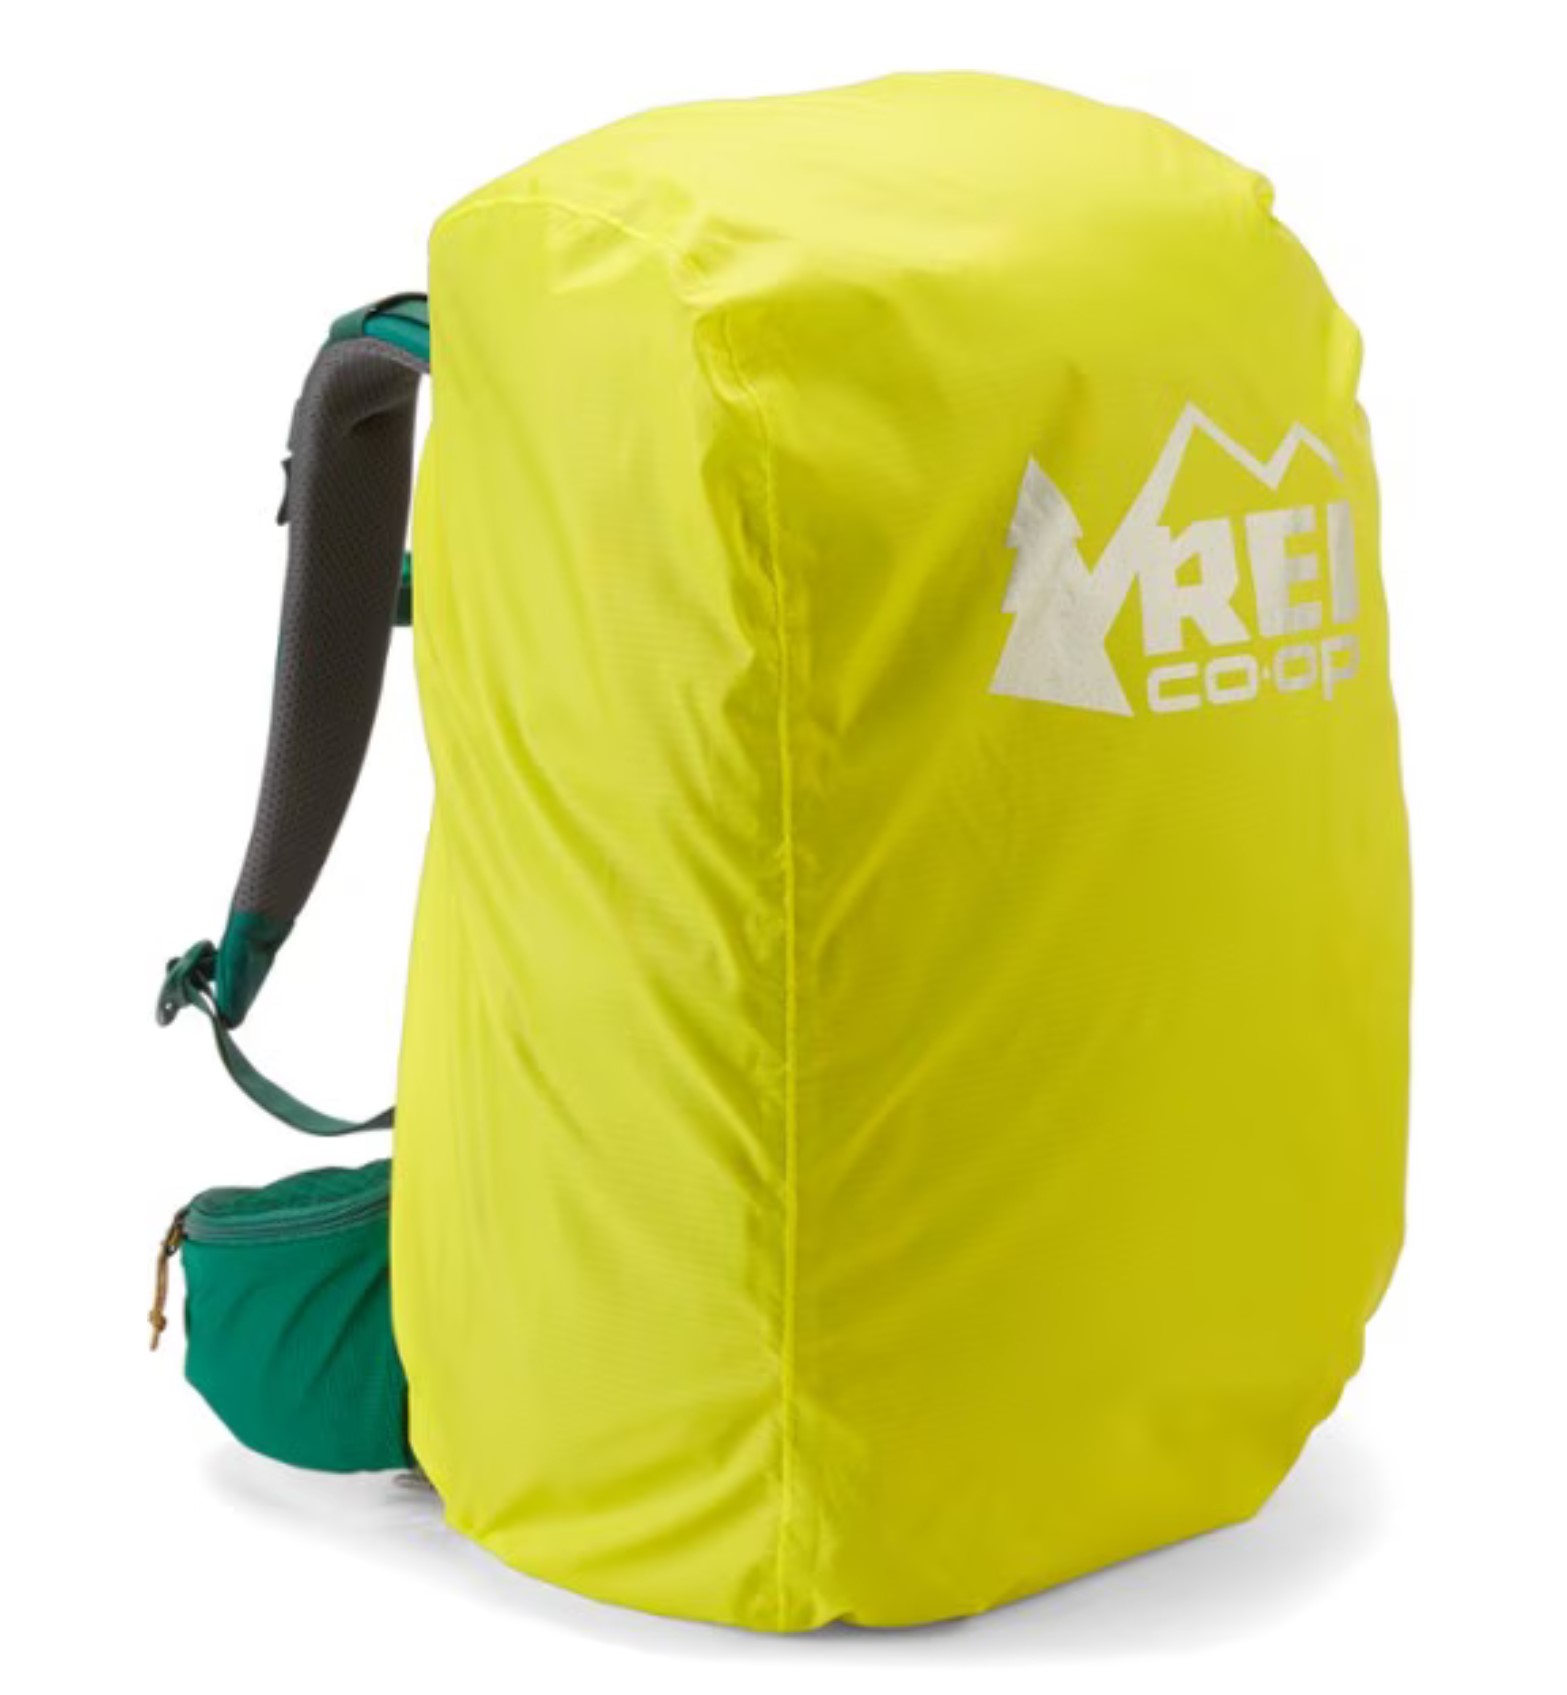
Backpack Rain Cover

Hiking Boots

Hiking Poles

Water Bladder

Water Filter

Headlamp

Water Bottle

In Reach Satellite Phone

Microspikes

Bear Spray

Hand Warmers

Medical Kit
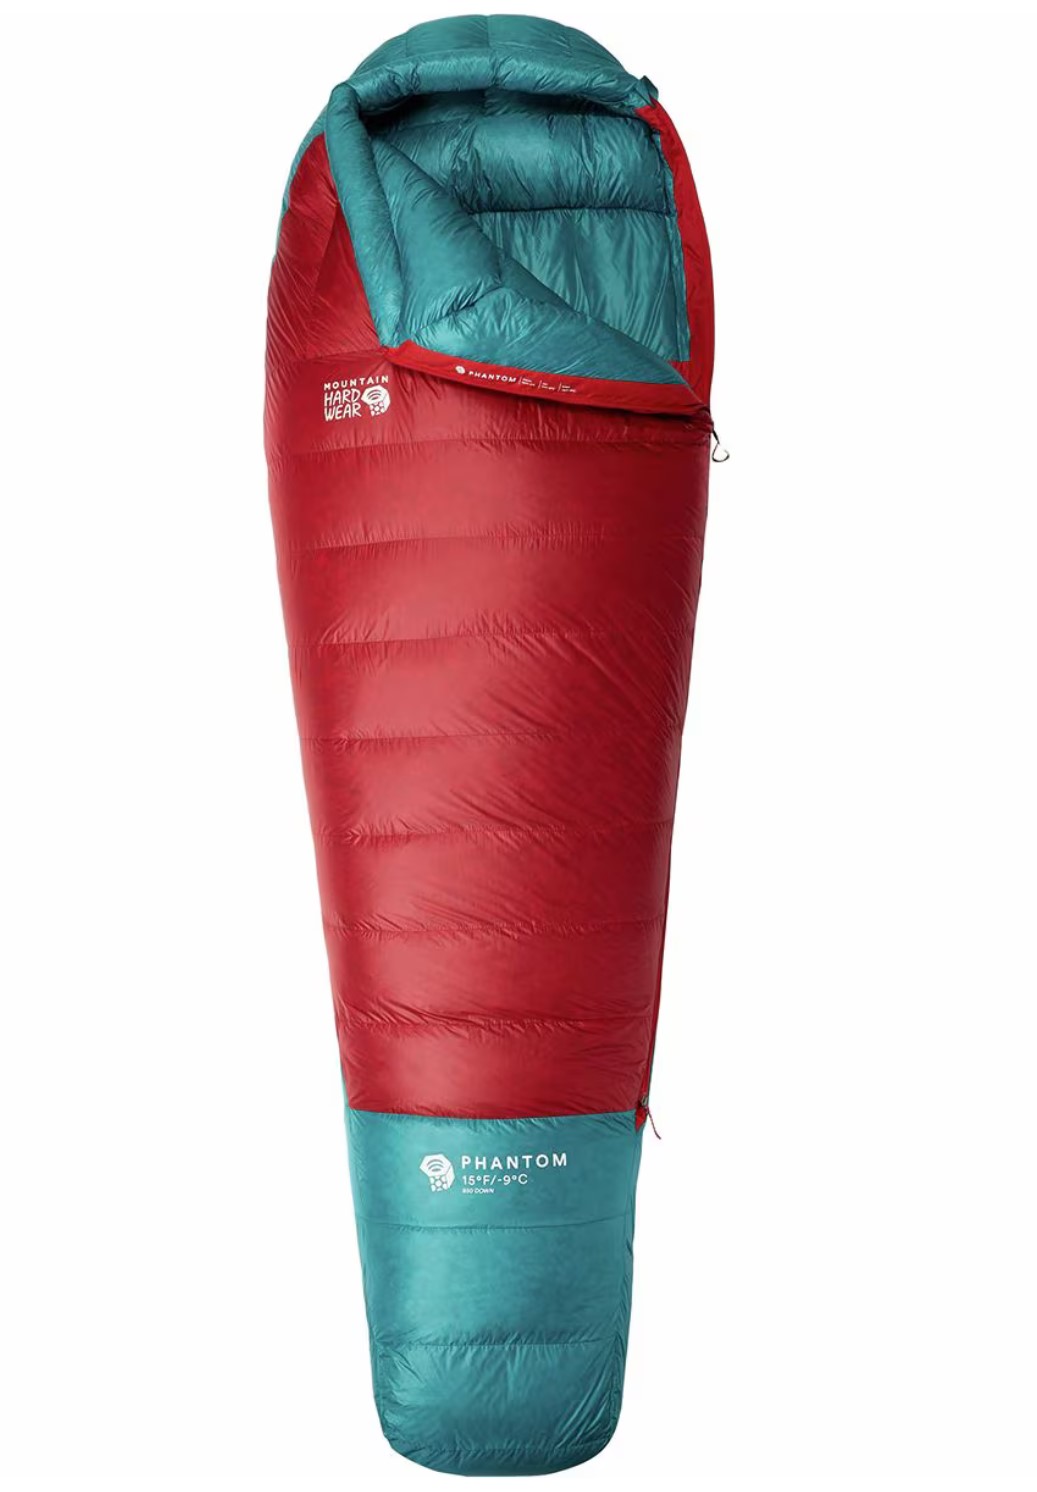
Sleeping Bag
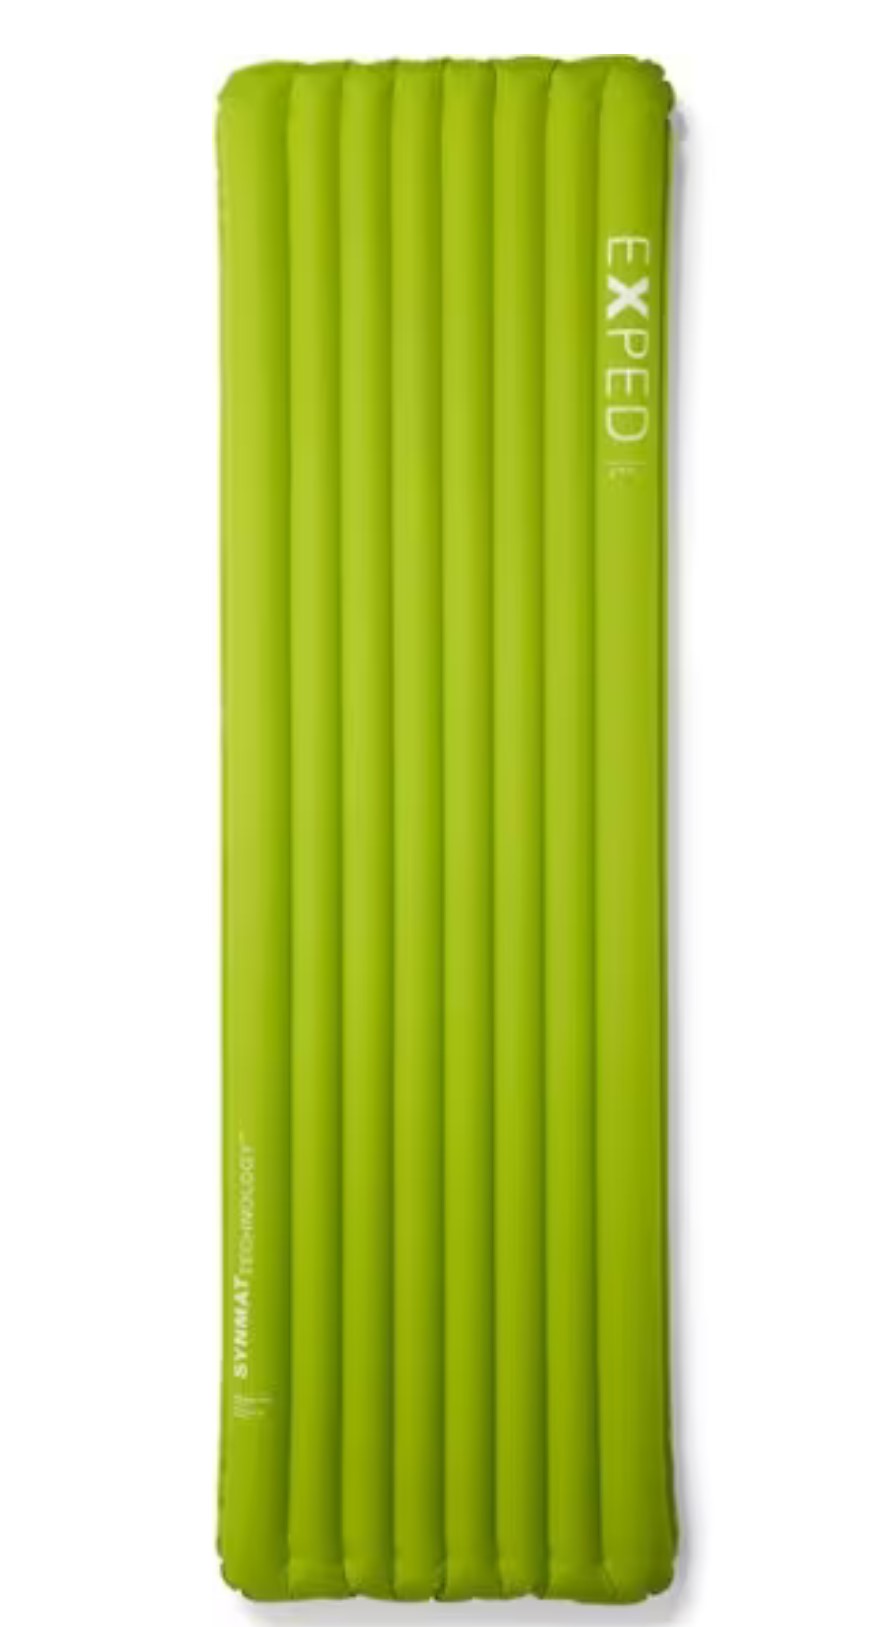
Sleeping Pad

Blister Bandages
 Warm Outdoorsy Clothes
When it comes to trekking I like to bring different layers so I can remove or add them as I see needed!
Top Things To Bring:
A Warm Puffy Jacket: This is an essential. A puffy jacket- whether made from down or synthetic material can keep you extra warm during those cold mornings and nights. I personally believe this is a must have when traveling to any wilderness destination.
Hat, Gloves & Socks: To keep yourself warm it is important to focus on your extremities. Your head lets out a lot of heat, as do your hands and feet.
Invest in a warm beanie, quality gloves and merino wool socks and you will be much better suited for the outdoors. If you get cold hands I would also bring along a pair of overmit gloves to protect them from getting cold and wet.
Merino Wool Shirts: One of my very favorite pieces of clothing I wear is my mid layer merino wool quarter zip and my short sleeves from Smartwool. Wearing merino wool lets you regulate your temperature better, it stays warm even when wet and its nice and cozy- perfect for the outdoors!
A Fleece: It is important to have multiple layers so you can choose your level of warmth. I always like to bring a fleece to keep me warm- Patagonia and North Face both have wonderful options to choose from.
Rain Jacket: Since weather in the mountains can change in an instant I highly recommend investing in and bringing a nice rain jacket. I personally have the Arcteryx Beta and it never lets me get wet!
Sunglasses: A good pair of polarized sunglasses can make those bright sunny days a little easier on the eyes. Always a good idea to have a pair to grab when you need it!
Buff: A warm buff (essentially a neck scarf) can help you stay SO much warmer. I brought along a thicker wool one and I was super thankful I had it.

Warm Leggings

Merino Wool Mid Layer

Cute Beanie

Warm Puffy

Gloves
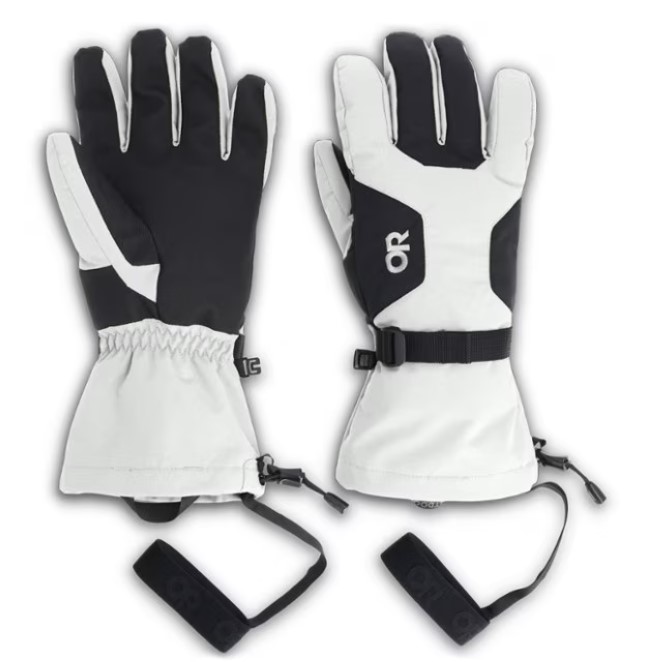
Overmit Gloves

Wool Hiking Socks

Fleece Quarter Zip- Patagonia

Rain Jacket

Short Sleeve Merino Wool Shirt

Long Sleeve Merino Wool Shirt

Sunglasses

Buff

Ausangate Trek Itinerary
Day 1: Upis Town to Upis Campsite
Length: 3.73 Miles
Campsite: Upis Campsite- 14,436 ft.
Altitude: Starting at 13,944 ft and rising to 14,436 ft
Elevation Gain: 492 ft of gain
Time Hiking: Around 3-4 hours
Optional Add-on: Huayana Ausangate Lake
Today is nice and short- this is your first introduction to hiking at this altitude and you may need to take frequent breaks even though the elevation gain is low. Don’t worry too much, your body will begin to adjust soon enough!
Day 2: Upis Campsite to Ausangateqocha
Length: 11.8 miles
Campsite: Ausangateqocha- 14,764 ft
Altitude: Starting at 14,436 ft getting up to 15,748 ft and then back down to 14,993 ft. then back up again to 15,584ft and back down to 14,764 ft.
Elevation Gain: 1,903 ft of gain
Passes: Arapa Pass- 15,748 ft. and Ausangate Pass – 15,584 ft.
Time Hiking: 10-12 hours average
Additional Add-Ons: If you wanted to add on Rainbow Mountain you would stop in the middle of this day and camp at Hatun Pukaqocha and diverge off to Rainbow Mountain the next day.
One of the harder days on the trek, today you will pass over two mountain passes and go a total of almost 12 miles. Make sure to take snack and lunch breaks and hydrate well- the scenery is absolutely INCREDIBLE today so you will be happy to trudge along, even at such high altitudes
Day 3: Ausangateqocha to Sorapata
Length: 6.5 miles
Campsite: Sorapata- 15,420 ft
Altitude: Starting at 14,764 ft, getting up to 17,060 ft and then dropping down to 15,420 ft.
Elevation Gain: 2,296 ft of gain
Passes: Palomani Pass- 17,060 ft
Time Hiking: 6 hours average
Another difficult day!
Today you will only go over one pass, but it is by far the highest on the trip- 17,000 ft!! Wow! I found it exhilarating to be so high up, other people on my team found it nauseating- but we all made it through and celebrated with sour patch watermelon at the top of the pass-thanks Disa!
Make sure to stay only a short time at the top of the pass. You will be able to descend quickly so this should help with any bits of altitude sickness. Today you have a high chance to see some alpacas if you haven’t already- get excited!
Day 4: Sorapata to Pacchanta
Length: 6.84 miles
Campsite: In the town of Pacchanta- 13,451 ft.
Altitude: Starting at 15,420 ft and getting up to 16,634 ft and then dropping to 13,451 ft.
Elevation Gain: 1214 ft
Passes: Your final pass! J’ampa Pass
Day 4 was the most surprising day of the trip for me- the mountain ranges you see here are INSANE- so pointy and gorgeous. I think this may have been my very favorite day of the trip. You also get to trek by some of the 7 Lagunas- gorgeous blue lakes that are wayyy deeper than they appear at first glance.
If you have extra time it may be smart to camp here an explore the lakes some more!
In Pacchanta- where you end, there are some hot springs in town you can strip down and enjoy! This was a great way to just relax at the end of the trip and soothe your sore body.
Day 5: Pacchanta to Cusco
Length: None
Campsite: Back at your hotel in Cusco!
Today you simply pack up your stuff and get back on the tour bus to Cusco!
You will be happy and sad at the same time to be leaving such beautiful scenery- on one hand a hot shower awaits you but on the other- no more stunning mountain peaks. Oh well- you already know you will be back!
Conclusion
Hiking the Ausangate Trek is sure to be an adventure for the books- I hope this blog post gave you all the information you needed to start booking it today!
Happy Hiking!
Check Out More Peru Destinations!
Recent Posts
Shop With Me on Etsy! Click A Photo Below!
Join Me on Instagram!


