
The Ultimate Guide to Mountaineering Gear

Don’t have time to read it now? Save it for later!
Mountaineering is an amazing sport, it tests your mental and physical limits and takes you to places where all you can do is gaze, open mouthed, at the beauty of it all.
While I love mountaineering it isn’t necessarily an easy sport to get into, it requires a lot of different skills and many different pieces of gear.
This article is meant to help you understand all of the different pieces of gear that go into a successful mountaineering trip.
This post is not an instructional piece on how to use this gear, but simply a list of everything you would need to get to the summit safely!
Disclaimer: This blog post features affiliate links. This means I get a small commission if you make a purchase (at no extra cost to you :))
Mountaineering Basics:
#1: The Backpack
With all of the gear you will need to put in this bag it is smart to air on the larger side. 45-60L is the range you should be in when picking a backpack.
When looking for a good mountaineering backpack you will want to look for a structured back.
You want it to be comfortable but sturdy. If your backpack does not have a solid structure you will have to be very careful about the way you pack as things can easily dig into your back making for a very uncomfortable day.
Things to look for when buying a mountaineering backpack are:
Volume (Liter Size)
– Are you a heavy or light packer? Do you want to have extra layers for warmth? Will you have room to pack group gear- rope, pickets etc.
Extra Features:
– Does the pack have a spot to hold an ice axe or picket on the outside? Can you strap a rope to the top?
-Does it have a bladder area? Places to hold external water bottles?
– How does it open up? Does it have a side zipper or back zipper or can you only access from the top?
Comfortability:
– How does the pack fit? Are the straps padded? Do you have a comfortable hip belt?
This pack will be your best friend during the trip- you want to make sure it is comfortable and fits well.
Weight and Durability:
– These two go hand in hand. You want to make sure to find an equal balance between a pack that is lightweight but may rip easily and a pack that is heavy and sturdy.

Osprey PacksAura AG 50L Backpack – Women’s: $239.95

#2: Mountaineering Boots
When it comes to mountaineering you really can’t even begin without getting a pair of boots.
These boots come in two main types: 3 season boots and 4 season boots.
3 Season Boots:
These boots are exactly what you may think- boots designed for Spring, Summer and Fall climbing.
They have less insulation than a four season boot and can be a tad less stiff. These boots have a shelf on the back of the heel to put a crampon on which can be very helpful.
4 Season Boots:
Four season boots are the boots you want if you are climbing in very cold conditions or will be doing Winter mountaineering.
They have more insulation than 3 season boots, can be stiffer and have a shelf for crampons on the front and the back.
Personally, I use 3 season boots as I am more of a fair weather climber at the moment. I like to go in the Spring and Summer when the weather is predicted to be nice and temperatures wont dip below single digits.
It is very important to get the fit right on mountaineering boots so I would recommend heading to your closest gear shop and trying them on in person!

3 Season Boots: Scarpa Ribelle HD Mountaineering Boot – Women’s: $358.95

4 Season Boot: Scarpa Mont Blanc Pro GTX Mountaineering Boot – Women’s: $548.95

#3: Crampons
Crampons are your traction- they look pretty intimidating (sharp spikes poking out of your boots) but are insanely helpful when it comes to staying on the mountain!
Crampons come in 3 main types:
Basket Crampons:
These crampons have a “basket” attachment on both sides. These types of crampons will fit on almost any boot- including basic hiking boots.
Semi Automatic:
This is the next level up and most commonly attaches to 3 season mountaineering boots. This crampon has a clamp in the back that snaps onto the shelf on the boot and a basket in the front. In comparison to the basket crampon this crampon is much more stable.
Automatic:
The final type of crampons- these crampons most commonly attach to 4 season mountaineering boots.
They have a clamp and bar on both the front and back of the crampon which snaps onto the “shelf” of the boot in the front and the back. These crampons are by far the most stable and reliable.
Once you have picked your mountaineering boots you will be able to decide on which crampons you want to buy!
Similar to mountaineering boots you will want to buy these in person- you should bring your boots in to make sure they fit correctly and you are getting the correct pair.
A pro tip- for general mountaineering on glaciers look for a steel crampon– these bite into snow the best.

Petzl Vasak 12-Point Mountaineering Crampon: $159.95

#4: Ice Axe And A Leash
Finally, comes quite possibly your most important piece of gear you will have with you while mountaineering, your ice axe.
Your ice axe is your lifeline.
It is what allows you to self arrest if you end up careening down the mountain and keeps you steady while climbing up the mountain.
When picking an ice axe you want to buy the right length for you.
The best tip would be to stand shoulder width apart and pick an axe that hits right above your ankle bone.
Another important feature of your ice axe is the leash.
Given this is the most important piece of gear you have, you want to make sure it is firmly attached to you at all times. Many ice axes come with a leash- if they don’t you can make your own from webbing.

Black Diamond Raven Grip Ice Axe – 2021: $109.95

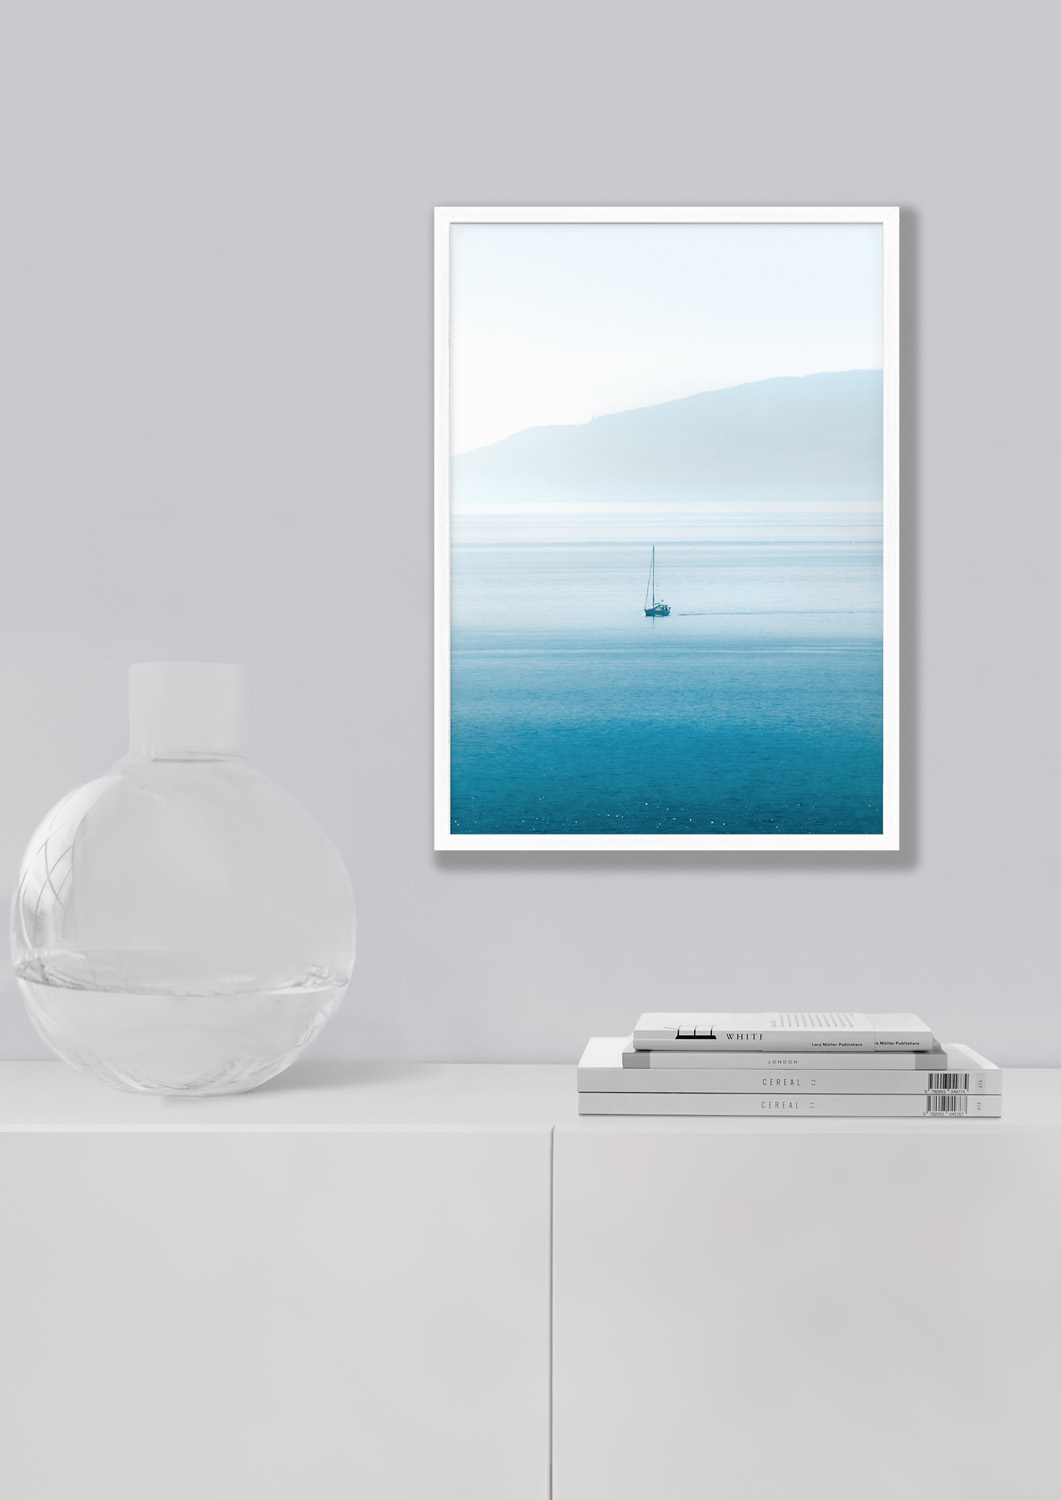
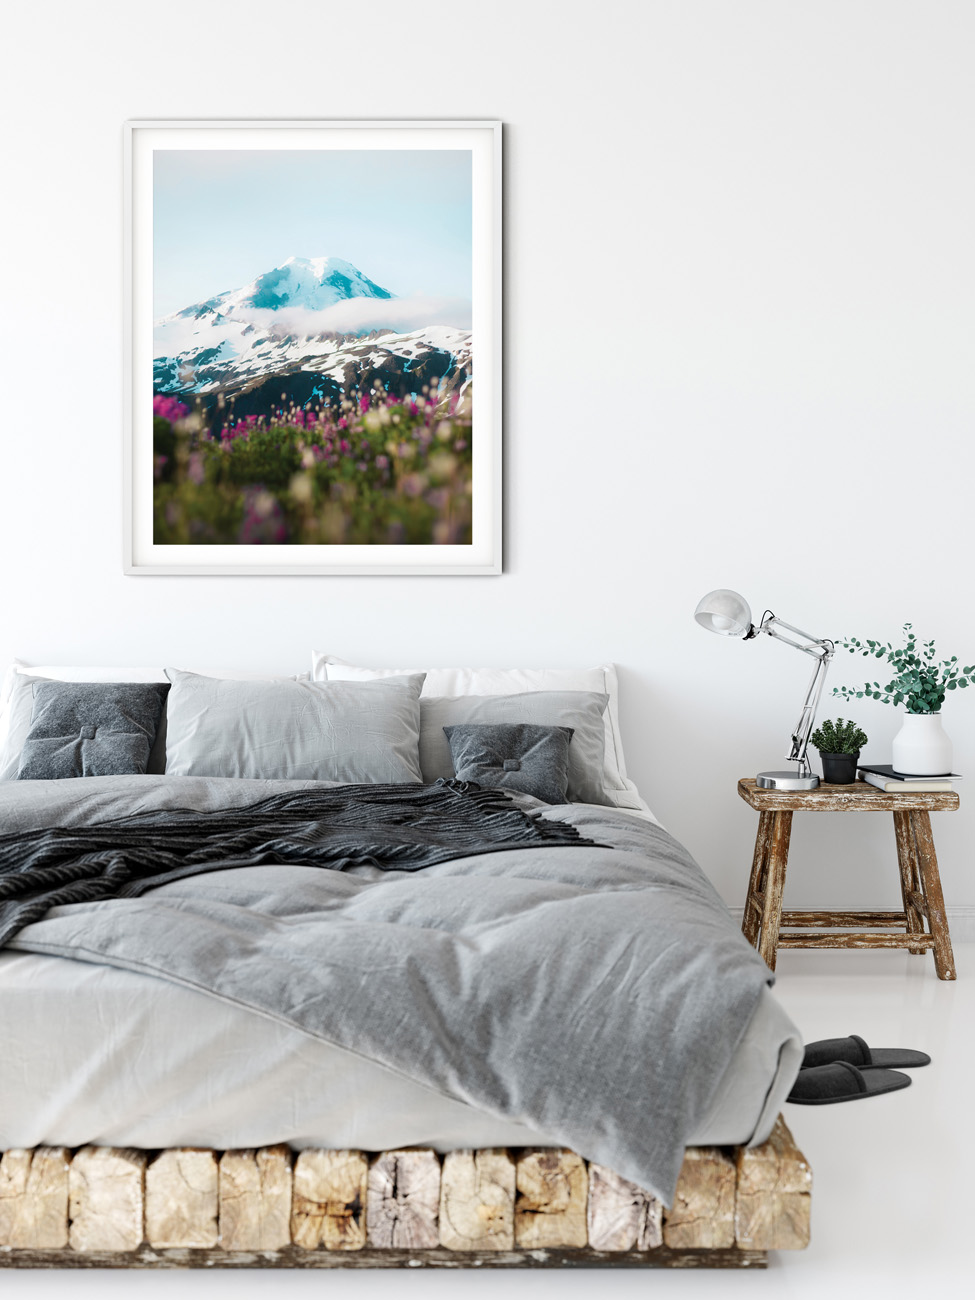
Check Out My Washington Wall Art!


Climbing Gear
Mountaineering is as much about hiking as it is about climbing. It straddles the line between rock climbing and hiking and uses much of the same gear rock climbing does.
Climbing Helmet:
This one is pretty simple, get a comfortable climbing helmet that is UIAA approved and wear it.
Rock fall is a huge danger in the alpine and these helmets can save your life!

Black Diamond Half Dome Helmet – Women’s: $64.95
Basic Harness with Adjustable Leg Loops:
Wearing a harness allows you to be attached to the rope when you are travelling across a glacier.
It also catches you if you happen to fall in a crevasse (although let’s hope that doesn’t happen!)
When picking a harness for mountaineering you will ideally want to go lighter than your normal rock climbing harness and if you can, find one with leg loops that you can clip on and off so that it is easier to get on without having to pull over your crampons.

Petzl Altitude Harness: $89.95
ATC:
An ATC allows you to belay or rappel on a rope. I recommend buying an ATC with “guide mode” so you can belay someone from above if necessary!

Black Diamond ATC-Guide Belay Device: $29.95
Carabiners:
Carabiners are what allow you to attach yourself, and your gear to one another.
Ideally you will have at least:
– 4 Locking carabiners- ideally pear shaped and screw lock
– 3-6 D shaped non locking carabiners
– 1 full size auto locking carabiner for belay loop
– 1 full size non locking carabiner- oval shaped for crevasse rescue

CAMP USA Nano 22 Carabiner: $6.95

Black Diamond Hot Forge Screwgate Carabiner: $10.95

Metolius Rig Auto-Lock Carabiner: $17.95

Pulley:
This piece of gear comes into play when you have to perform a crevasse rescue, it is important to say the least.

Petzl Oscillante Pulley: $19.95
Hollow Block:
This loop is used as a backup when you are rappelling and can help save your life in time of need.

Sterling 6.8mm Hollow Block: $21.99
Snow Pickets:
These long pieces of metal are used as snow anchors if you need to create a piece or protection on a steep incline or create an anchor for a rappel.

SMC I Snow Picket: $27.00

SMC Picket Cable: $22.00
Webbing:
Webbing is used to help tie into the snow pickets and create an anchor for your rappel or simply as protection. Personally, I like to bring:
- 2 single runners- these are made of nylon or dyneema. Dyneema is preferable as it is lighter but it is also more expensive- always a trade off I guess!
- 1 double runner
- Texas Prusik- usually made out of 6mm perlon. A prusik attaches to your rope and a “texas prusik” includes your feet attachment that you bring out when you need to pull yourself out of a crevasse.

Black Diamond Dynex Sewn Runners: $9.95
Rope:
Finally, your rope! This is another one of those very important items. This is considered “group gear”.
For glacier travel it is best to buy a rope that is dry treated so it doesn’t soak up the moisture from the snow and around an 8mm rope diameter.
Length wise you will want to stay between 40m-60m. The more people you have on a rope team, the longer you will want the rope to be.

Mammut Alpine Dry Rope – 8.0mm: $189.95

Overnight Camping Gear
Tent:
For camping on snow you will want to buy a 3 season tent.
It is nice to get one that is 2 person or more so you can split the weight between a couple people (you will almost always be mountaineering with at least one other person so it makes sense to get a bigger tent)
Another thing to look for is a tent that has a nice vestibule where you can find shelter from stormy weather to cook in and leave your gear under.
In addition to a tent you will need to get special snow anchors for them.
Normal anchors won’t work on snow so you will need to either make your own with stuff sacks or plastic bags filled with snow and buried, or use bought snow stakes or snow anchors.

MSR Hubba Hubba NX Tent: 2-Person 3-Season: $449.95
Sleeping pad:
To keep you warm a sleeping pad is SO important!
The first time I slept on snow my sleeping pad popped and I was left sleeping on top of the snow all night, I was freezing and it honestly felt like the longest night of my life.
The biggest place you lose warmth when sleeping outside is through the ground and when the ground is freezing it makes it even worse.
I would recommend carrying a foam pad and an insulated air pad to add on top of it. That way you avoid the terrible night of sleep I had to suffer through.
When looking at sleeping pads make sure to take a look at the “R-Value” of the pad- this allows for you to see the insulation level for the specific pad.


Sleeping Bag:
Next is your sleeping bag. Sleeping bags come in two main types: down and synthetic.
There are trade offs for each type and it helps a lot to know the difference before buying!
Down Sleeping Bags:
These will compress easier than synthetic, has a better warmth to weight ratio but is much more expensive and loses its heat retention when wet.
Synthetic Sleeping Bags:
Synthetic on the other hand will keep its warmth when wet but is much harder to pack down. On the plus side though it is much cheaper!
When it comes to temperature I would recommend staying within the 15-0 degree range. Assess your personal sleeping style and go from there. Are you normally a hot sleeper? Always cold?

Mountain Hardwear Rook Sleeping Bag: 15F Down: $246.46
A Shovel:
This one seems a bit weird at first to include in the overnight section but trust me, you will want it!
Having a shovel allows you to dig out your tent platform in the snow and build out wind protection from blocks of snow!

CAMP USA Rocket Snow Shovel: $79.95

The Kitchen
Fuel, Stove and a Lighter:
When snow camping you will be using your backpacking stove not only to heat up water for your meals but also to heat up snow to create water to drink the next day!
The best kind of stove for this type of camping is a jet boil.
I personally use a pocket rocket while backpacking but it takes SO much longer to melt the snow in a little pot than it takes the jet boil!

Jetboil Flash Stove: $109.95
Utensil:
Recently, I came across the idea of titanium utensils. They are absurdly light and seem absolutely perfect for mountaineering and backpacking.

Sea To Summit Titanium Spork: $12.95
Water Filter!
Depending on the type of climb you are doing and how long the approach is it can be really handy!

Katadyn BeFree Collapsible Water Filter Bottle – 33.8 fl. oz : $44.95


Suunto M-3 D Leader Compass: $44.00
GPS & Satellite Phone:
Having a GPS can be soo helpful! When my group and I got lost in a white out on Forbidden Peak the one thing that really helped us through was my boyfriends GPS.
It helped show us where the camp should be and the trail, without it I think we would have been lost for hours.
We used a Garmin watch with GPS to help find our way but any GPS can work!

Garmin InReach Mini: $349.99
The Map:
This seems a bit obvious to me but you would be surprised how many people don’t actually have a copy of the map on them when they are in the back country.
I like to keep mine in a zip lock bag so it doesn’t get wet!
Downloaded Map:
In addition to a physical copy it is always helpful to have a digital copy downloaded to your phone. The more copies the better!
Wands:
Nope not the magical kind (I wish!)
Mountaineering wands are simply wooden poles (I use bamboo) about 3 feet tall with duct tape flags attached to them.
When heading up the route you place these so in case you lose your way or get lost in a whiteout you have some sort of route to follow back.

Sun Gear
On a glacier the sun can become very intense, I got probably the worst burn of my life when I was on my first glacier!
With the reflection from the snow the sun is doubled in intensity so you will want to make sure you are protecting your eyes and skin.
Glacier Glasses:
These glasses have level cat4 lenses (very intense) and side covers to protect your eyes from the snow reflection.
Glacier glasses are essential to have when on a glacier for a long time, without them you can get snow blindness which can be extremely disorienting and painful.
If you don’t want to spend a ton on glacier glasses you can opt to buy polarized sunglasses and put duct tape on the side to protect your eyes. This looks a bit janky but it works!

Julbo Cham Glacier Sunglasses – Silver/Black: $169.95
Sunscreen and Lip Balm- Sunscreen (30+):
Next up is protecting the skin! When on a glacier you should be wearing sunscreen with at least SPF of 30+ along with lip balm with spf of 15. I cannot tell you how chapped my lips were when I forgot to wear lip balm on day- it hurt for a week after.
SOL has a nice product made specifically for the alpine! Look for ones with zinc in it.

Sun Bum Mineral SPF 30 Sunscreen Lip Balm: $3.95

Sun Bum Mineral SPF 30 Sunscreen Face Lotion – 1.7 fl. oz.: $17.95
Sun Hat:
In addition to the glasses and sunscreen sometimes it is nice to have a baseball like sun hat to wear underneath your helmet! This helps eliminate glare and protect your face!

The North Face Door to Trail Mesh Cap: $30.00

10 Essentials
#1 Navigation:
Compass- adjustable declination and GPS
#2: Light:
Headlamp with backup batteries! Try to get one with lumens of 300 and over!
#3: Sun Protection:
Sunscreen and chapstick with zinc and Glacier Glasses for Eye Protection
#4: First Aid Kit:
Bandages, gauze, sterile dressings, athletic tape. Basic over the counter meds- benadryl, aspirin, ibuprofen, pepto bismol, duct tape, hand warmers, toe warmers, emergency blanket etc.
#5: Knife
#6: Firestarter:
Waterproof matches, candle and wax ball and lighter
#7: Shelter
Emergency Bivy Bag
#8: Extra Food
#9: Hydration:
2 water bottles- 1 L size. You can also bring a bladder but you want to be careful because sometimes the hose can freeze up or you could pop it.
#10: Extra Layers
Extra #11:
A blue bag! A blue bag is a bag you poop in on the glacier (I know, I hate the idea of this too) On the glacier though you are not allowed to just dig a hole, you have to carry it out. The blue bags you can get at REI are actually quite nice though, they include toilet paper, a wet wipe and have special chemicals to make it not smell as well as are tightly sealed once you are done using them.
Optional Accessories
Sit Pad:
A sit pad is a light foam pad that you can bring with you! It lets you sit down on the snow and take a break without getting wet which can be really nice on long snow slogs.

Therm-a-Rest Z-Seat Pad: $15.95
Down Booties:
I know we didn’t talk about clothing in this article (You can find an article here) but down booties are one of the best things to bring for when you are sleeping or hanging out at camp.
They are basically like little sleeping bags for your feet and some of them have rubber on the bottom so that you can walk around in them outside!

Conclusion:
Now that we have gone over all of the different pieces of gear you should be well on your way to the summit!
I know this article may have been a bit overwhelming, there are tons of things you need to get and prepare.
Remember that many times you can share these things with other team members or rent them for weekend use. Don’t be afraid to ask friends to borrow things while you grow your collection! It takes alot of time and money to get to the point where you have every piece of gear yourself.
Mountaineering is a journey, and honestly so is your gear collection!
Good luck 🙂

Recent Posts
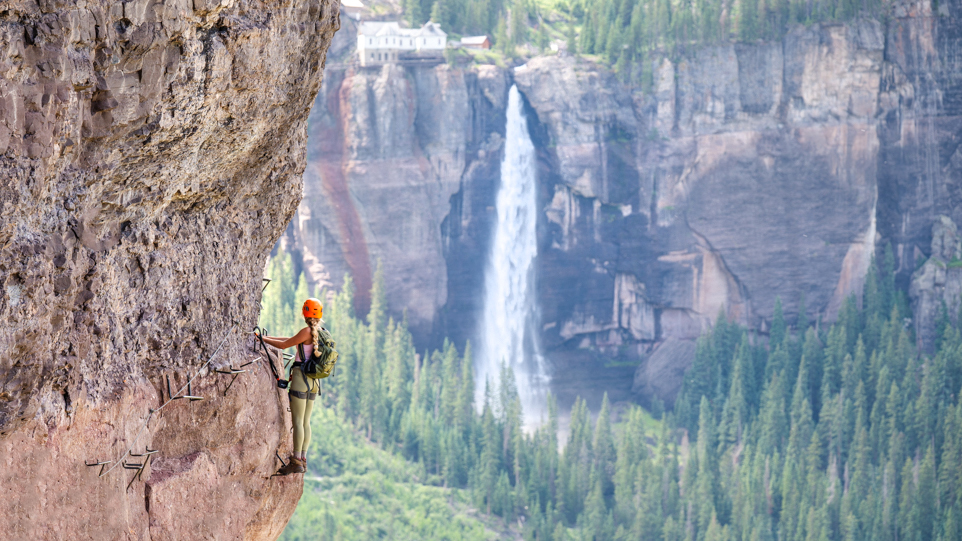
Your Ultimate Guide To The Telluride Via Ferrata
Test your limits on the Telluride Via Ferrata! This guide goes over everything you need to know before heading out on this amazing route!
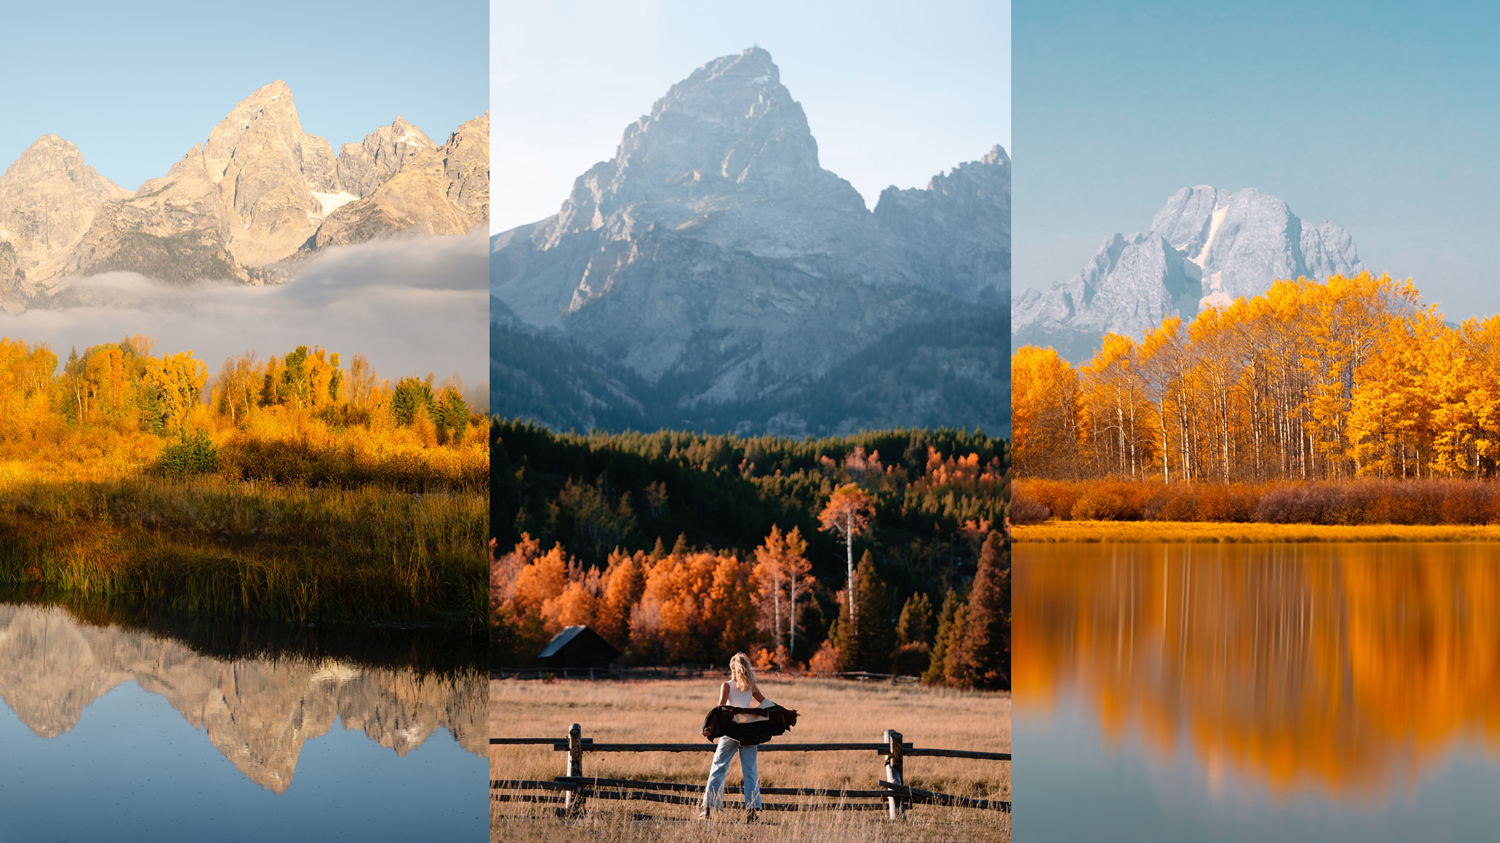
Grand Tetons In The Fall: The Ultimate Guide!
The Grand Tetons In The Fall are an absolutely amazing place to be. Discover all of the best things to do, where to stay and what to see!
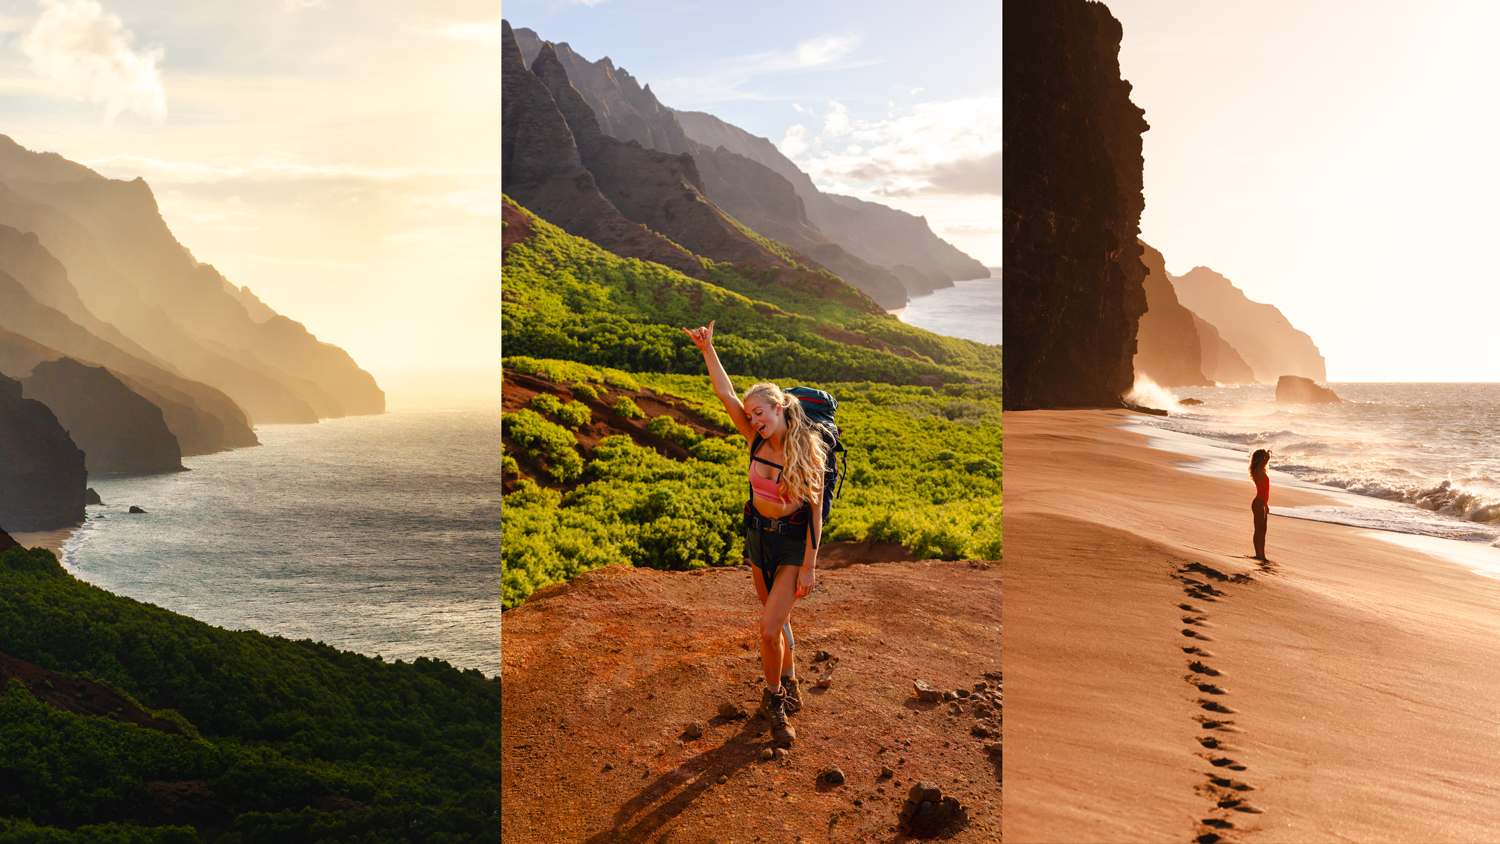
Kalalau Trail Kauai: Your Ultimate Guide To Backpacking The Napali Coast
Backpacking the Napali Coast in Kauai, Hawaii is an amazing adventure! This guide shares everything you need to know to navigate the trail safely.
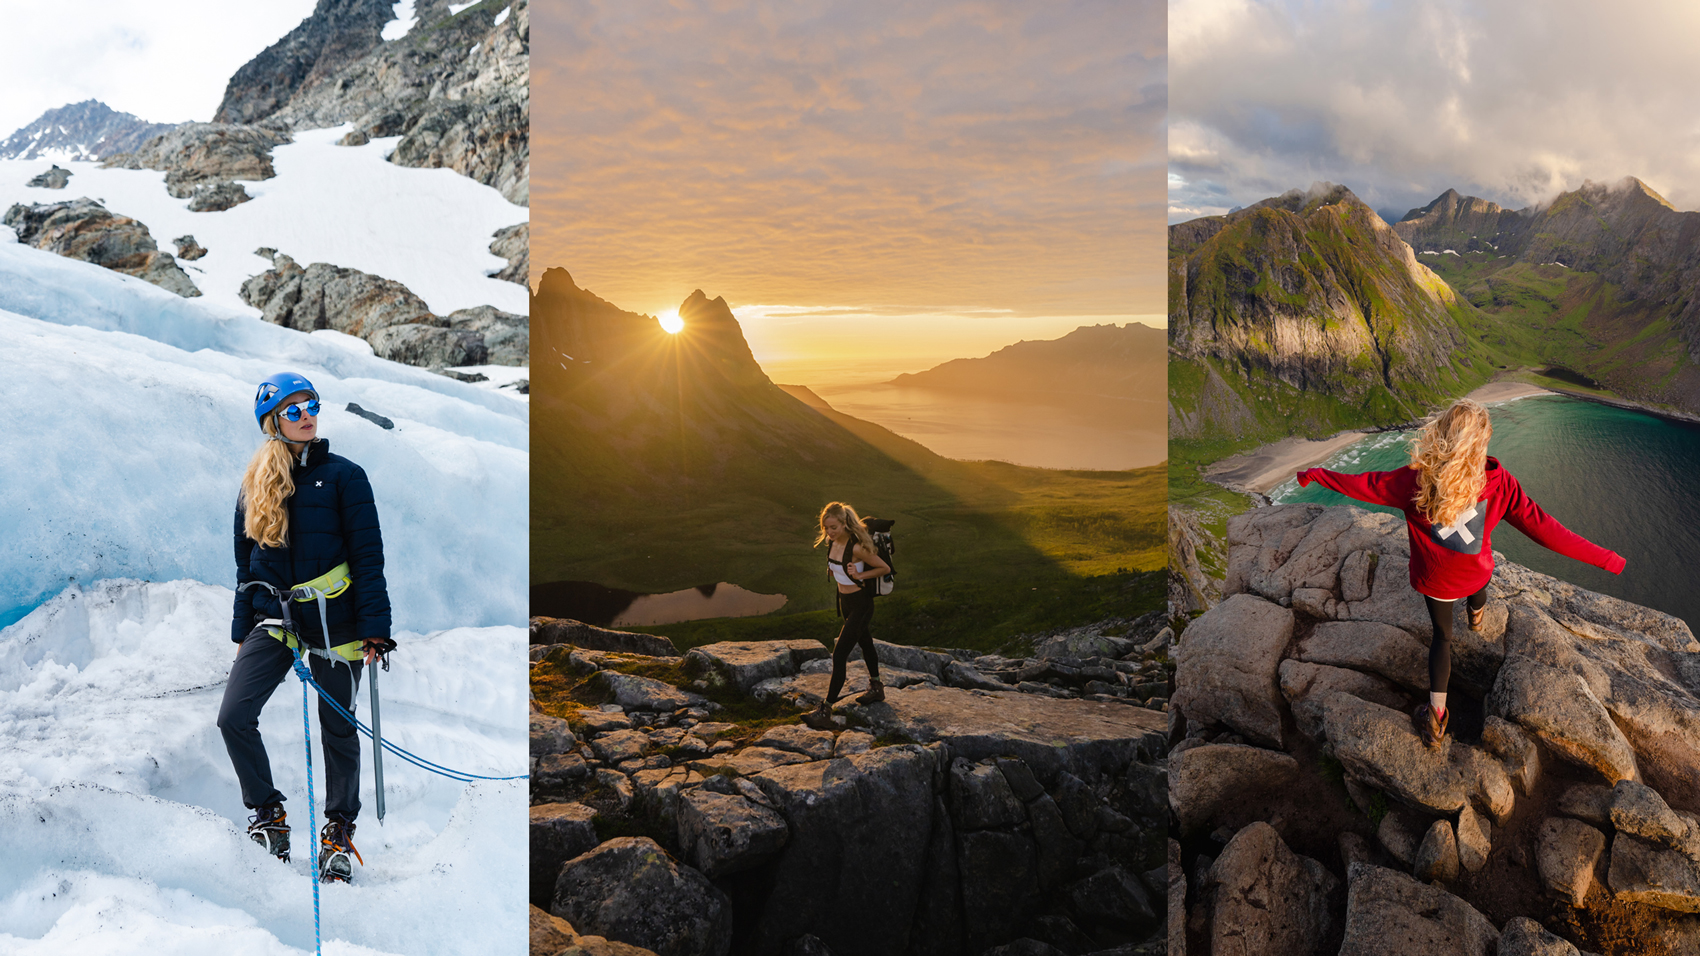
The Best Northern Norway Hikes For Adventurers
If you love hiking then Norway is the place for you! These epic hikes in Northern Norway deserve a spot on every hikers bucket list.
Shop With Me on Etsy! Click A Photo Below!

Join Me on Instagram!


0 Comments