
The Complete Guide to Mount Storm King- The Most Scenic Day Hike in The Olympic National Park
- and the most adventurous!-
Don’t have time to read it now? Save it for later!
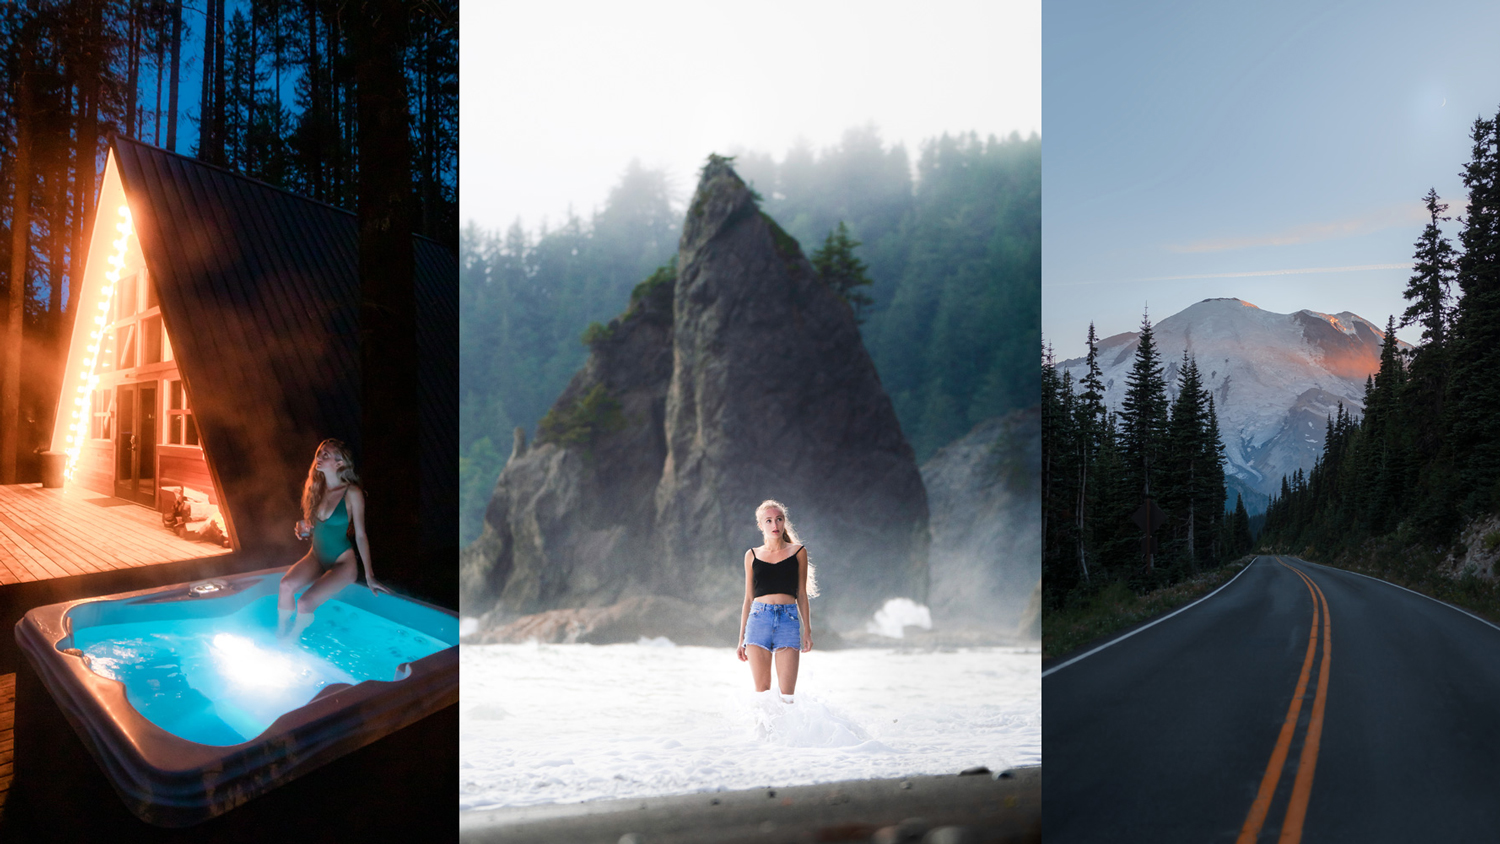
Mount Storm King- A Hike for Adventurers and Photographers Alike
I don’t often repeat a hike. There are so many locations to explore in the Washington area that unless I get terrible weather conditions I tend to see a place once and move on.
I have done Mt. Storm King three different times now.
What can I say? It is just one of those hikes that just doesn’t get old! With the combination of expansive views over Lake Crescent, an adventurous rope climb and a split off to a waterfall I find it to be one of the most perfect day hikes around.
It combines adventure with amazing photography options, and really what more could I ask for?
Stats:
Length: 5.3 Miles (Round Trip- 2.65 miles one way)
Elevation Gain: 2,076ft.
Level: Difficult
Best Time to Visit: May- October
Fees: National Parks Pass
Location: Olympic National Park, WA

Where is Mt. Storm King Located?
Mt. Storm King is located within the Olympic National Park. It is a 32 minute drive from Port Angeles and located on the southeast side of Lake Crescent.
You park at the Storm King Ranger Station Parking lot and set off from there. While this parking lot is technically inside the National Park you do not have to pass by any booths to get to the parking lot.
I have found a couple sites that state you would need to have a National Parks Pass on your windshield and others that say no pass is required. Personally, I have never purchased one for this hike and have not had any trouble.
Getting to the Trailhead from the Seattle Area
From Seattle, Mt. Storm King is a bit of a trek to get to- but it is totally worth the trouble!
There are three ways I would recommend getting to Mt. Storm King. The first would be best if you are coming from Seattle proper or South Seattle– this route takes you from downtown Seattle, onto the Seattle-Bainbridge ferry and from there you drive to Port Angeles. This route will get you there in just 3 hours.
The second option is best for anyone north of Seattle. This option entails taking the Edmonds-Kingston Ferry and driving to Port Angeles from Kingston. This route takes 3 hours and 10 minutes to get you to Mt. Storm King.
While taking the ferry is a beautiful and relaxing way to get there, they can be a bit expensive at around $16.40 a vehicle one way. They can also be quite frustrating as you can easily miss a time or have too many people in front of you to get on the ferry you were planning on.
If you want to avoid the ferry system OR are quite south of Seattle in say, Tacoma, then I would recommend just driving around. This is a longer route at 3 hrs 40 minutes but it can be worth it to avoid the extra cost or wait.
Personally, I tend to take the ferry over and drive around on the way back!

The Hike- What to Expect on Mount Storm King
Parking:
To begin the hike you will turn off into the Storm King Ranger Station which is located along Highway 101 (or the Olympic Highway) which runs along the south side of Lake Crescent. Next to the Ranger station is a parking lot- you will use this lot as the beginning point of your hike!
Beginning the Hike:
To begin the hike you will follow the Marymere Falls Nature Trail. The two begin from the same trailhead but will quickly split off.
The Marymere Falls Trail begins next to the Ranger Station, you will follow the path along to the side of Lake Crescent where it will veer right under the highway. There will be a narrow tunnel for you to walk through.
Once you are through the tunnel you continue along the trail for another 7-10 minutes or so. At around 1/2 a mile of flat walking you will see a sign for Mt.Storm King Trail to your left. From here you begin your steep ascent up!
The hike up is pretty grueling, it climbs 2,000 ft in around 2 1/2 miles, making it a difficult trail. Stop and take water breaks, soon enough you will reap the rewards with beautiful peak-a-boo views of the lake.
The Ropes Section:
At a certain point- around 2.5 miles up you will see a sign that says “end of maintaned trail” this indicates to you that you are about to hit the ropes section.
Personally, this is my very favorite part of the hike! I love the added difficulty it brings and has a sense of adventure that is hard to find on some of the shorter trails in the area.
There are a total of 6 rope sections, the terrain is quite dusty and has almost no traction. I would recommend bringing gloves with a grip on them if you are nervous about this portion of the trail!
After you pass the ropes section you are pretty much there! Just follow along to the left, cross over a small rock scramble and hit the top!
This is the perfect time to break out any food you have or to take a picture standing on the rock at the edge!

Adding Marymere Falls:
If you still have some time left in the day or are itching for more, add on Marymere Falls!
Marymere falls is a wonderful waterfall that embodies all of the Olympic Forest Vibes- lush ferns, wooden bridges and misty water.
The hike to Marymere is 1.7 miles long from the beginning of the trailhead and has only 286 ft of gain. It is a wonderful walk in the woods.
To get to Marymere Falls simply follow the trailhead you used to get to Storm King and instead of turning left up the Storm King Trail, continue on straight.

Planning Advice for Mount Storm King
Best Time of Year to go:
The best time of year is May- October but you can definitely find times in the Winter where it hasn’t been snowed in just yet. I have done it in June, February and September and it has been wonderful for all of them!
If you are looking for light rays I would highly recommend June! At sunset the light pours directly over the mountains to the right of Lake Crescent and creates a beautiful atmosphere.
I will say that summer weekends do tend to get busy so I would either try for a weekday or get there early in the day!
Best Time of Day to go:
Sunset!
Two of the times I have gone have been for sunset and it was SO worth heading down in the dark. As long as you make sure you are past the ropes section before dusk you should be fine. Just bring a headlamp for the hike down!
Make sure to head get to the top at least an hour before sunset! To catch the light rays you will want to be there as the sun is dipping right below the mountains on the right side of Lake Crescent.
How much time to plan for:
If you are really in shape I bet you could easily get up to the top in about an hour- hour and a half. To be safe though and allow for time for snack and water breaks and a break time at the top I would recommend giving yourself about 3 1/2 – 4 hours for the entire thing!

What to Bring to Mount Storm King:
Hiking Gear
- Hiking Shoes with good grip! I love these: Oboz Wind River III
- Windbreaker- it can get quite windy at the top!
- Puffy- just in case you get a bit cold I always recommend bringing one along! It can easily stuff into your bag and isn’t too heavy to bring. I like this one from Outdoor Research!
- Rain Jacket- I try and bring an all in one rain jacket and windbreaker! I typically use this one from North Face! It is light and easily stuffed in my bag.
- Gloves- for warmth and grip on the ropes!
- Water Bladder– great for not having to take a ton of water breaks!
- Poles– Trekking poles are wonderful for the way down, if you have bad knees they can really help take the pressure off of them.
- Day Pack
- Enough Water and Snacks!
- Headlamp- especially if you plan on doing a sunset hike! I love this one from Black Diamond!
Photography Gear:
Check out my full Adventure Photography Gear Guide!
- Camera
- 24-70mm Lens
- 35mm Lens if you want to take portraits
- Extra Battery and Memory Card
- Tripod and ND Filter- If you are adding Marymere Falls on and want to do long exposures.
Hiking Mt. Storm King from Liana Haugaard on Vimeo.
Before You Go to Mount Storm King!
Check the Weather:
Hiking Mt. Storm King can easily turn sketchy when there is stormy or snowy weather. The location where the ropes are can get quite slick and I would highly recommend looking for a dry and clear day. Especially because you won’t be able to see a view at the top of it isn’t clear!
My favorite site to check weather conditions is: Mountain-Forecast.com
Check the Trail Conditions:
Similar to checking weather conditions, checking trail conditions also keeps you safe and prepared! It is important to check the morning of your trip.
I personally use, All Trails to check trail conditions.
Leave No Trace:
Just like any other hike we want to make sure the environment is safe and protected! This means packing out everything you bring up with you.
Take a look at this article if you aren’t familiar with the “leave no trace” principle.
Conclusion
Mount Storm King is one of the best day hikes around, with stunning views, a great workout, and even an adventurous ropes section it doesn’t disappoint.
Is it worth the 3-hour drive from Seattle? I say 100% yes! There is a reason I have headed back not once, but twice!
Let me know in the comments what you think! Would you adventure all the way up to the top?
Pin it for later!

Recent Posts
24 of the BEST Weekend Getaways From Seattle
Discover the best weekend getaways in Washington from Seattle mountain adventures and coastal escapes to charming towns and cozy cabins.

A Locals Guide to Seattle: 20 Exciting Off-the-Beaten-Path Things to Do
Don't have time to read it now? Save it for later!If you're planning a trip to Seattle and want to experience the best the city has to offer, you're in the right place! I grew up in Seattle and spent over 27 years exploring its neighborhoods, mountains, and...
Your Ultimate Road Trip Guide to Washington National Parks
Discover the best of Washington National Parks in this ultimate road trip guide! Explore the stunning Mt. Rainier, Olympic & North Cascades.

Your Ultimate Guide to An Unforgettable Central Oregon Road Trip
Explore the beauty of Central Oregon with stunning landscapes, outdoor adventures, and hidden gems in this travel guide.
Shop With Me on Etsy! Click A Photo Below!


Join Me on Instagram!

")

Want More?
24 of the BEST Weekend Getaways From Seattle
Discover the best weekend getaways in Washington from Seattle mountain adventures and coastal escapes to charming towns and cozy cabins.
A Locals Guide to Seattle: 20 Exciting Off-the-Beaten-Path Things to Do
Don't have time to read it now? Save it for later!If you're planning a trip to Seattle and want to experience the best the city has to offer, you're in the right place! I grew up in Seattle and spent over 27 years exploring its neighborhoods, mountains, and...
Your Ultimate Road Trip Guide to Washington National Parks
Discover the best of Washington National Parks in this ultimate road trip guide! Explore the stunning Mt. Rainier, Olympic & North Cascades.
0 Comments