
How to Prepare For A Hike in Washington State

Don’t have time to read it now? Save it for later!
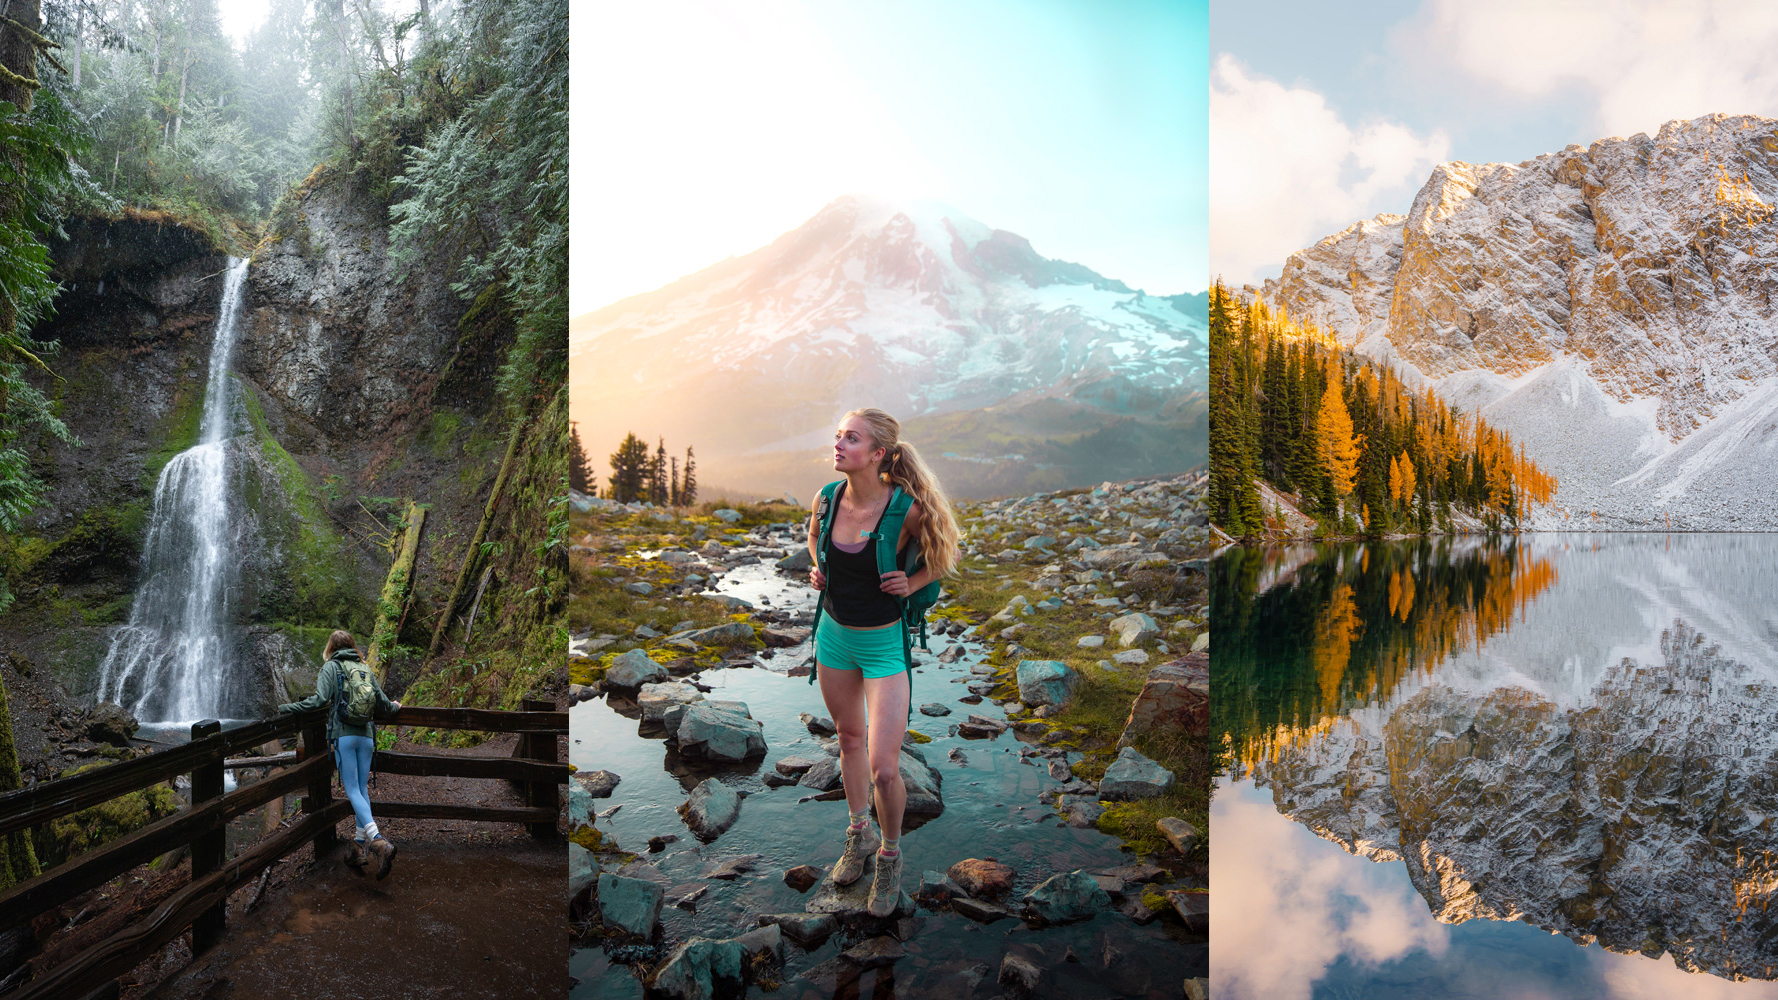
Hiking is one of my absolute favorite things to do in Washington year-round.
There are endless places to explore and once you buy all the gear it is basically free!
I have been hiking around Washington consistently since I was 17- around 8 years now! How crazy!
There are many things I have learned but by far the most important lesson was how to prepare properly for a hike.
In this article, we will go over everything you need to do prior to setting foot on the trail.
This preparation is vital to ensure that you have everything you need if something goes wrong.

Step #1: Check the Conditions
There are many different things you need to do before setting foot on the trail, but first and foremost you need to see if that specific trail is even plausible to do at the date you want to.
While Washington boasts many different types of environments to hike in, that comes with a price: varying conditions.
Unlike other states where you can generally expect that same thing in different parts of the state, Washington can be unpredictable and even confusing at some points.
First Thing to Check: Weather
There have been countless times I have decided on a hike for a weekend only to find out that that specific area of Washington is having terrible weather.
It is important to know what you will be getting yourself into so that you can pack properly.
This is especially important if you are planning on doing a longer hike or backpacking trip.
Mountain and coastal weather can change quickly and it can be quite miserable getting stuck out in the rain without the proper gear.
Hiking 5 miles out can become treacherous or at best simply painful when done in the wrong weather.
My favorite website to check the weather for a hike is: www.mountain-forecast.com
This website allows you to narrow your search to the specific location and mountain range you will be hiking in.
It also shows you what the weather will be like at different elevations so you can see if the weather will be drastically different at the summit.

Next Step to Prepare For A Hike: Check Trail Conditions
The next step is to check the trail conditions. There is always a chance a storm has washed out the storm or the lake is inaccessible due to snow and ice.
You want to be in the know before getting all the way up to the trailhead to find this information out.
My favorite websites to check for recent information are:
All Trails– there is an app for this as well! This is a great place to go to read recent reviews from other hikers. It tends to have the most recent information and the most reviews due to the accessible app.
WTA (Washington Trails Association) – WTA is another great resource. This website also features reviews from hikers and has tons of information on almost any hike in the state.
If you cant find recent enough information (within the last day or two) try calling the closest ranger station!
They are always happy to help and are equipped with the most recent weather and trail reports.
Third Step to Prepare For A Hike: Check Road Conditions
While there are some trailheads that are located right off the highway there are many others that require a long and bumpy drive up a narrow forest road.
It is important that you check the road conditions so that you can choose the correct car and time to go.
There are many trailheads in Washington that are unreachable without a 4WD high clearance vehicle.
Even worse there may be fallen trees, unpassable potholes, or landslides that prohibit you from reaching your destination at all.
When researching the road conditions I would recommend using the same resources as above:
Ranger Station

Fourth Step To Prepare For A Hike: Check Driving Conditions
The last thing you will want to do in your pre-hike check is to scope out the driving conditions!
Similar to checking the road conditions you want to have the information far before you leave.
If roads are closed due to downed trees, or highways shut down due to construction or winter snow you want to know prior to heading out for your hike.
I recommend mapping out your route the night before utilizing either Google Maps, Waze or Apple Maps and then checking Safe Travel USA to see the specific road conditions.
If you want to go even further you can download the app “Drive Weather” this allows you to track what the weather will be like along your drive.
This way you can know if you will be heading into a rainstorm on part of your drive or not.

Get Packing!
The one thing I am still quite bad at on this list is packing at the last minute. It always screws me over and I will tend to forget something important.
The best way to pack is the night before! Layout everything you need and go over the free checklist I have created for you!
#1: Clothing
If you have followed this guide, at this point, you know what the weather is forecast to be like.
I recommend laying out your clothes and shoes for the next day as well as the extra layers and jackets you want to bring.
I tend to also pack a bag of clothes for the car– if you end up getting unexpectedly rained on during your hike there is nothing better than coming back to a bag full of warm sweats, fuzzy socks, and a comfy t-shirt!
I also like to wear different shoes in the car and change into my hiking boots at the trailhead- in the summer I prefer Chacos and in the winter snow boots or slippers!
#2: The 10 Essentials
In the hiking world these are considered the items that should never leave your bag. These items ensure that you are safe and prepared in case of an emergency.
- Navigation: compass, map, GPS, personal beacon (choose 2 of these)
- Headlamp– light is essential! I also carry backup batteries and a small backup flashlight
- Sun Protection- sunglasses are a must! I have a pair of polarized sunglasses that just stay put in my bag. You should also have a small tube of sunscreen and a sun hat just in case!
- First Aid- It’s important to always have first aid on you. I know many people who don’t bring any form of first aid on shorter hikes but I have to recommend against that. You never know what is going to happen and it is always best to be prepared!
- Pocket Knife- Having a knife gives you options. It can help with food prep, first aid, making a fire, and so on.
- Fire– Waterproof matches, lighter, tinder, or stove.
- Food– Bring more food than you think you will need- the worst thing is realizing your all out of food and you still have 5 hours of hiking left. Food gives you the energy you need to keep going and keep your body warm. I always stash some extra cliff bars and energy blocks in my bag just in case.
- Water- 2-3L’s of water and a water filtering system. Not all hikes require a filter system but having a couple L’s of water is essential on any hike.
- Emergency Shelter– these include- emergency bivys, ultralight tarps or emergency blankets. Personally, I always have a bivy and emergency blanket tucked away in my bag.
- Extra Clothes– Weather can change so quickly that it’s important to have extra layers. I always bring extra gloves and socks so that in the case the ones I used got wet I have an extra pair.
#3: Food!
Depending on the length of the hike you are going to want to bring an assortment of food.
For day hikes I like to prepare fresh food myself the day of.
My favorites are apple slices, PB and j sandwich or hummus wrap, carrots and hummus, trail mix, a small bag of chips, and dried fruit.
Make sure you have your food all ready to go in a dry sack! This will allow you to throw it in your bag when the time to leave comes around.

Get Informed!
The next step is to get informed. What I mean by this is to get all of the information on the hike ready and accessible for you.
I Recommend:
- Downloading an offline map on google maps, all trails or Gaia
- Printing out a physical version of the map (on long trails) and putting it in a plastic bag
- Pulling up trail directions on WTA (or similar) and screenshotting the written out directions (the turn by turn information can be SO helpful when coming to a fork in the trail while hiking)
- Downloading the app “Gaia”

Prepare your body!
What you put into your body the day before and the day of the hike matters immensely. It governs your energy levels and affects how ready your body feels.
I Recommend:
- Carbo loading the night before! This is especially important if you are headed out on a long hike. Think of marathon runners- the night before they eat a heavy meal to prepare their body with carbs (energy) so that the next day they are ready!
- Eating lean protein and carbs the morning of- Oatmeal with peanut butter and dried fruit, egg or tofu scramble, or nut butter and banana toast are all wonderful options.
- Hydrate! You should be hydrating not only on your hike but the day before and the morning of. It matters more if your body is already hydrated than if you are simply chugging water (I dont recommend it) while hiking.
Be Safe!
Now that you are completely prepared it is time to head out on your hike, but not so fast!
The final thing you need to do is: Leave a trip plan for a friend!
Always, and I mean always tell someone else where you are going and when you are planning on being back. This ensures that help comes if you don’t make it home.
An ideal trip plan includes:
- Your name and names of hiking partners
- Emergency contact information- Someone in the immediate area of where you live is best.
- Date and time of departure and expected time to return
- Where you are hiking and the route you are planning on taking
- Equipment carried
- Which authority to contact if you don’t come back- ranger stations close to your hiking spot are the best bet.
Conclusion
Finally, you are ready to head out on your hike!
While the steps above can seem like a lot to do right now, eventually they will all become second nature.
I recommend using my checklist to quickly go over everything you need to pack! I also have many items that simply stay put in my backpack, this way I don’t have to consistently wonder where I put them!
Have fun and be safe out there 🙂
More Guides You Will Love!

Recent Posts

24 of the BEST Weekend Getaways From Seattle
Discover the best weekend getaways in Washington from Seattle mountain adventures and coastal escapes to charming towns and cozy cabins.

A Locals Guide to Seattle: 20 Exciting Off-the-Beaten-Path Things to Do
Don't have time to read it now? Save it for later!If you're planning a trip to Seattle and want to experience the best the city has to offer, you're in the right place! I grew up in Seattle and spent over 27 years exploring its neighborhoods, mountains, and...
Your Ultimate Road Trip Guide to Washington National Parks
Discover the best of Washington National Parks in this ultimate road trip guide! Explore the stunning Mt. Rainier, Olympic & North Cascades.

Your Ultimate Guide to An Unforgettable Central Oregon Road Trip
Explore the beauty of Central Oregon with stunning landscapes, outdoor adventures, and hidden gems in this travel guide.
Shop With Me!


Join Me on Instagram!

")
")
Want More?
24 of the BEST Weekend Getaways From Seattle
Discover the best weekend getaways in Washington from Seattle mountain adventures and coastal escapes to charming towns and cozy cabins.
A Locals Guide to Seattle: 20 Exciting Off-the-Beaten-Path Things to Do
Don't have time to read it now? Save it for later!If you're planning a trip to Seattle and want to experience the best the city has to offer, you're in the right place! I grew up in Seattle and spent over 27 years exploring its neighborhoods, mountains, and...
Your Ultimate Road Trip Guide to Washington National Parks
Discover the best of Washington National Parks in this ultimate road trip guide! Explore the stunning Mt. Rainier, Olympic & North Cascades.
0 Comments