The Ultimate Guide to Backpacking Essentials
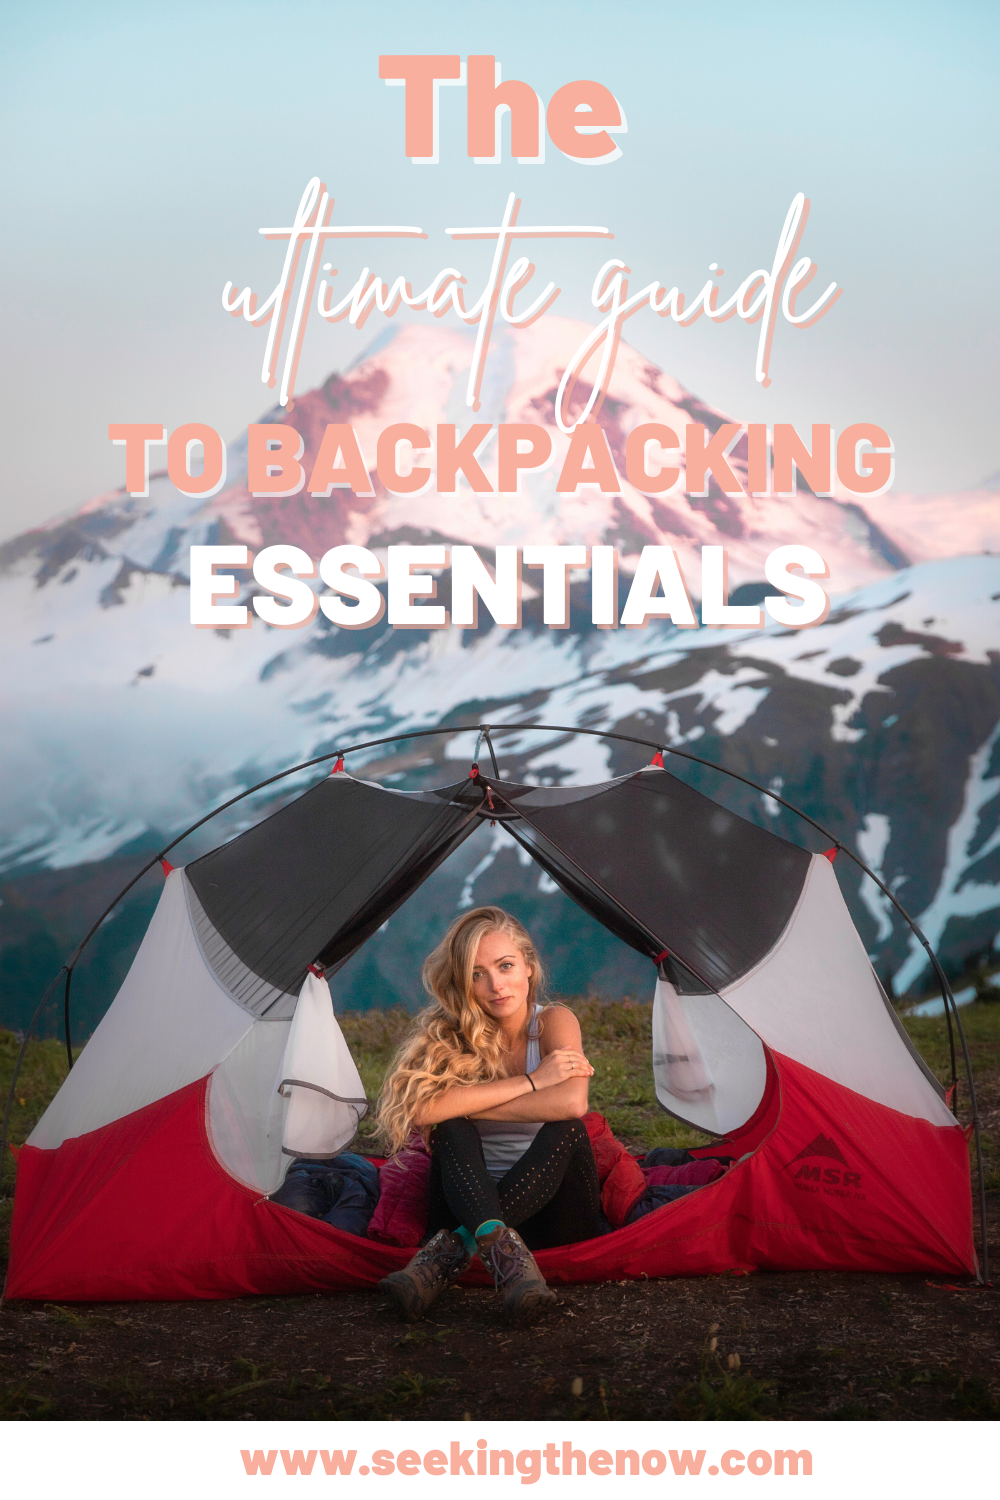
Don’t have time to read it now? Save it for later!
In the past four years since I started backpacking it has worked its way onto the very top of my list of favorite activities!
To make things easier on you I have created this blog post to list the backpacking essentials you will need to get out on the trail and sleeping underneath the stars.
Backpacking requires quite a bit of gear up front, but much of it can be shared with friends!
Next to each item, I will indicate whether this is individual or group gear- investing in the individual gear first will allow you to join any backpacking trip you are invited on!
Once you make the initial investment backpacking can become a cheap and amazing way to spend a summer weekend!
Disclaimer: This blog post features affiliate links. This means I get a small commission if you make a purchase (at no extra cost to you :)) !
Backpacking Essentials: The Basics
The Backpack
This one probably won’t come as much of a surprise to you, but you will need a backpack!
Backpacking requires you to carry all of the things you need to survive on your back.
To make this as comfortable and easy as possible you will want to invest in a good backpack that is the right fit and size.
Things to look for when buying a backpacking bag are:
Volume (Liter Size)
The general size of a backpacking bag I would recommend is around 38-50L. It truly depends on how heavy of a packer you are and how long you are planning on staying on the trail.
38 liters is quite a small backpack and some would refer to it as “fastpacking”
When buying a bag of this size you will want to make sure you are buying really light and pack-able items and will only be planning on staying in the back country for a night.
I personally use a bag that is 45L and can stretch out to 55L if necessary- many times you will see this shown on the backpack as “45L + 10L”.
The majority of the time I am perfectly fine with 45L on a one-night trip and will stretch it to 55L when I am doing multi-day trips.
If you are planning on doing 3 nights or more you may want to look into bags that are 60L or more due to the amount of food you will need to carry.
Comfort-ability
Having a comfortable backpack can make a huge difference in the quality of your backpacking experience.
When looking for a comfortable backpack there are a few things to take into consideration:
– How does the pack fit?
This is by far the most important aspect of the pack- the torso length should be correct and fit well.
You can see if the torso fits well by noticing where the shoulder straps sit on you.
Are they forming to your body, or do they jut up above them? A pack that fits well should have shoulder straps that form to your body and connect to the backpack at your shoulder blades.
– Are the shoulder straps padded?
When trying on the backpack take a look at how padded the shoulder straps are. The more padding the better it will feel in the long run.
Also, pay attention to how it fits- is it cutting you off at the armpit or does it feel like it fits your chest well?
– How supportive are the hip belts?
Hip belts are meant to take the brunt of the weight when backpacking.
They should sit right over your belly button and rest on top of your hips. Be sure to cinch the belt tight to see how it will feel.
Another thing to pay attention to on the hip belts is how thick the straps are and if they have pockets are not. I love having pockets in the front as it gives me a place to put my phone and snacks!
Extra Features
When looking to buy a backpack there are a few things you will want to take a look at, one of them is the different types of pockets and areas it boasts.
-Does it have a bladder area? Places to hold external water bottles?
– How does it open up? Does it have a side zipper or back zipper or can you only access it from the top?
– Is there a separate area for sleeping bags?
– Are there outer loops where you can attach a tent or sleeping pad to the outside?
– What type of “brain” (top of the pack) does the backpack have? Can you take it off and use it as a day pack?
Weight and Durability
These two go hand in hand. You want to make sure to find an equal balance between a pack that is lightweight and a pack that is sturdy!
The Osprey Aura 50L Pack is a perfect pack for those who think they may want to venture out into the back country for a night or two.
The bottom compartment nicely holds your sleeping bag, the “brain” (top compartment) is perfect for holding a headlamp, snacks, and first aid kit, and then straps are big and secure.
This is one of the packs I recommend to all of my friends and family as Osprey has an amazing warranty- they will repair any bag free of charge no matter what happened to it!
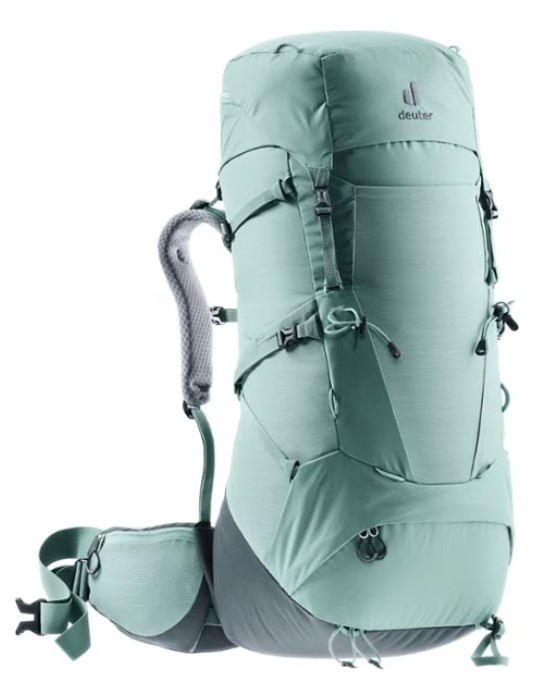
The Deuter Air Pack is the pack that I have used ever since I began backpacking! Dueter is an amazing brand for women as they specifically fit their hip belts and shoulder straps for a women’s body.
I love the fact this pack has a separate are in the bottom for my sleeping bag, large hip pockets and the brain fits all of my essentials!
I personally think the liter size of 45L+ 10 allows for the perfect amount of space for a couple nights in the back country without being overkill.
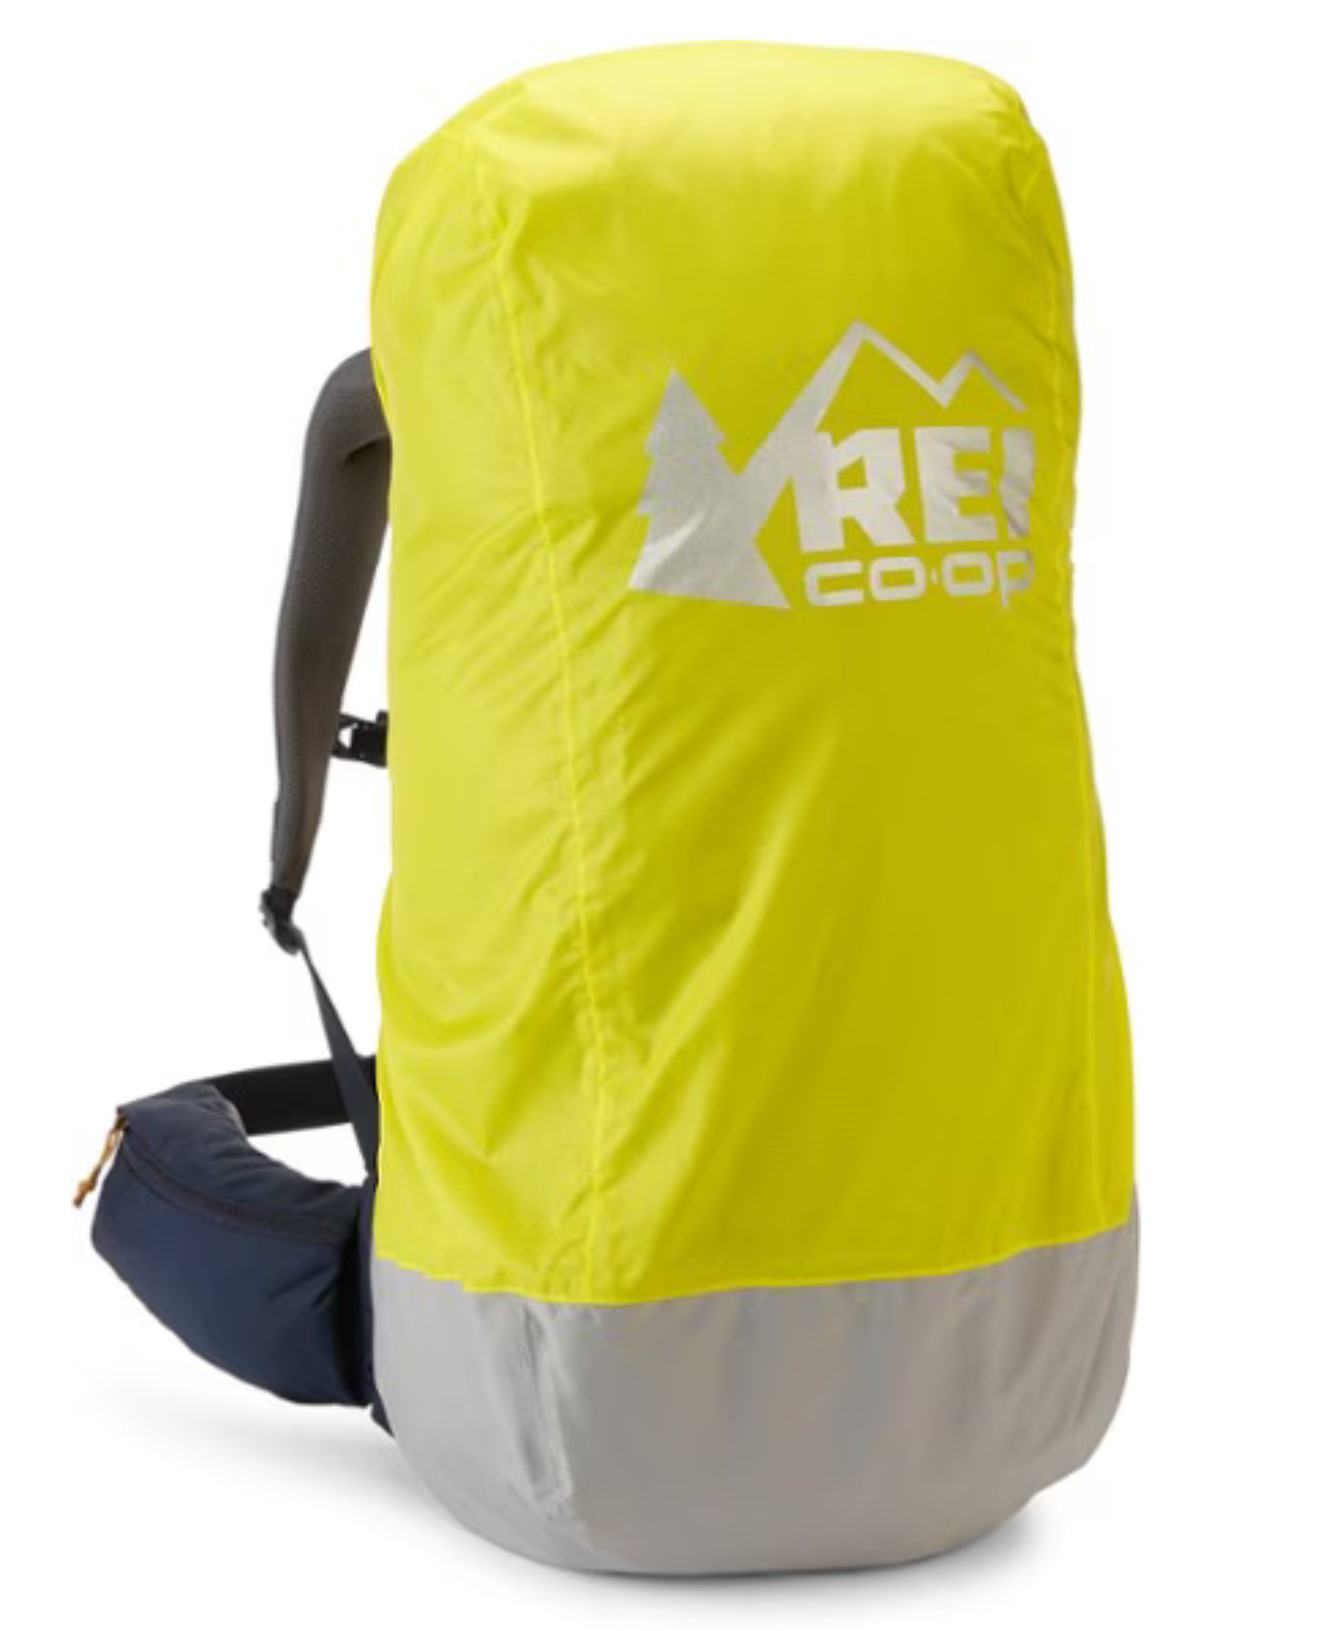
Backpack Rain Cover
Having a rain cover for your backpack is essential so you can keep all your important items dry! These stuff down super small and are lightweight and easy to always store in your bag.
![]()
READ MORE: 11 Of The Best Backpacking Trails In Washington
Check Out My Washington Wall Art!

Hiking Boots
The next essential backpacking item you will need are your boots!
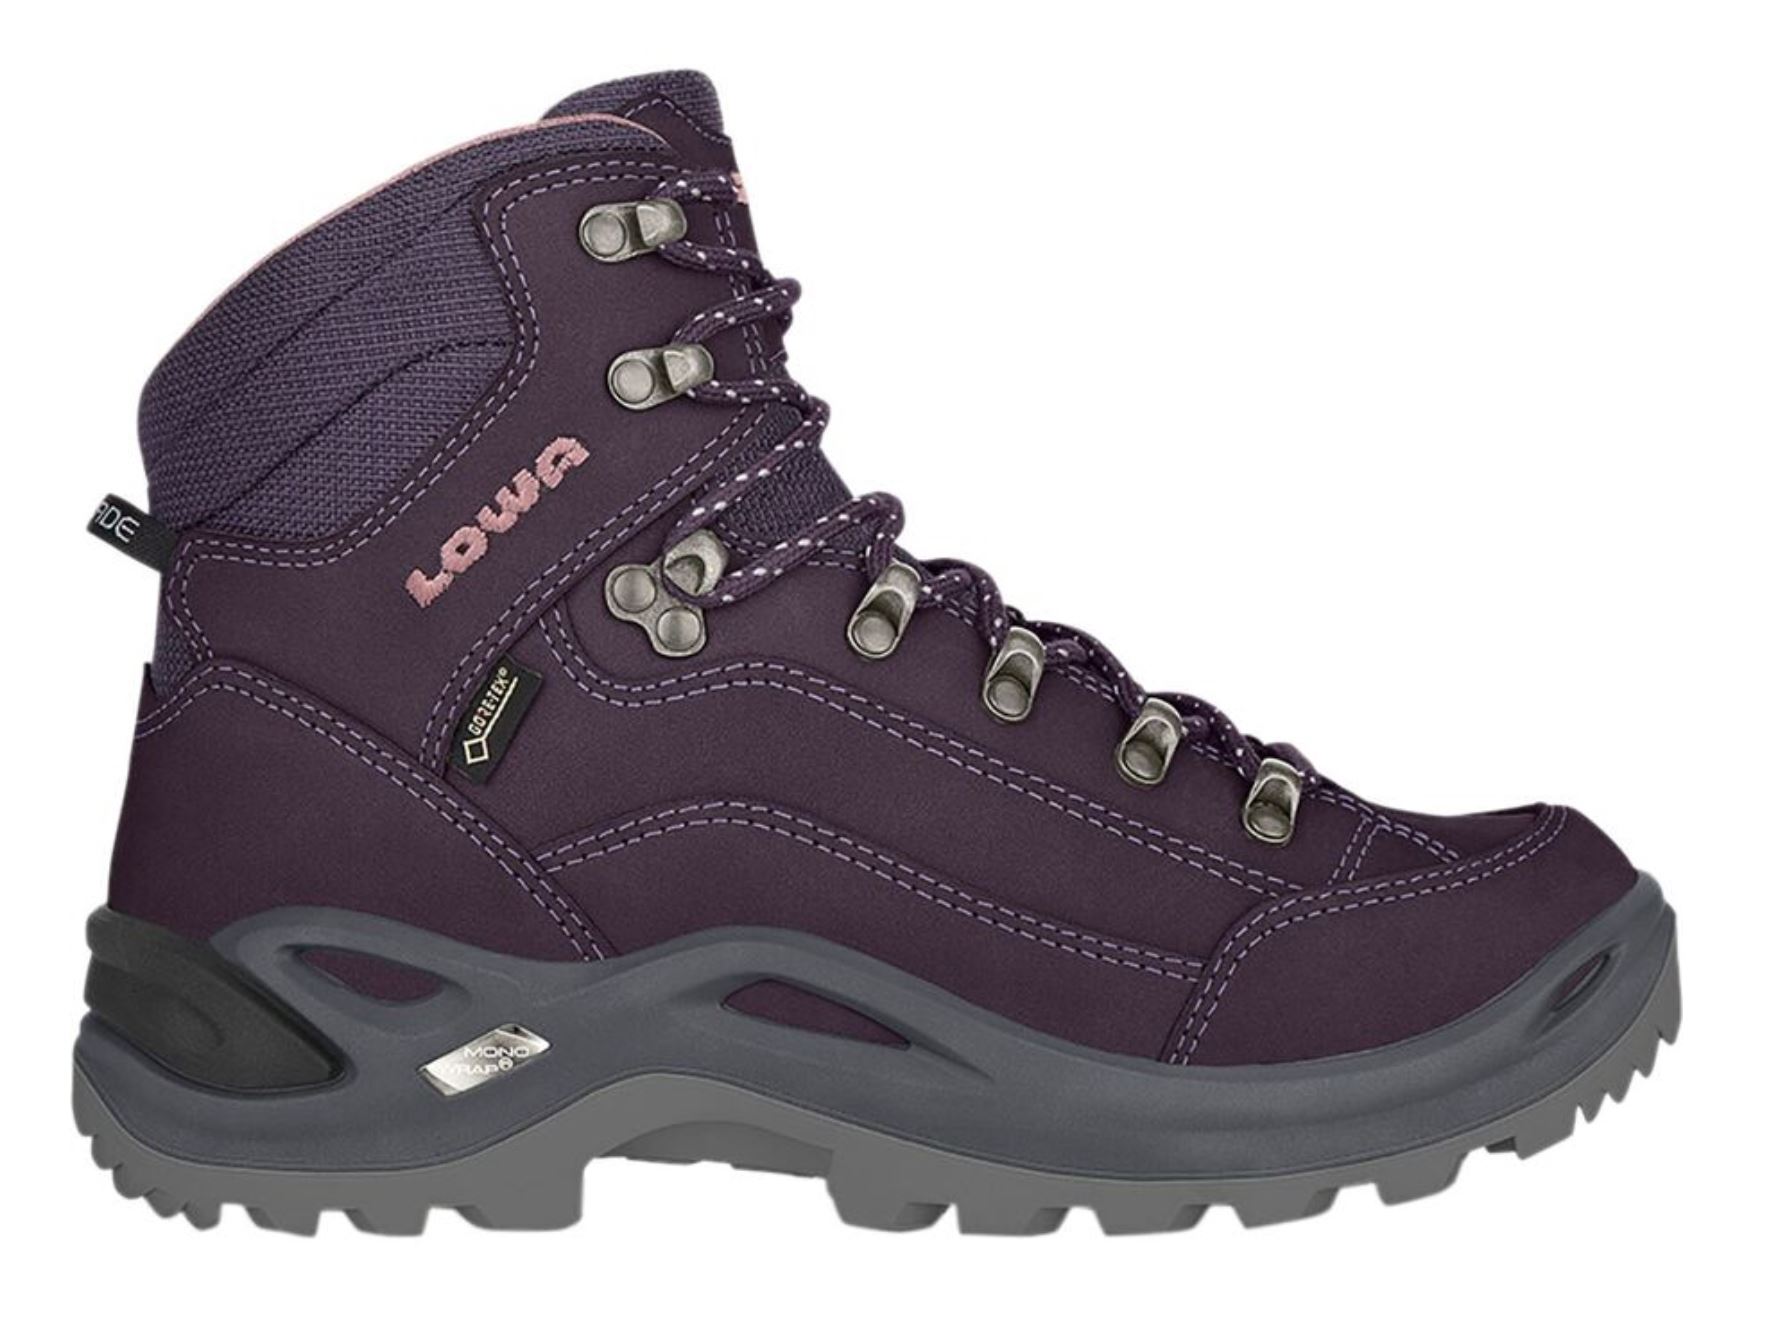
When searching for your next pair of hiking boots I would recommend finding ones that fit your feet well, have good grips, ankle support and a solid sole.
I would highly recommend trying these on in store if you can.
When testing them out see if you can either walk up a ramp, or stairs; when doing this see if your heel is slipping at all– if it is it can indicate the shoes are too big for you and will really hurt once you get on the trail.
Another thing I recommend doing is stomping your feet down a ramp or against a wall- this can let you see if your foot slides forward and your toes hit the front. If they do this can indicate a poor fit and will cause toe pain when you are headed down the trail for hours on end.
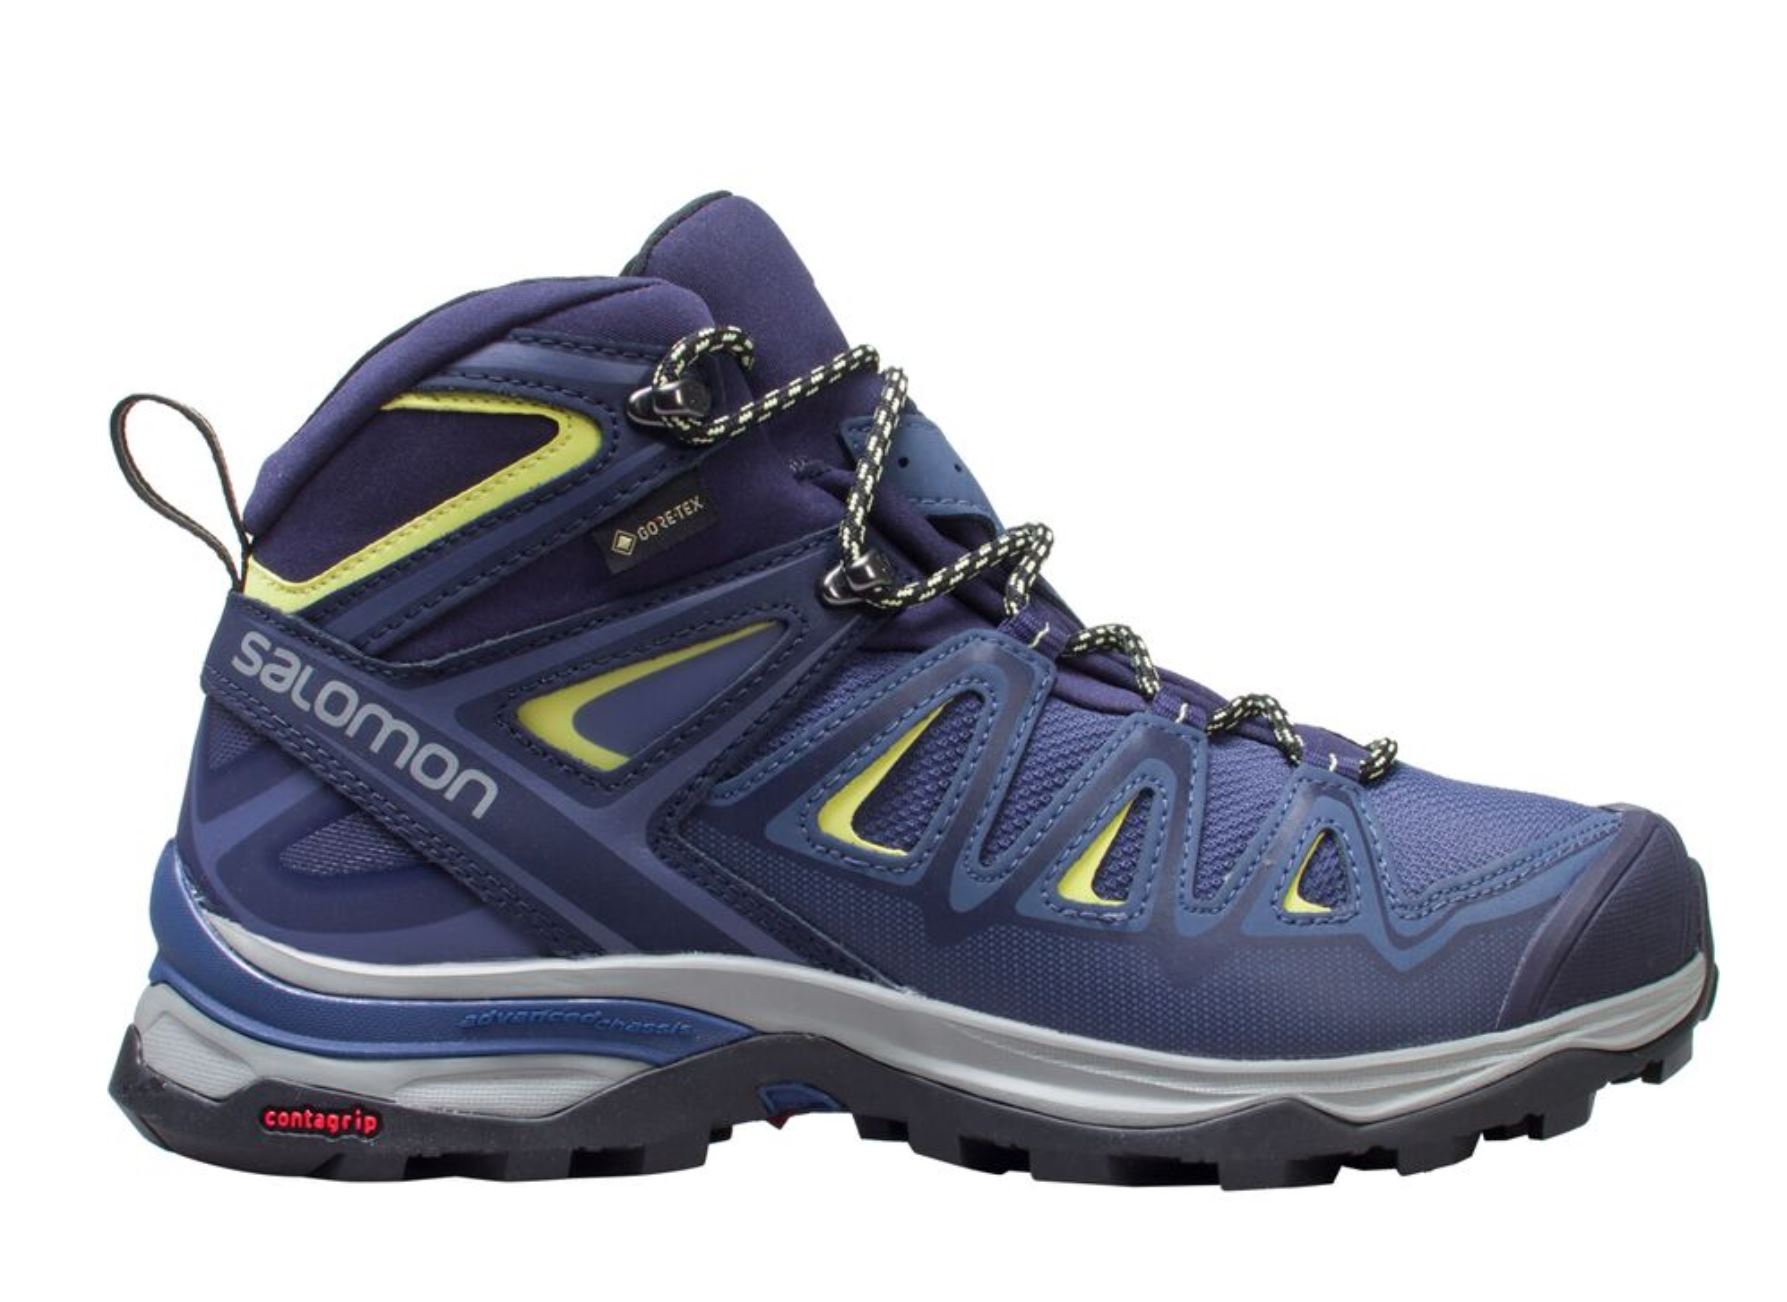
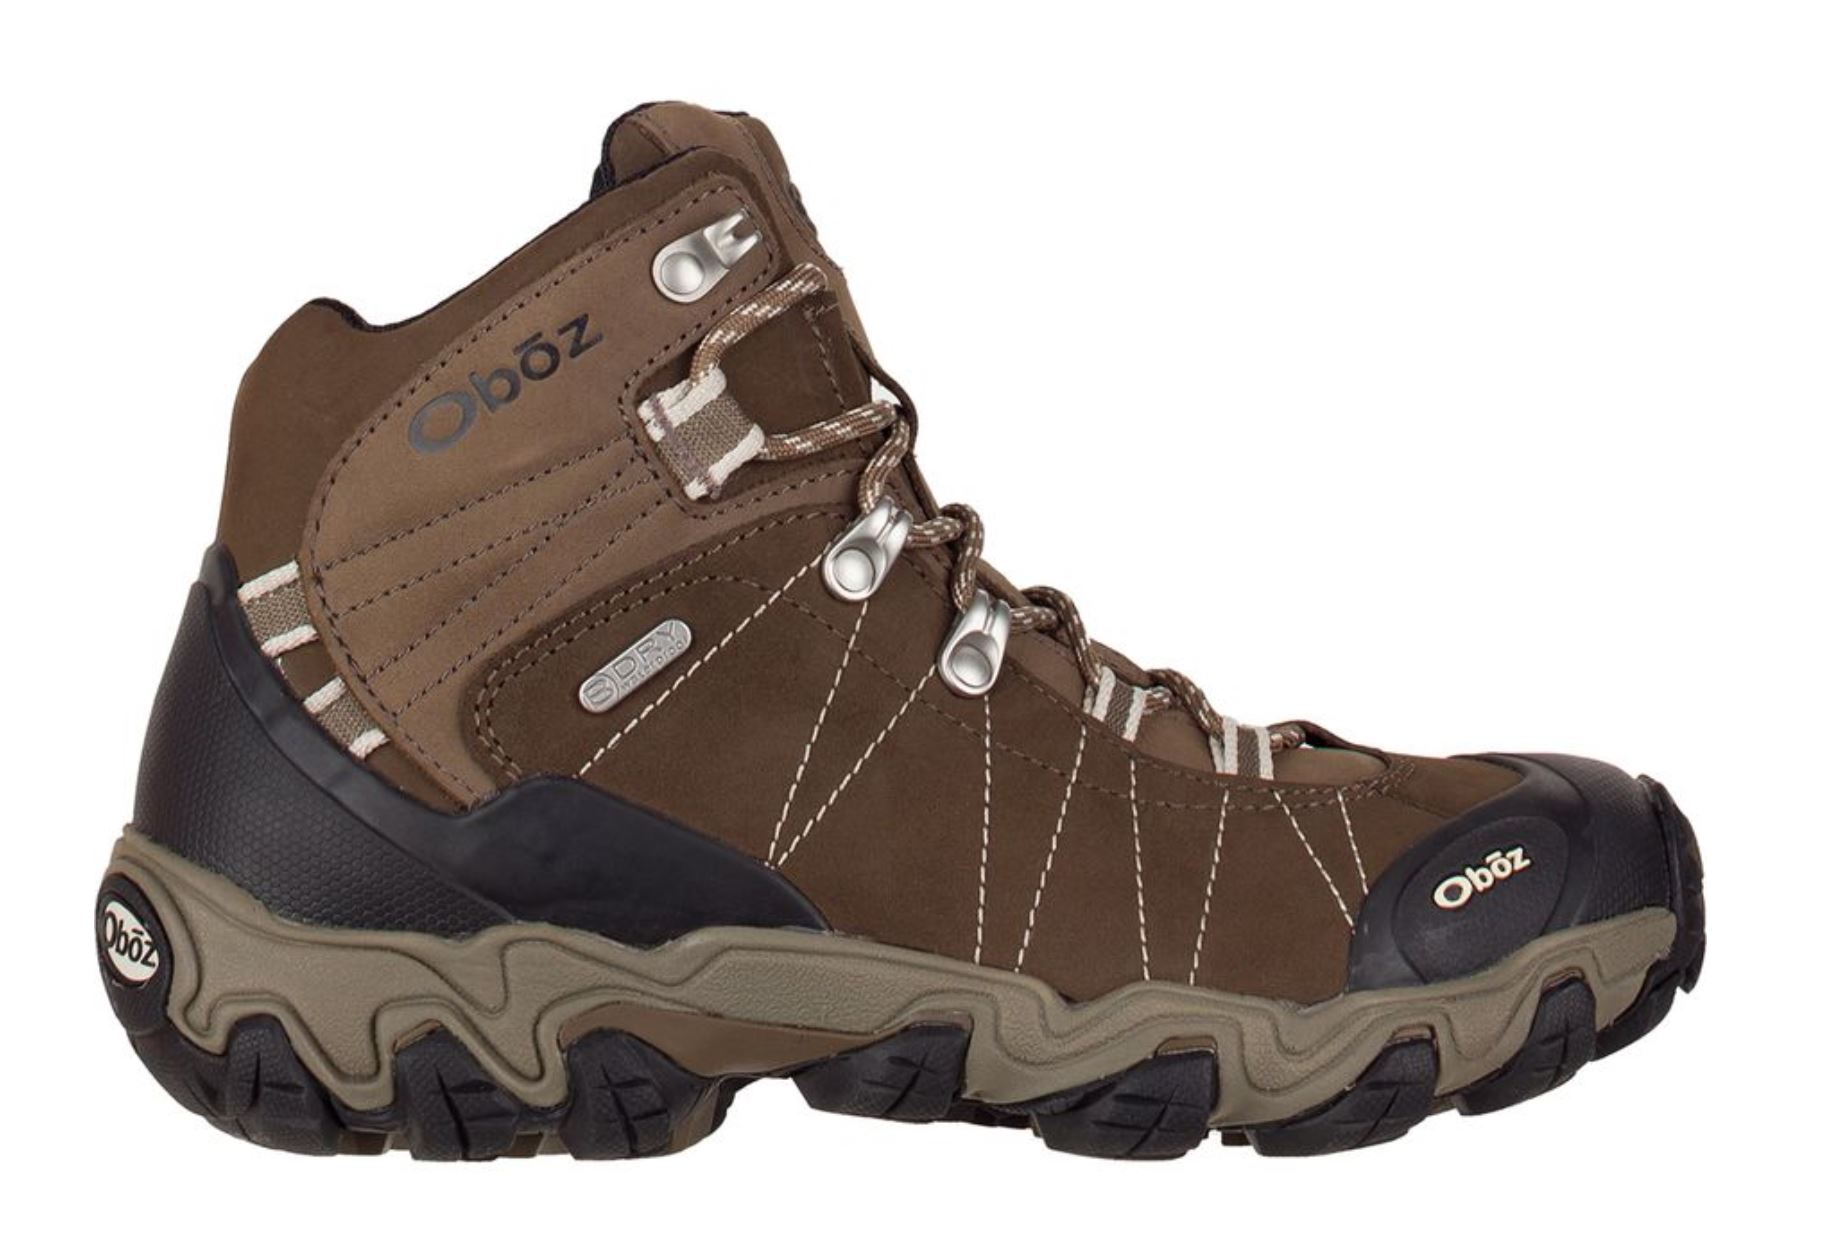
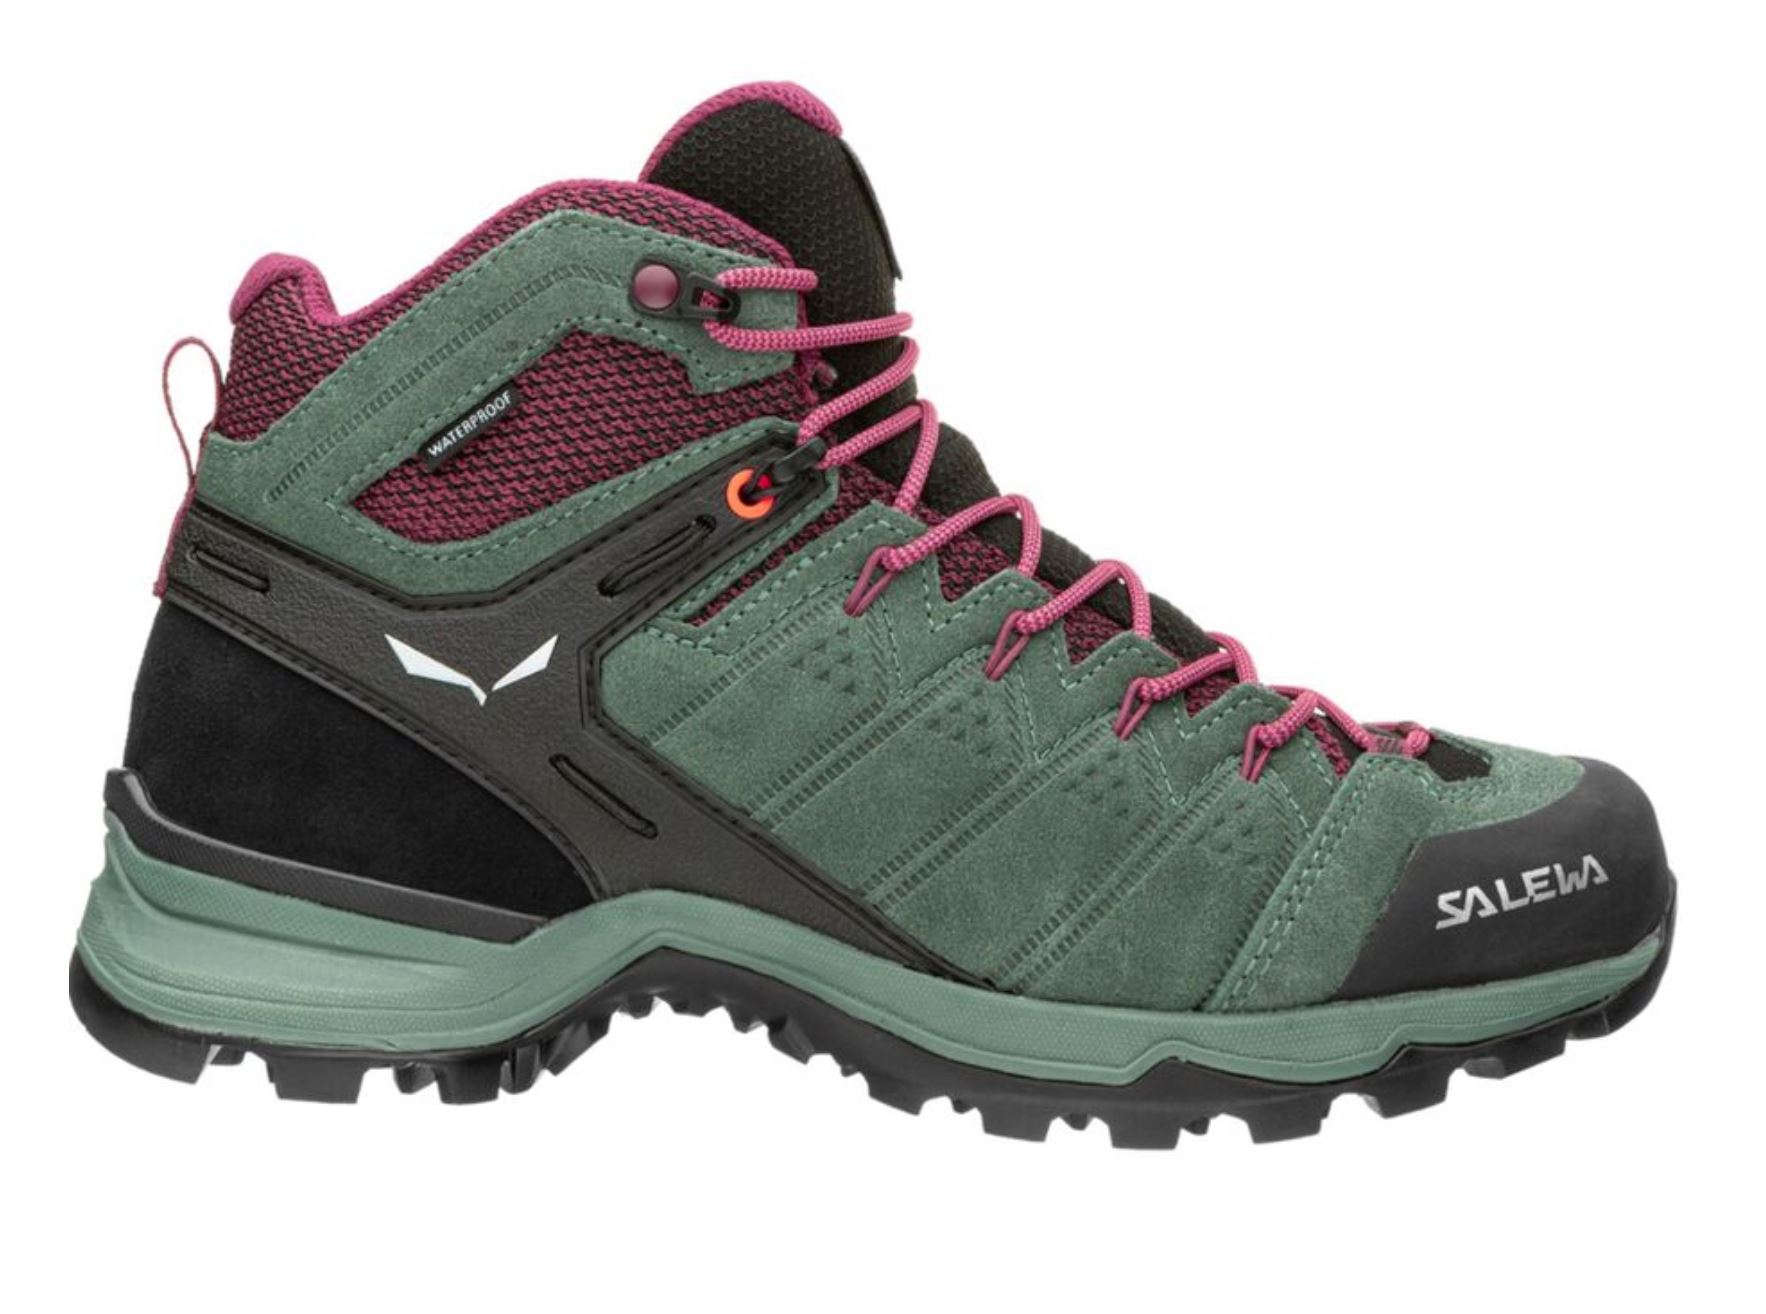
While it is hard for me to recommend a specific shoe as every person is different, I have listed my personal favorites below!
The Salomon X Ultra 3 Mid GTX are some seriously lightweight boots! Weighing only 14oz these wont slow you down on the trail.
![]() READ MORE: 5 Backpacking Tips To Make The Backcountry More Enjoyable
READ MORE: 5 Backpacking Tips To Make The Backcountry More Enjoyable
Trekking Poles
As of the last two months I am a converted trekking pole user. Before this year I had written trekking poles off as something only older people needed. I found them annoying and swore they got in the way.
Let me tell you, I was quite wrong.
Trekking poles while backpacking changes the whole game. Not only does your balance improve but your knees will thank you later!
When carrying a 25-30lb pack I have found my center of gravity changes a lot, trekking poles give me that little extra contact with the ground that I need when crossing a creek, climbing over logs or boulders and making my way up steep terrain.
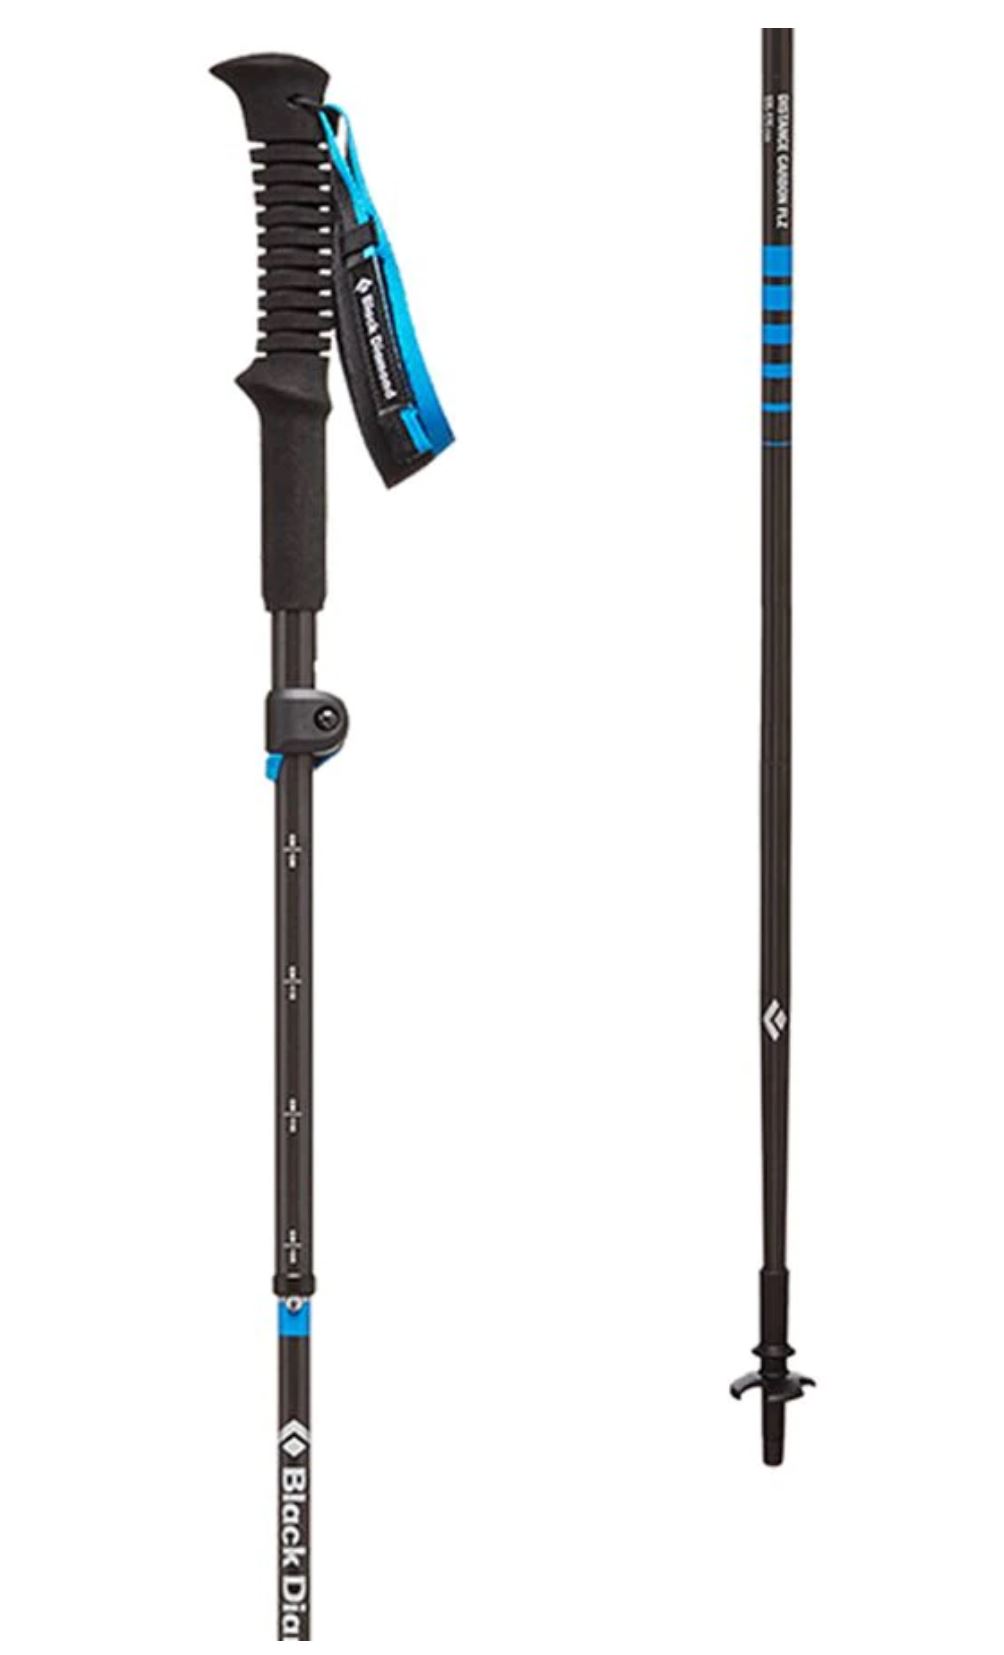
I bought these Black Diamond Carbon trekking poles midway through this last hiking season and I am absolutely obsessed with them. I bring them on everything regardless of if I think I really need them or not.
These are definitely a higher end pair of trekking poles- they are 100% worth it though. You can easily get away with a cheaper pair but you will be stuck with poles that don’t break down as far and are much heavier.
If like me, you want to minimize the weight you have to carry I would highly recommend getting these- they are made of carbon fiber making them ridiculously lightweight and they break down super small allowing you to easily pack them in any bag!
A Headlamp
Another piece of gear that is absolutely essential when heading deep into the wilderness.
This single piece of gear can keep you feeling safe and in control!
When buying a headlamp make sure to check the lumen of the light- a good range is
Another thing to look for is if it has a red light- this can help when you are at camp and are going to be chatting with other people and you don’t want to blind them!
The Black Diamond Storm 500 is my personal go to headlamp! With 400 lumens it is super bright and keeps you safe at night.
Another pro of this headlamp is all the different settings you have- not only do you get a dimmer but you also get a red light (so you don’t blind your friends when your talking) and a strobe setting for emergency’s!
Water Bladder
Water bladder- aka the most time-efficient way to bring your water along with you.
Once I started using a water bladder I never looked back- there truly is nothing better than never having to stop to drink water while your hiking.
It makes it easy to stay hydrated while climbing up long stretches of terrain.
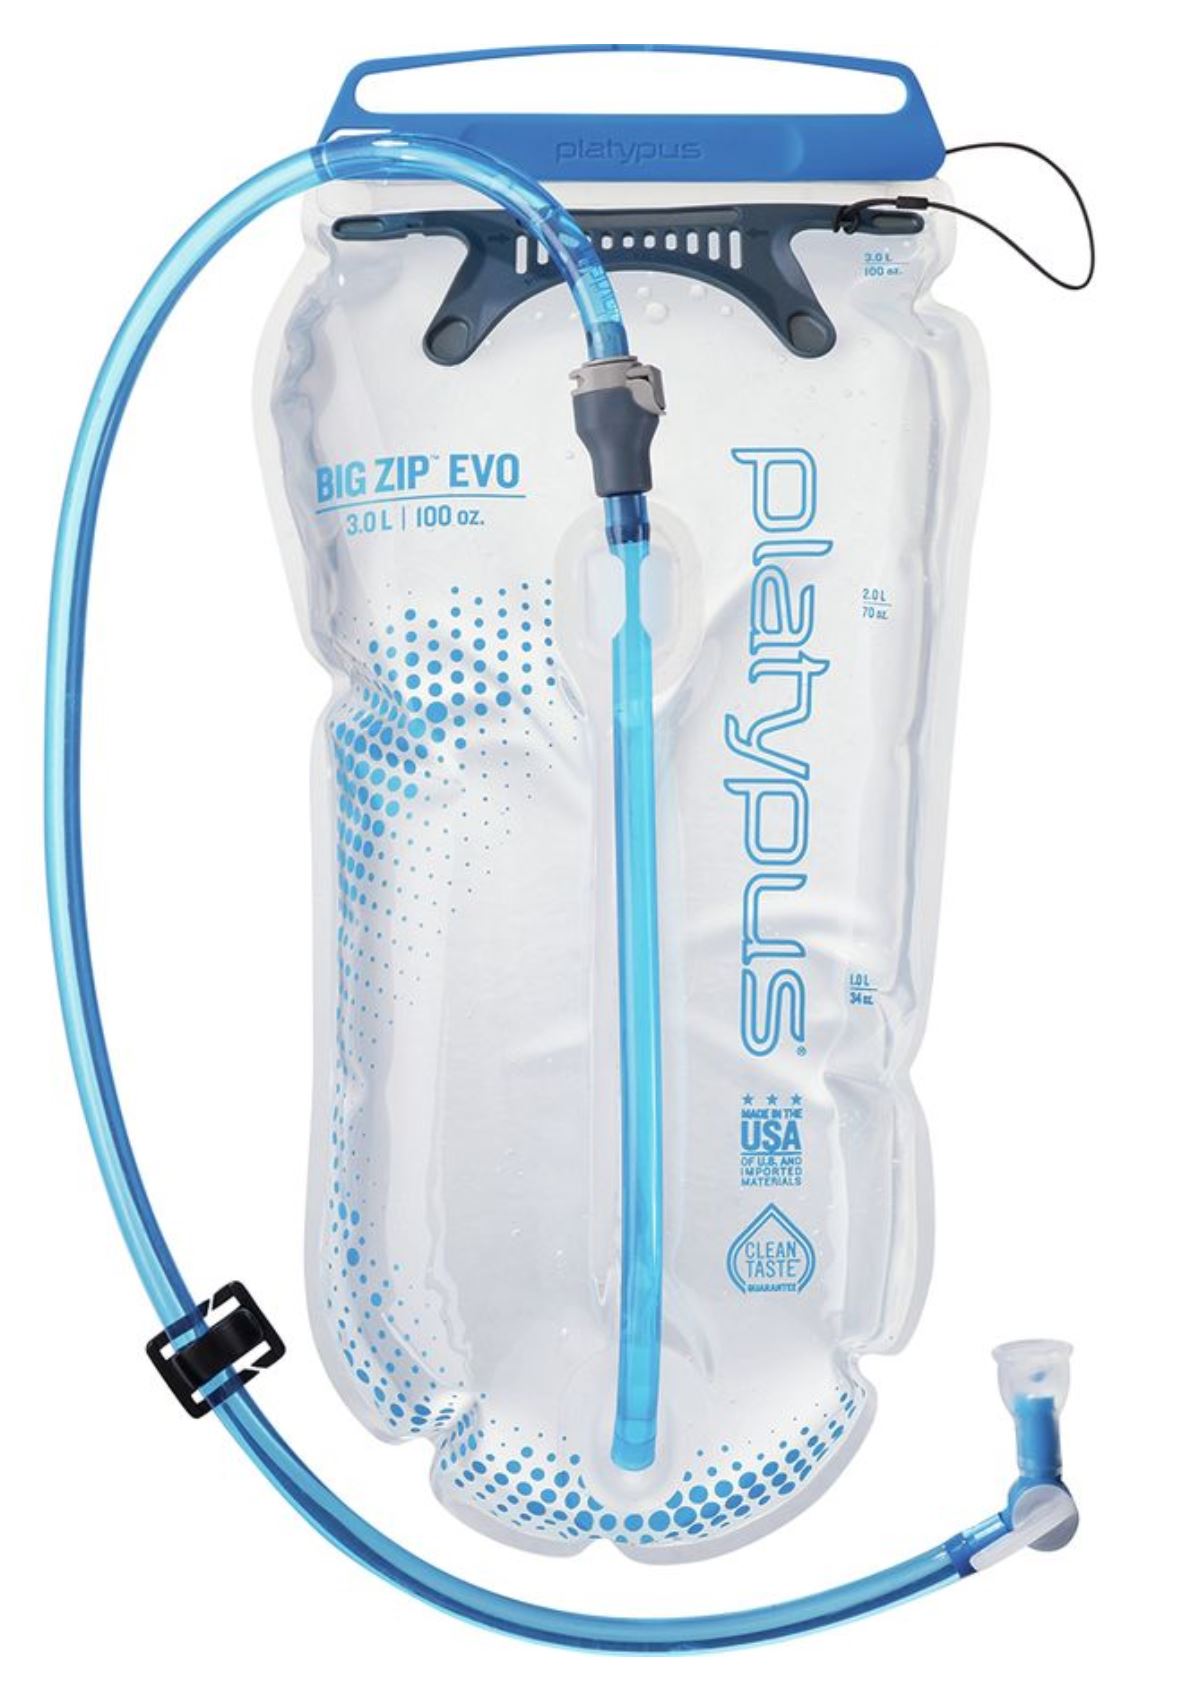
I have tried many different types of water filters and the Platypus Big Zip Evo Reservoir is by far the lightest, easiest and quickest filter I have come across.
You can buy different bag sizes for the filter and can easily roll it up for quick storage!
The process is also ridiculously easy- you simply unscrew the top filter, scoop up the water and then screw the top back on and squeeze! I have also seen friends use it as a sort of water bottle- by just drinking through the filter at the top!
Water Bottle
Even when I bring a water bladder, I always make sure to have a water bottle as well. You never know if your bladder could break or get a hole, so I like to play it safe and bring a nalgene! Having a nalgene is also super helpful if you want to add electrolytes to your water or heat up some water and bring it to bed with you (a lovely little heating pad trick!)
Dry Bags
Dry bags are one of the best ways to store snacks, camera gear or extra clothes while backpacking! I personally like to use them a little bit like packing cubes– allowing me to separate the different types of items in my backpack while also protecting them!
Backpacking Essentials: Sleeping Gear
Backpacking Tent
Next is your tent! This is one of the last things I personally bought as many of my friends who I was going backpacking with would already have one.
It is handy to get one that is a 2 person tent or more so you can split the weight between a couple of people.
Another thing to look for in a tent is a nice vestibule where you can find shelter from stormy weather to cook in and leave your gear under.
Backpacking tents range from around 2lbs to 5 or 6lbs. Usually, the pricing goes up dramatically when you start to get into the 2lb range but for many, it can be worth it.
MSR makes amazing products- and I think this may be their best!
The Hubba Hubba weighs in at 3lbs 8 oz (super light!) and is super roomy for a two person. It is also considered a 3 season tent so your not stuck with a tent that will only keep you dry in nice weather. If you want a similar tent that is a bit cheaper- try the MSR Elixir 2 Tent.
I have used this tent in the snow, in the alpine, on the beach and everywhere in between- trust me it holds up!
The rain fly provides you with a great vestibule to protect your bags at night and the interior pockets make it easy to store all the important things you want within quick reach!
![]() READ MORE: Layering For Hiking
READ MORE: Layering For Hiking
Backpacking Sleeping Pad
To keep you warm a sleeping pad is SO important!
The biggest place you lose warmth when sleeping outside is through the ground!
Depending on the terrain and weather I would recommend carrying an air pad when it is warm and the terrain won’t be too rocky and then adding a foam pad underneath it if you think there is a chance you will be sleeping on snow or rocks.
When looking at sleeping pads make sure to take a look at the “R-Value” of the pad- this allows for you to see the insulation level for the specific pad.
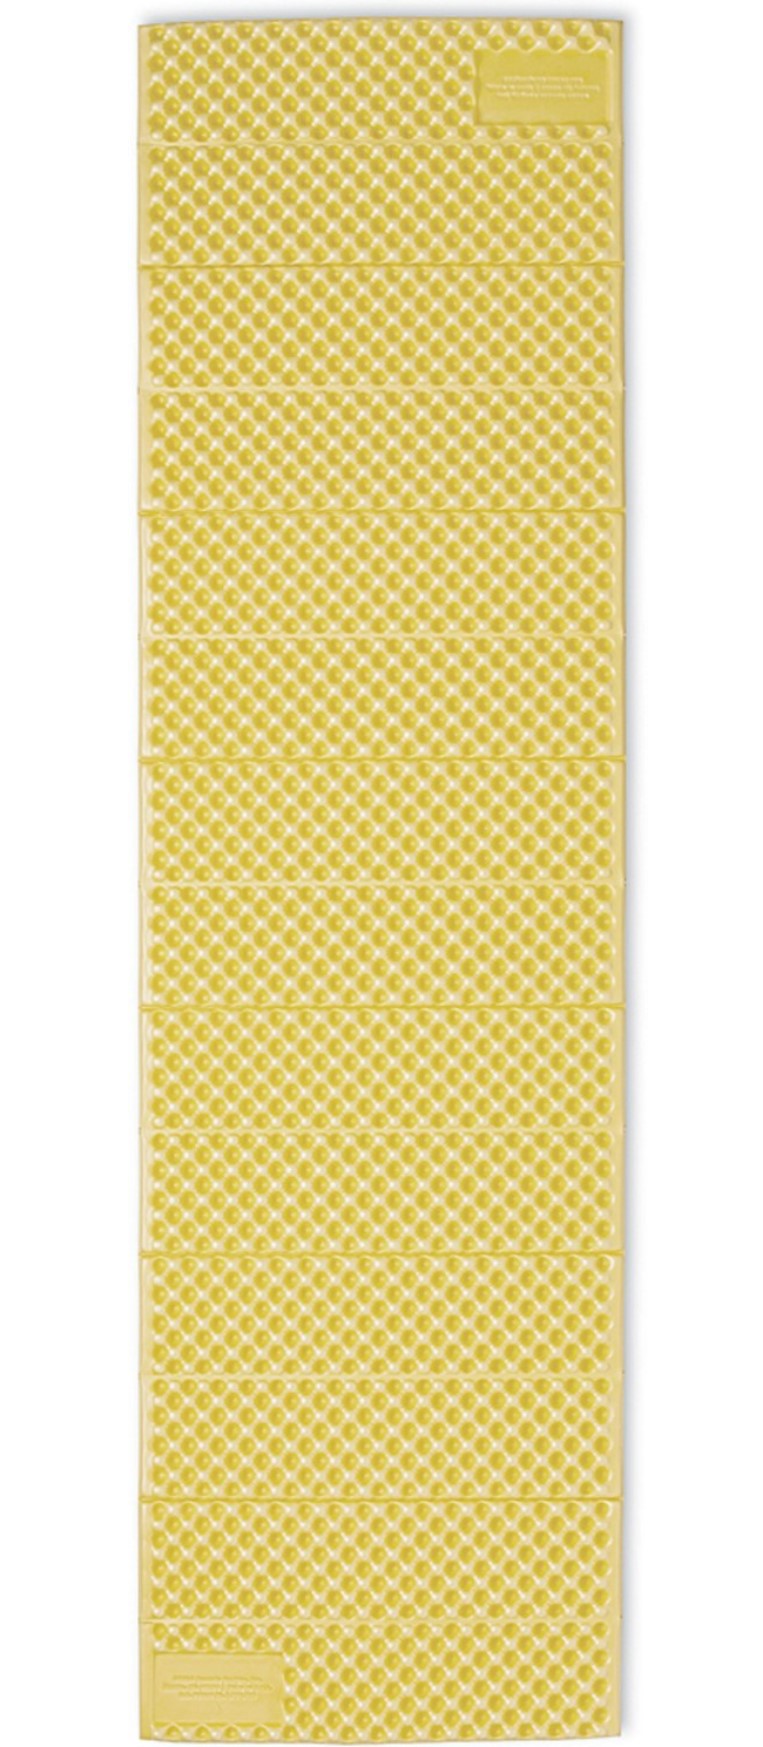
This Therm-a-rest Z lite foam pad can either be used as an addition to the air pad or all on it’s own for a super lightweight set up!
I personally love using this foam pad on all of my backpacking trips and bring it with me each time. It stops rocks from popping your air pad- provides a lot more insulation from the ground and can be perfect for snow camping!
The metallic side is also supposed to help with heat reflection so I sleep with that side up!
It’s a bit insane to me how much money air pads can be- but they make such a difference to my sleep quality I had to give in!
This Exped Ultra 7r is my current sleeping pad and it has been nothing less than amazing- unlike other air pads I have used it doesn’t leak in the middle of the night and stays completely blown up the whole night AND it doesn’t make any noise at night!
I also personally love that it is a square pad- it gives me space to move my head at night and roll over on my side without worrying I am going to fall off (as I have before on a mummy pad)
It is also super light and compacts to the size of a 1/2 liter water bottle making it easy to pack and bring with me!
Finally, it has an R value of 3.3 allowing me to use it in colder weather- when you use it with the foam pad it becomes a great winter pad as well!
Backpacking Sleeping Bag
Next is your sleeping bag. Sleeping bags come in two main types: down and synthetic.
There are trade offs for each type and it helps a lot to know the difference before buying!
Down Sleeping Bags
These will compress easier than synthetic, has a better warmth to weight ratio but is much more expensive and loses its heat retention when wet.
Synthetic Sleeping Bags
Synthetic on the other hand will keep its warmth when wet but is much harder to pack down. On the plus side though it is much cheaper!
When it comes to temperature I would recommend staying within the 30-15 degree range. Assess your personal sleeping style and what areas you will mostly be backpacking in and go from there.
Good questions to ask yourself: Are you normally a hot sleeper? Always cold? Do you plan on only backpacking in the summer or will you want to move into the shoulder seasons? (if you do you may want to invest in something warmer!)
I personally love using down sleeping bags- and being someone who sleeps cold 15 degrees has seemed to be the sweet spot!
I use my 15 degree bag in the summer as well as in the winter with some extra sheets.
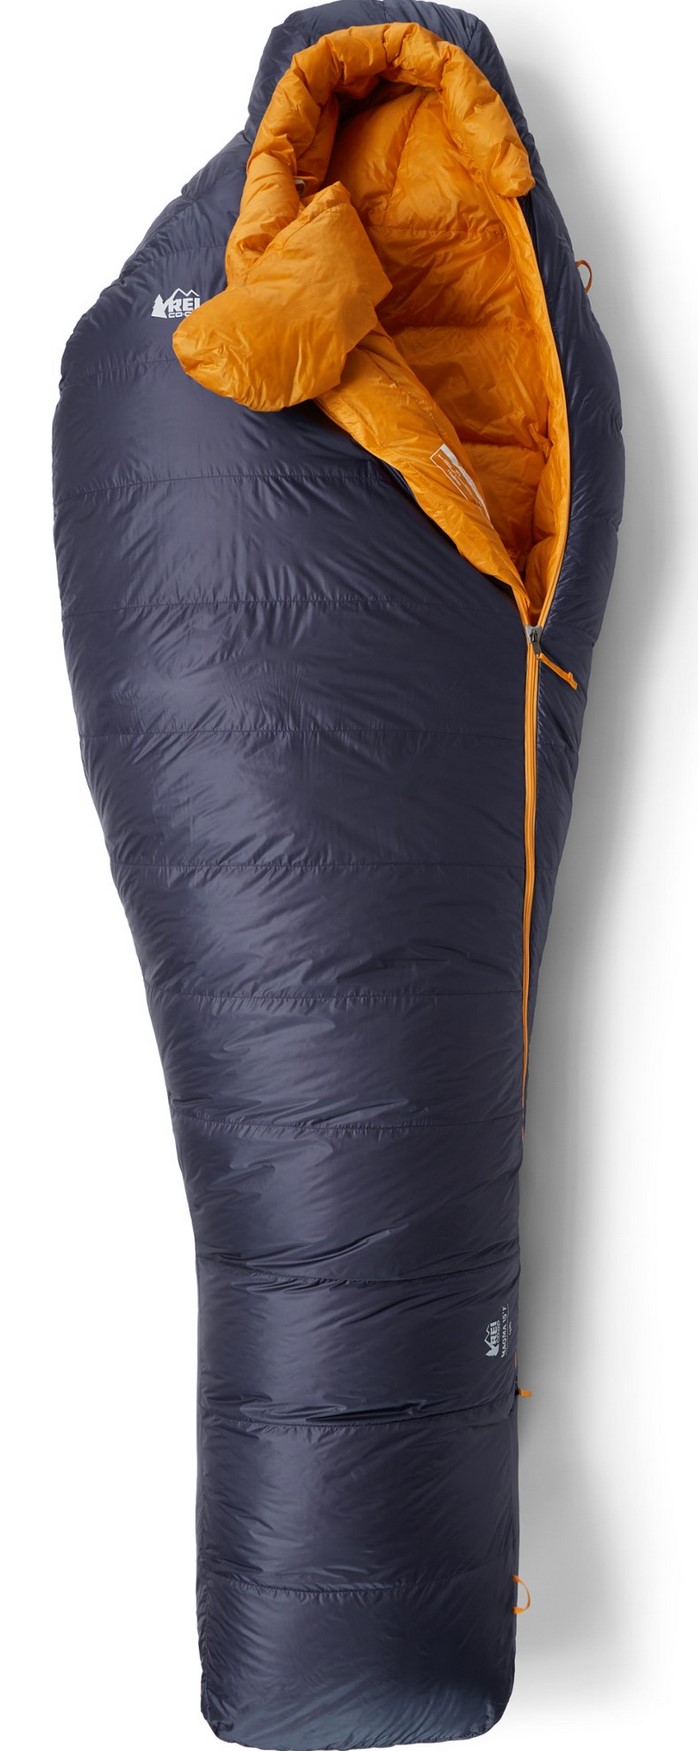
This REI Co-op Magma is super lightweight with 850 fill power down and has the option for multiple sizes- allowing you to find the perfect fit!
I also love that this one has a “draft collar” which wraps on top of your neck keeping all that warm air in!
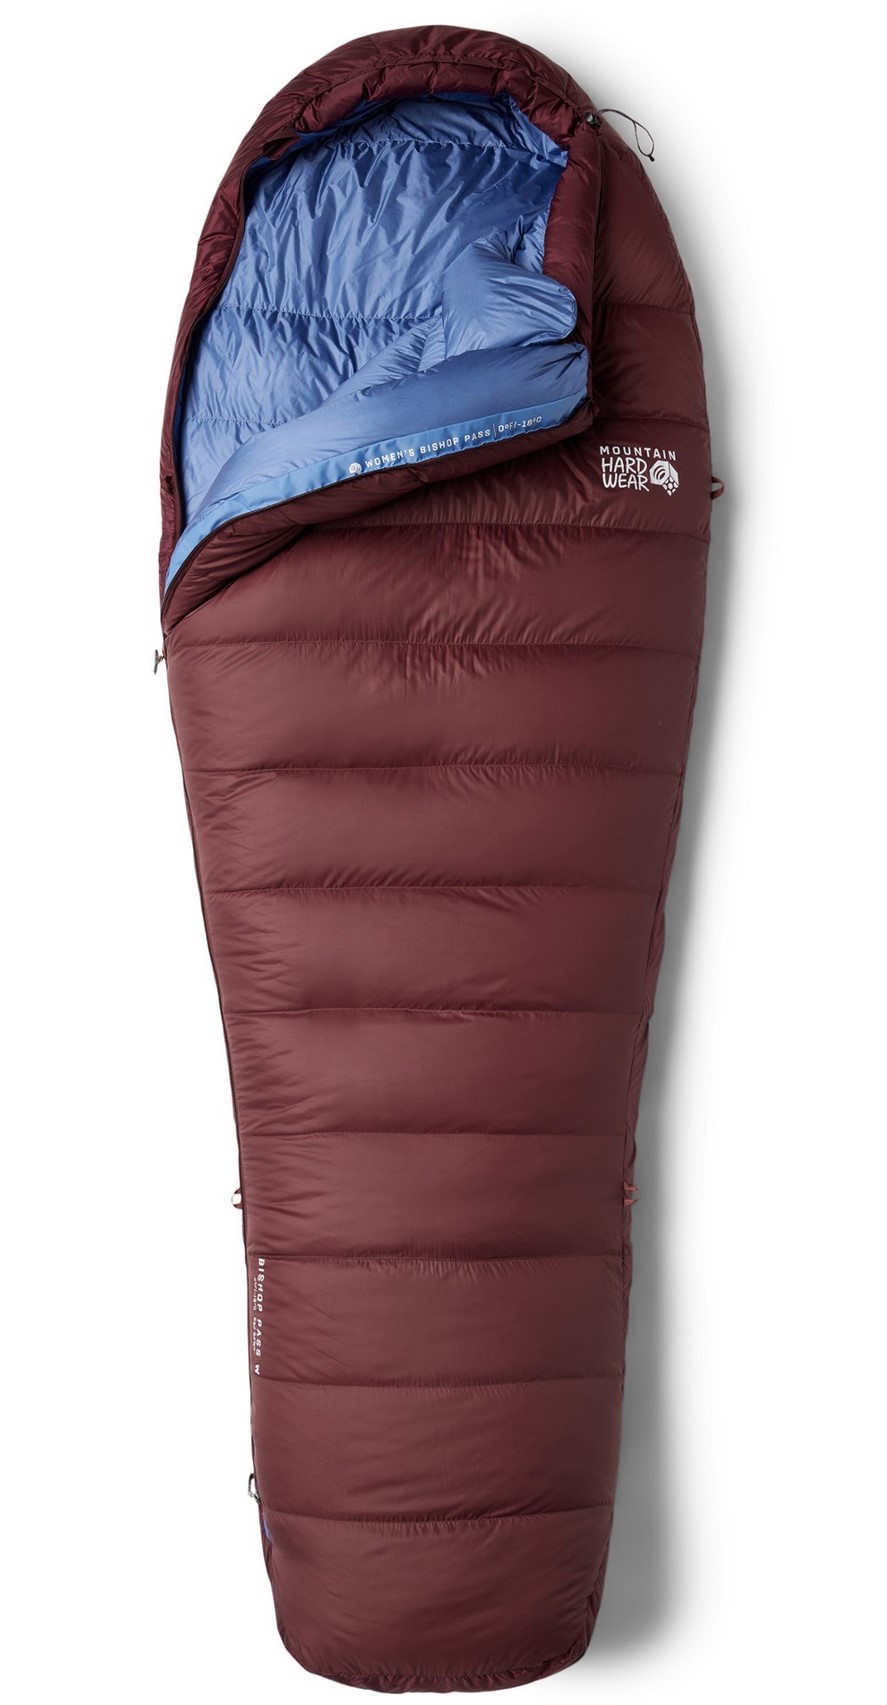
If your looking for a bag to use all year I would recommend The Mountain Hardwear Bishop Pass 0 degree sleeping bag!
The nice part about a 0 degree bag is it is going to keep you super warm in Summer’s in the mountains while also giving you the opportunity to use it in every other season.
This bag is filled with 650 fill down- because this is a higher quality down the bag is able to compress super small making it awesome for backpacking!
Backpacking Stuff Sack
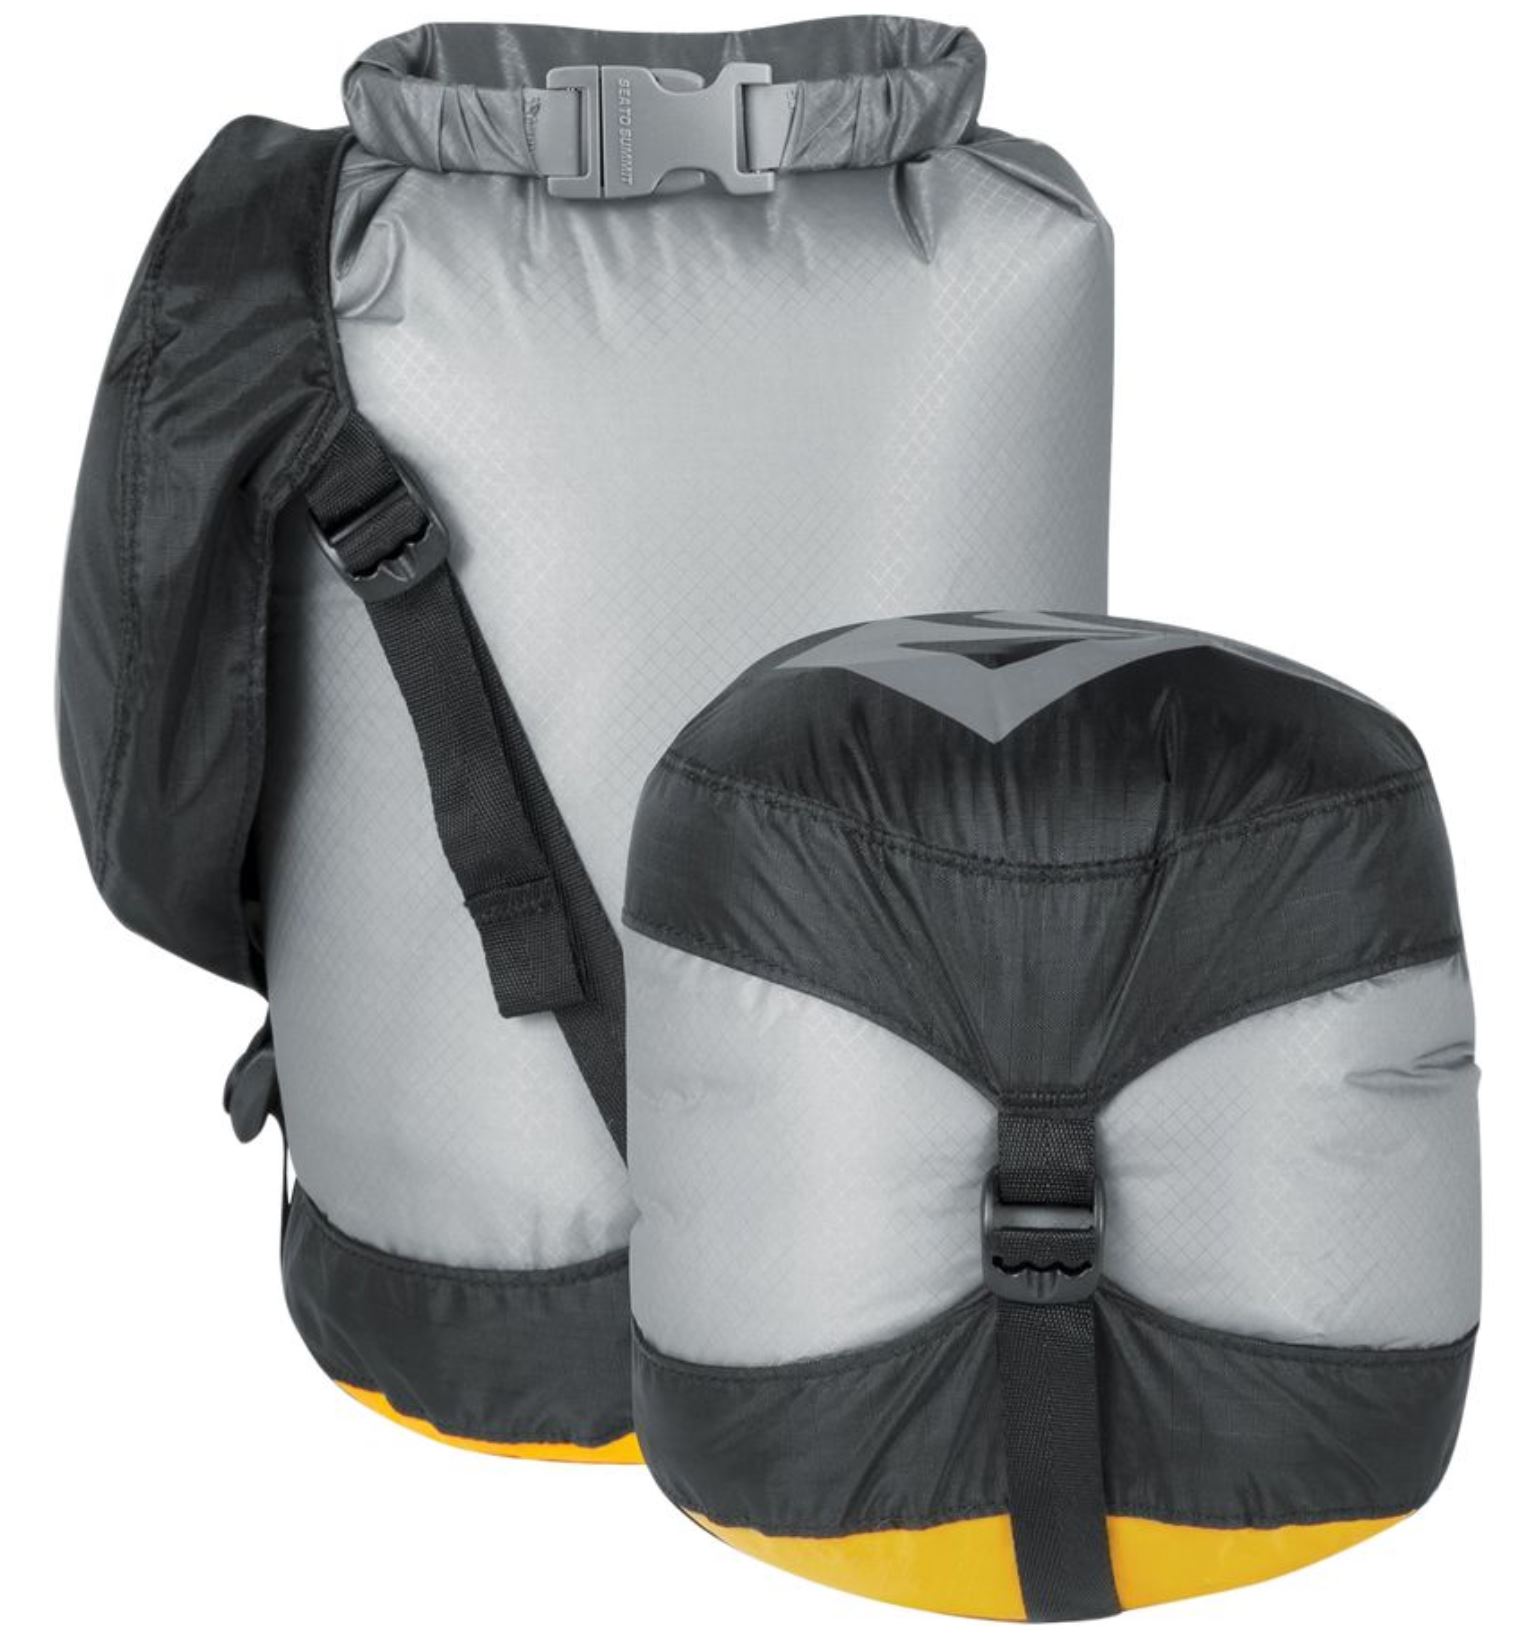
Stuff sacks are honestly such an amazing invention. While they are simple in nature they sure do help in situations where you need to pack as much stuff into your bag as possible.
Luckily, these backpacking stuff sacks are cheap! Below I have listed the stuff sack I personally use to get my sleeping bag tiny- be aware that they come in different sizes so make sure to check that out before purchasing!
Backpacking Pillow
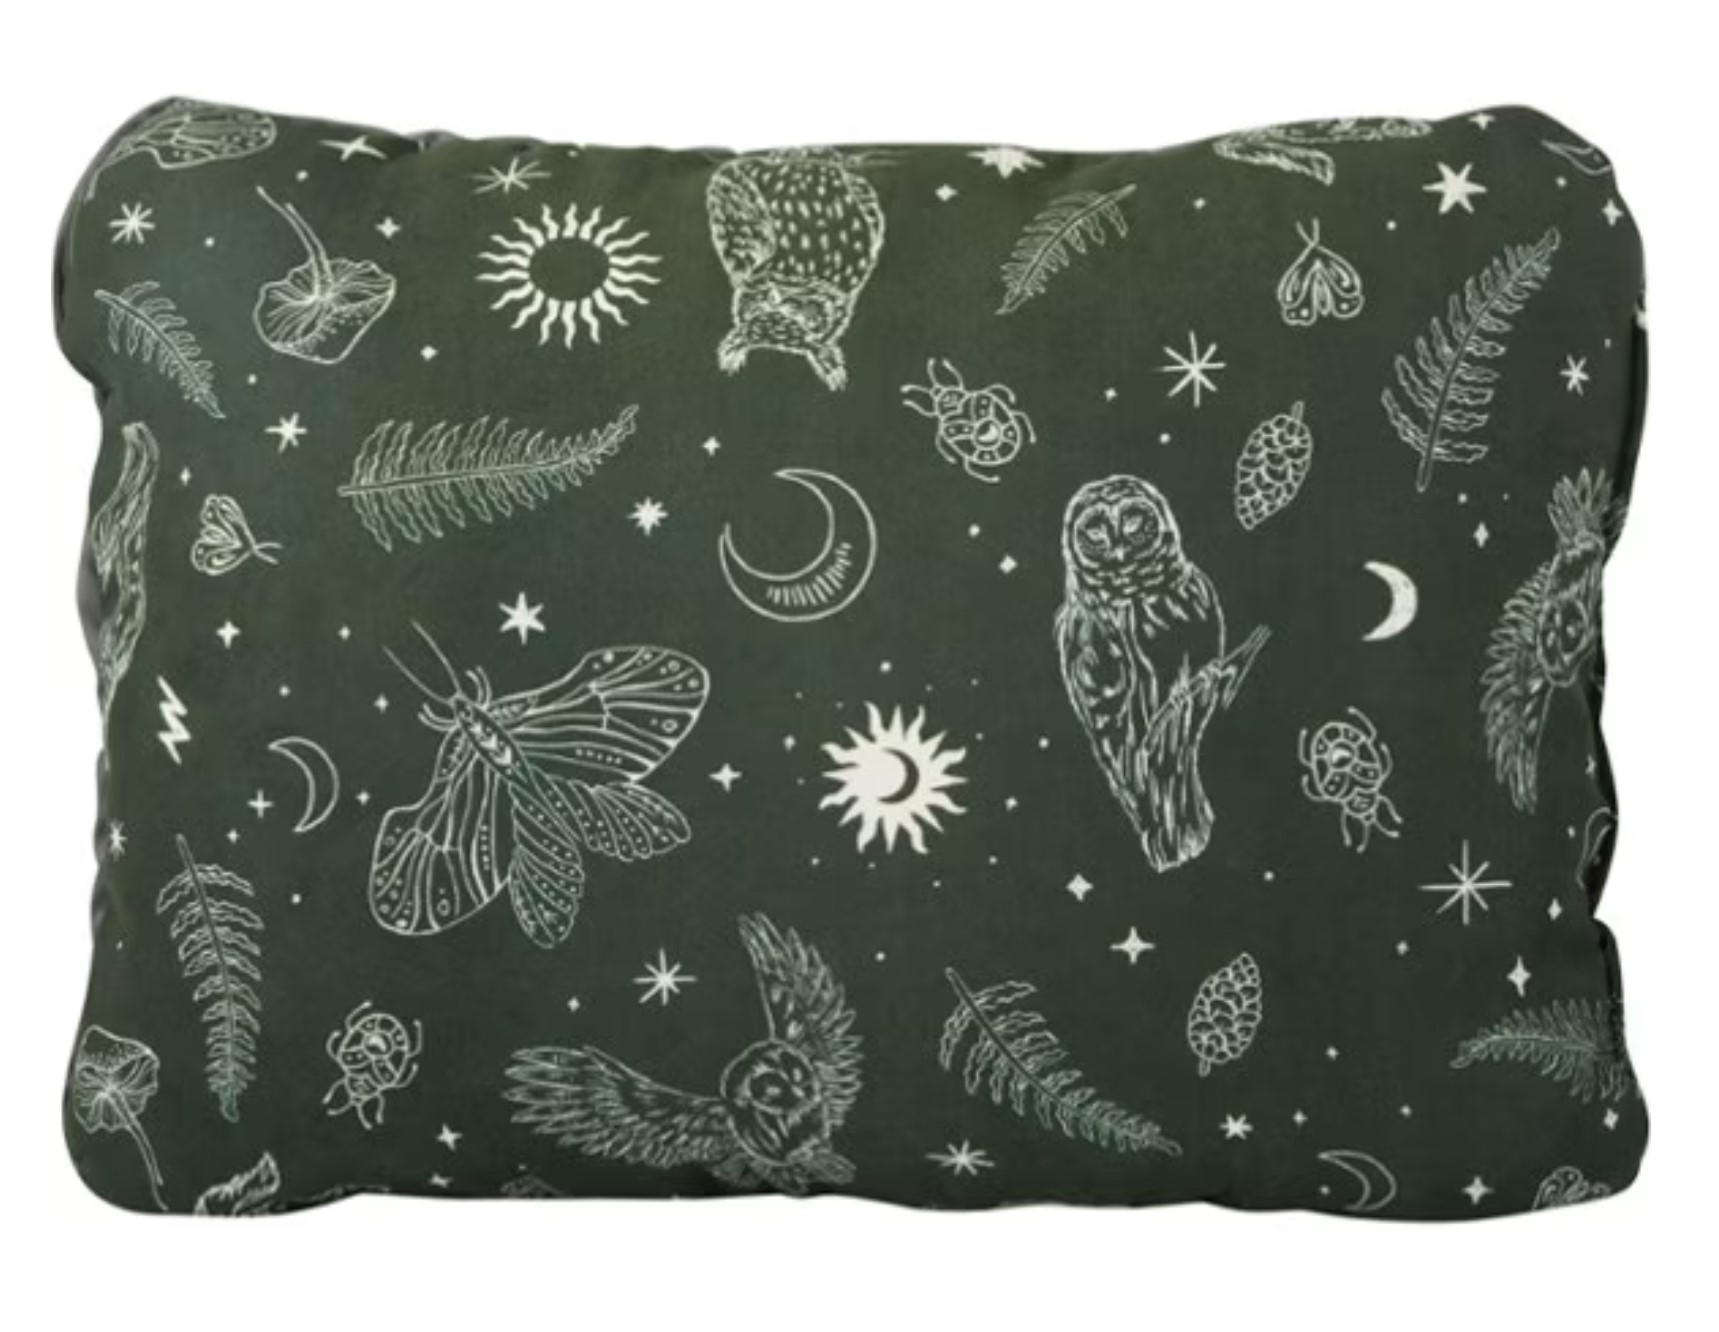
Having a backpacking pillow is a MUST in my book. Nothing ruins my experience backpacking like a neck kink from a night sleeping on a jacket. I have one of these pillows and they are wonderful and stuff down super small so you can bring it with you no matter what!
Backpacking Essentials: The Kitchen
Backpacking Stove, Fuel and a Lighter
When backpacking you will be using your stove to heat up water for freeze-dried meals and coffee in the morning!
This is another item that can easily be shared amongst the group. Many times one of my friends will bring the tent and I will carry the stove and water filter.
I personally use a pocket rocket while backpacking but it takes SO much longer to heat up water than it takes the Jet Boil Flash Stove.
I will say using the pocket rocket and a pan gives you the option of actually cooking in the pot rather than only being able to eat freeze-dried meals.
The Jetboil– a cult classic! This awesome stove comes with the stove, pot and a little bowl as well! It is a great all in one product and compacts down to the size of a water bottle.
I love the Jetboil for boiling water and ease of use! If you pretty much only use your stove for boiling water to use for freeze dried meals this is what I would go with!
If you want the option of using different types of pots and pans for different food- see below!
This MSR Pocket Rocket is the stove I use! I find it to be just as easy to use as the Jetboil but gives me more options!
I personally don’t love freeze dried meals- I like the option of being able to make things like ramen or mac n cheese in my pot. I also use it while car camping and it becomes an awesome set up if you bring a couple lightweight pots and pans!
I use the pan below and simply leave the pocket rocket, fuel and lighter inside the pot! It’s a bit wider than a jet boil but almost as compact!
The counterpart to my MSR pocket rocket! This little Sea to Summit Pot is perfect for backpacking.
The handle folds in over the top for easy carrying and you can cook a variety of things in it! It is also super light!
Utensil
Recently, I came across the idea of titanium utensils. They are absurdly light and seem absolutely perfect for backpacking. If you eat freeze-dried meals in the back country you can also buy one with an extra-long handle.
Water Filter
Another absolutely essential item to have while backpacking. A water filter can save your life and it is nothing to skimp on.
I personally love bringing the Be Free Katadyn filter as it is ridiculously easy to use and so light!
GPS & Satellite Phone
Having a GPS can be so helpful! When my group and I got lost in a whiteout on Forbidden Peak the one thing that really helped us through was my boyfriend’s GPS.
It helped show us where the camp should be and the trail, without it I think we would have been lost for hours.
We used a Garmin watch with GPS to help find our way but any GPS can work!
If you are going to be going on a ton of multi-day trips I would highly recommend investing in a Garmin In-Reach.
I use the Garmin Explorer which has the ability to download routes, send messages from a satellite and send out an SOS if I need help. It gives me peace of mind and security when I am deep in the wilderness.
Both the Garmin Mini and Garmin Explorer are Satellite phones. While they are expensive they can be the difference between help immediately and help in a week.
When I am going deep into the back country or high up on a glacier I always bring mine.
The Garmin is not only an SOS device it also allows you to track your route, sending “tracker marks” to other people back home.
You can also send “text” messages from the wilderness and has a fully functioning map. I love to download my route onto my Garmin prior to heading out and have it as a reference!
The Garmin operate on a data usage plan so you can choose which features you think you will use most and dictate the months which you will use it!
The Map
This seems a bit obvious to me but you would be surprised how many people don’t actually have a copy of the map on them when they are in the back country.
I like to keep mine in a zip lock bag so it doesn’t get wet!
Downloaded Map
In addition to a physical copy, it is always helpful to have a digital copy downloaded to your phone. The more copies the better!
The nice part about phones at this point is they have a built-in GPS that works even when you do not have service.
You can download routes from GAIA or All Trails!
Get Access to 1,000's of Online Trail Maps with All Trails!
All Trails is by far my favorite resource to use to download maps to my phone and Garmin for all my back country trips. Sign up for a subscription to access offline maps & more!

![]() READ MORE: “How Hard Is That Hike? Hiking Class Explained
READ MORE: “How Hard Is That Hike? Hiking Class Explained
Backpacking Essentials: Safety
Let’s talk about safety! One of the biggest things you will want to be aware of when backpacking, is how to keep yourself and the ones around you safe.
Having just these couple of items I am listing below will increase your chances of being safe in the wilderness exponentially!
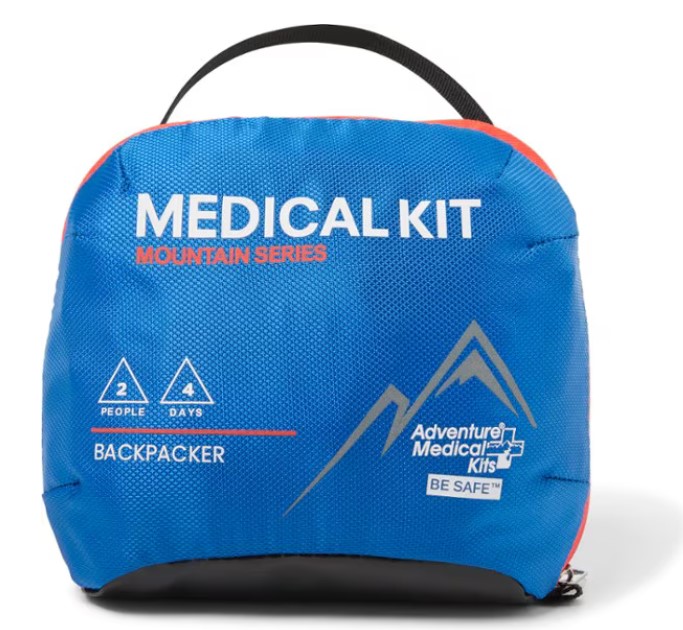
First Aid Kit
My first aid kit is quite possibly one of the most important things I bring with me on a trip. It has everything from ibuprofen and allergy medicine to gauze, an emergency blanket, emergency flashlight, lighter, waterproof matches and more.
As you continue on your outdoor journey you will discover what makes you feel safest having when you are out in the wilderness. Starting out it is easiest to start with a pre-made kit and then customize it as you go!
Bear Can or Bear Bag
In Washington, and many of the northern states in the US there is always the worry of wildlife encounters when you are on the trail or sleeping in your tent.
We have all heard the horror stories of bear attacks or cougar attacks and I would be lying if I said it didn’t keep me up at night on occasion.
The best way to keep yourself safe is to have a couple of items and know how and when to use them correctly.
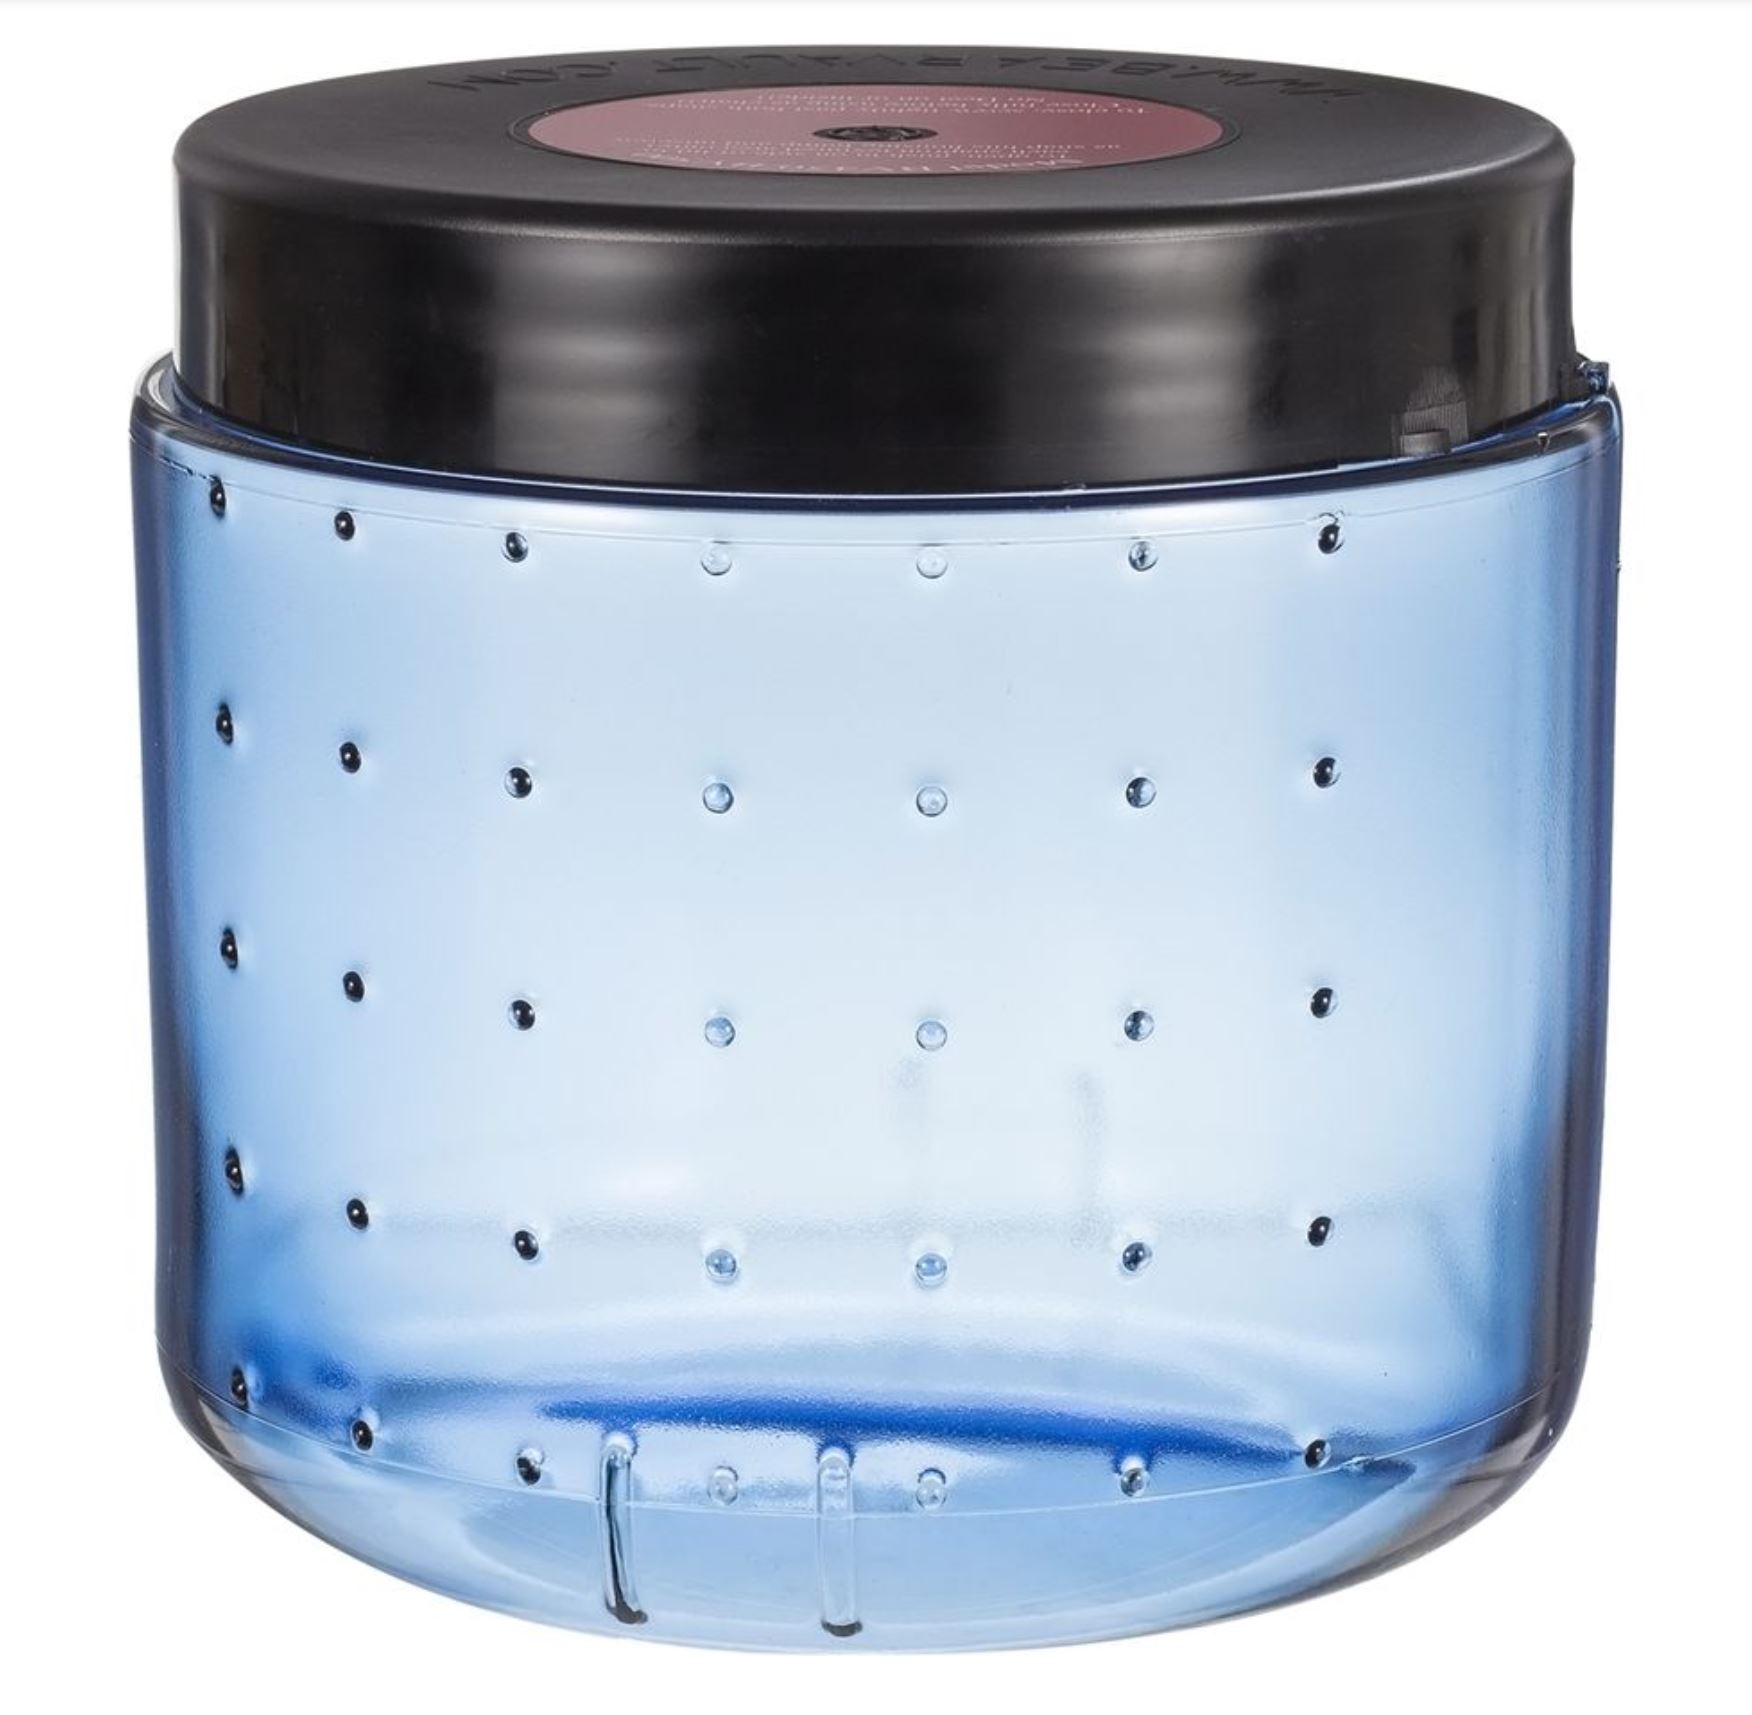
The first is a bear can or bear bag! This is a bag/ bin that is sealed and allows you to place any food and smelly personal hygiene products in and move them away from your camp at night. This draws any animals away from where you are sleeping and into the forest if they do happen to come across your tent.
Bear Spray & Bear Horn
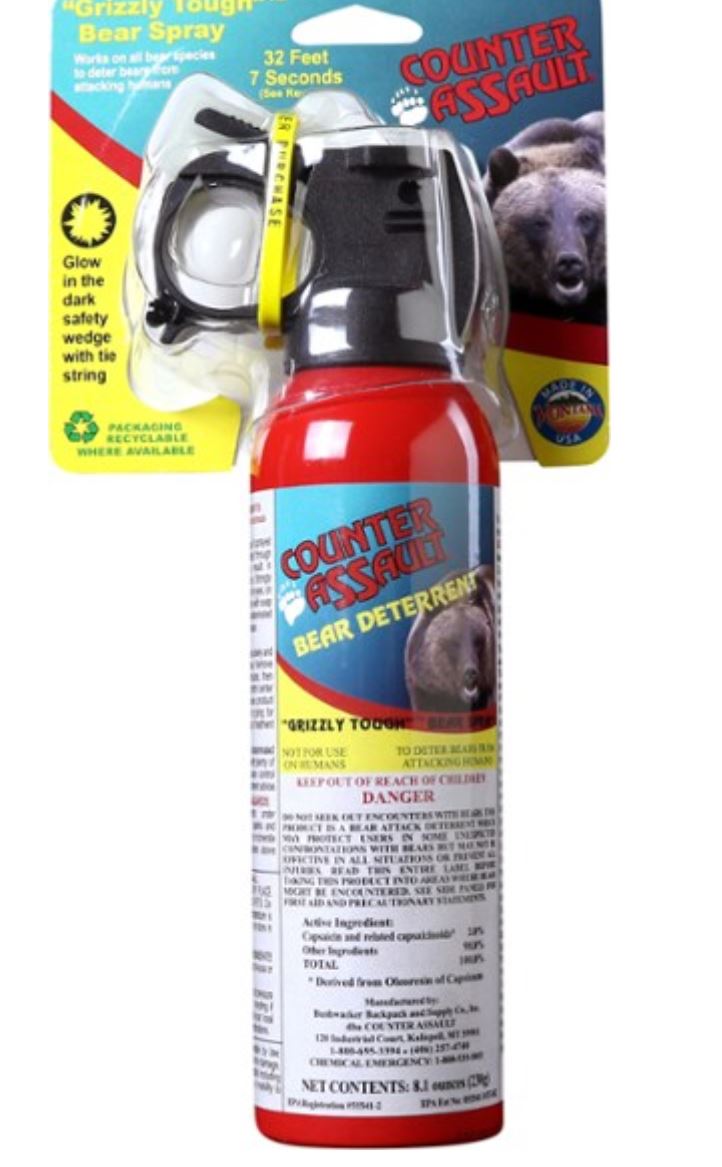
Another piece of important gear that will lend tons of peace of mind is having bear spray on you at all times.
When I have bear spray I feel much calmer, and much more in control. I know that if I were to run into an animal on the trail I would have a much higher chance of staying in control of the situation.
I keep this bear spray easily accessible on the side of my bag while hiking and next to me in the tent at night.
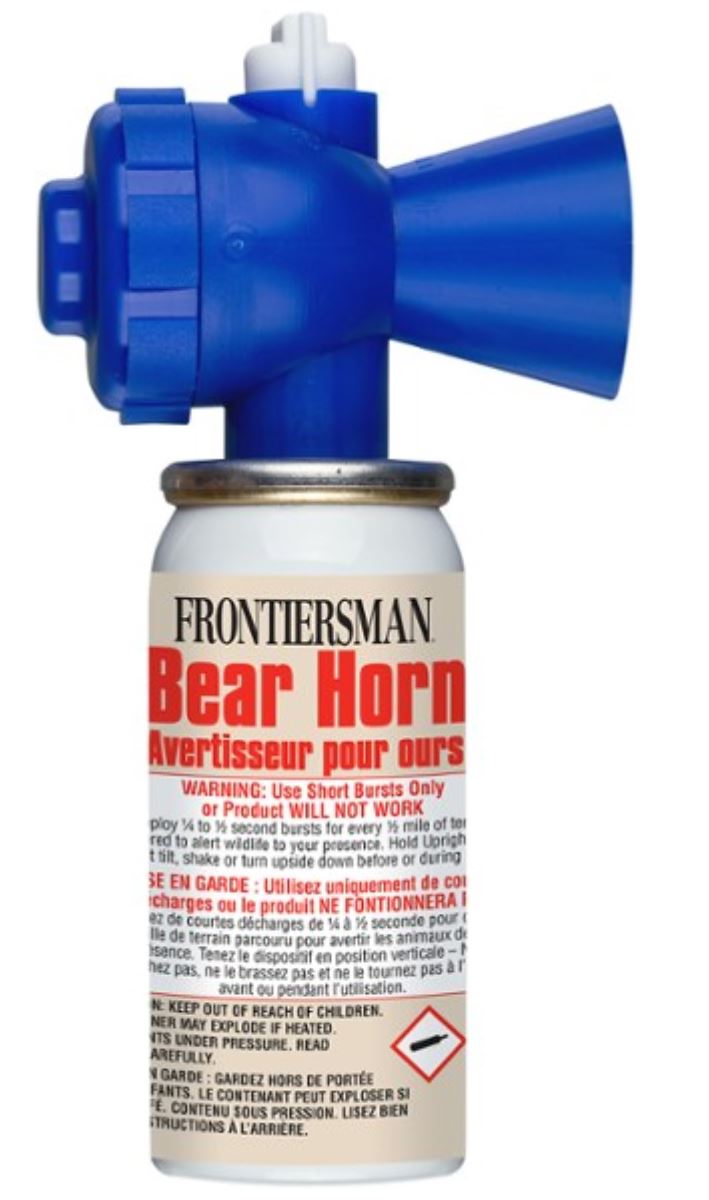
Another piece of equipment that can be helpful is a bear horn– this air horn is made just to make noise and warn the animals you are coming. Most animals do not want to interact with you and letting them know you are coming is an easy way of keeping you safe.
Backpacking Essentials: The 10 Essentials
These items are so aptly named as they essential to have when you are out in the wilderness.
Do me a favor and keep these in your backpack at all times.
#1 Navigation
Compass- adjustable declination and GPS
#2: Light
Headlamp with backup batteries! Try to get one with lumens of 300 and over!
#3: Sun Protection
Sunscreen and chap-stick with zinc and Glacier Glasses for Eye Protection
#4: First Aid Kit
Bandages, gauze, sterile dressings, athletic tape. Basic over the counter meds- benadryl, aspirin, ibuprofen, pepto bismol, duct tape, hand warmers, toe warmers, emergency blanket etc.
#5: Knife
#6: Firestarter:
Waterproof matches, candle and wax ball and lighter
#7: Shelter
Emergency Bivy Bag
#8: Extra Food
#9: Hydration
2 water bottles- 1 L size. You can also bring a bladder but you want to be careful because sometimes the hose can freeze up or you could pop it.
#10: Extra Layers
Optional Accessories
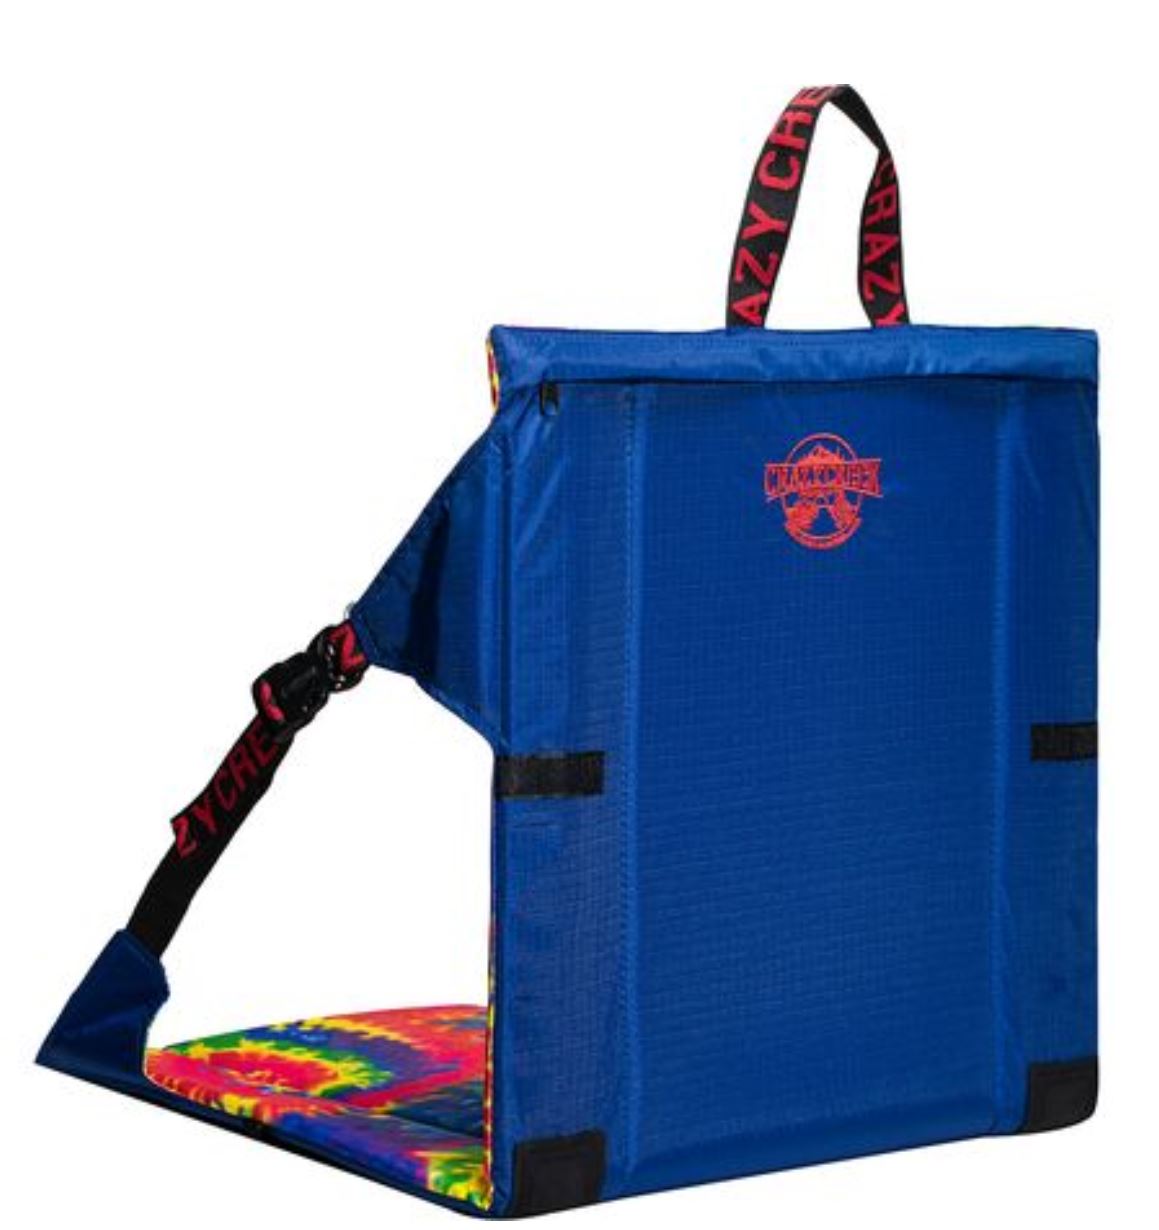
Camp Chair
Having a bit of back support can feel amazing after lugging everything up a mountain. This camp chair is ridiculously lightweight and feels so nice to use after a long day!
Down Booties
I know we didn’t talk about clothing in this article (You can find an article here) but down booties are one of the best things to bring for when you are sleeping or hanging out at camp.
They are basically like little sleeping bags for your feet and some of them have rubber on the bottom so that you can walk around in them outside!
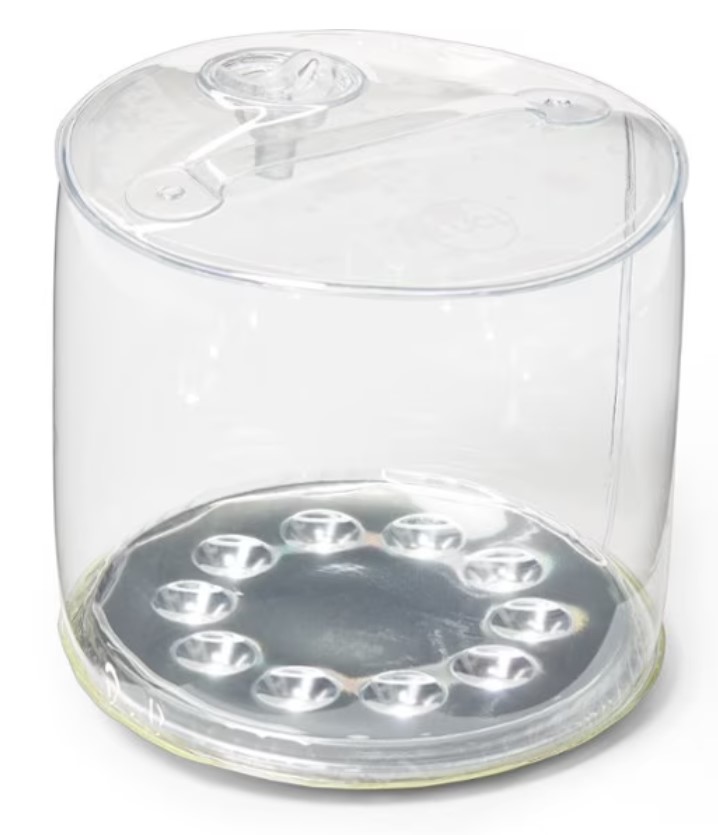
Inflatable Lantern
One of my favorite extras to bring is this solar powered solar lantern! Hang it on the back of your bag while you are hiking to charge it up and then blow it up and use it at night!
Conclusion:
Now that we have gone over all of the different pieces of gear you will need you are well on your way to sleeping under the stars!
I know this article may have been a bit overwhelming
Remember that many times you can share these things with other team members or rent them for weekend use.
Don’t be afraid to ask friends to borrow things while you grow your collection!
It takes a lot of time and money to get to the point where you have every piece of gear yourself, but once you do, you have an amazing and cheap way to spend your weekends in the mountains!
Good luck 🙂
More Guides You Will Love!
Recent Posts
Shop With Me on Etsy! Click A Photo Below!
Join Me on Instagram!















0 Comments